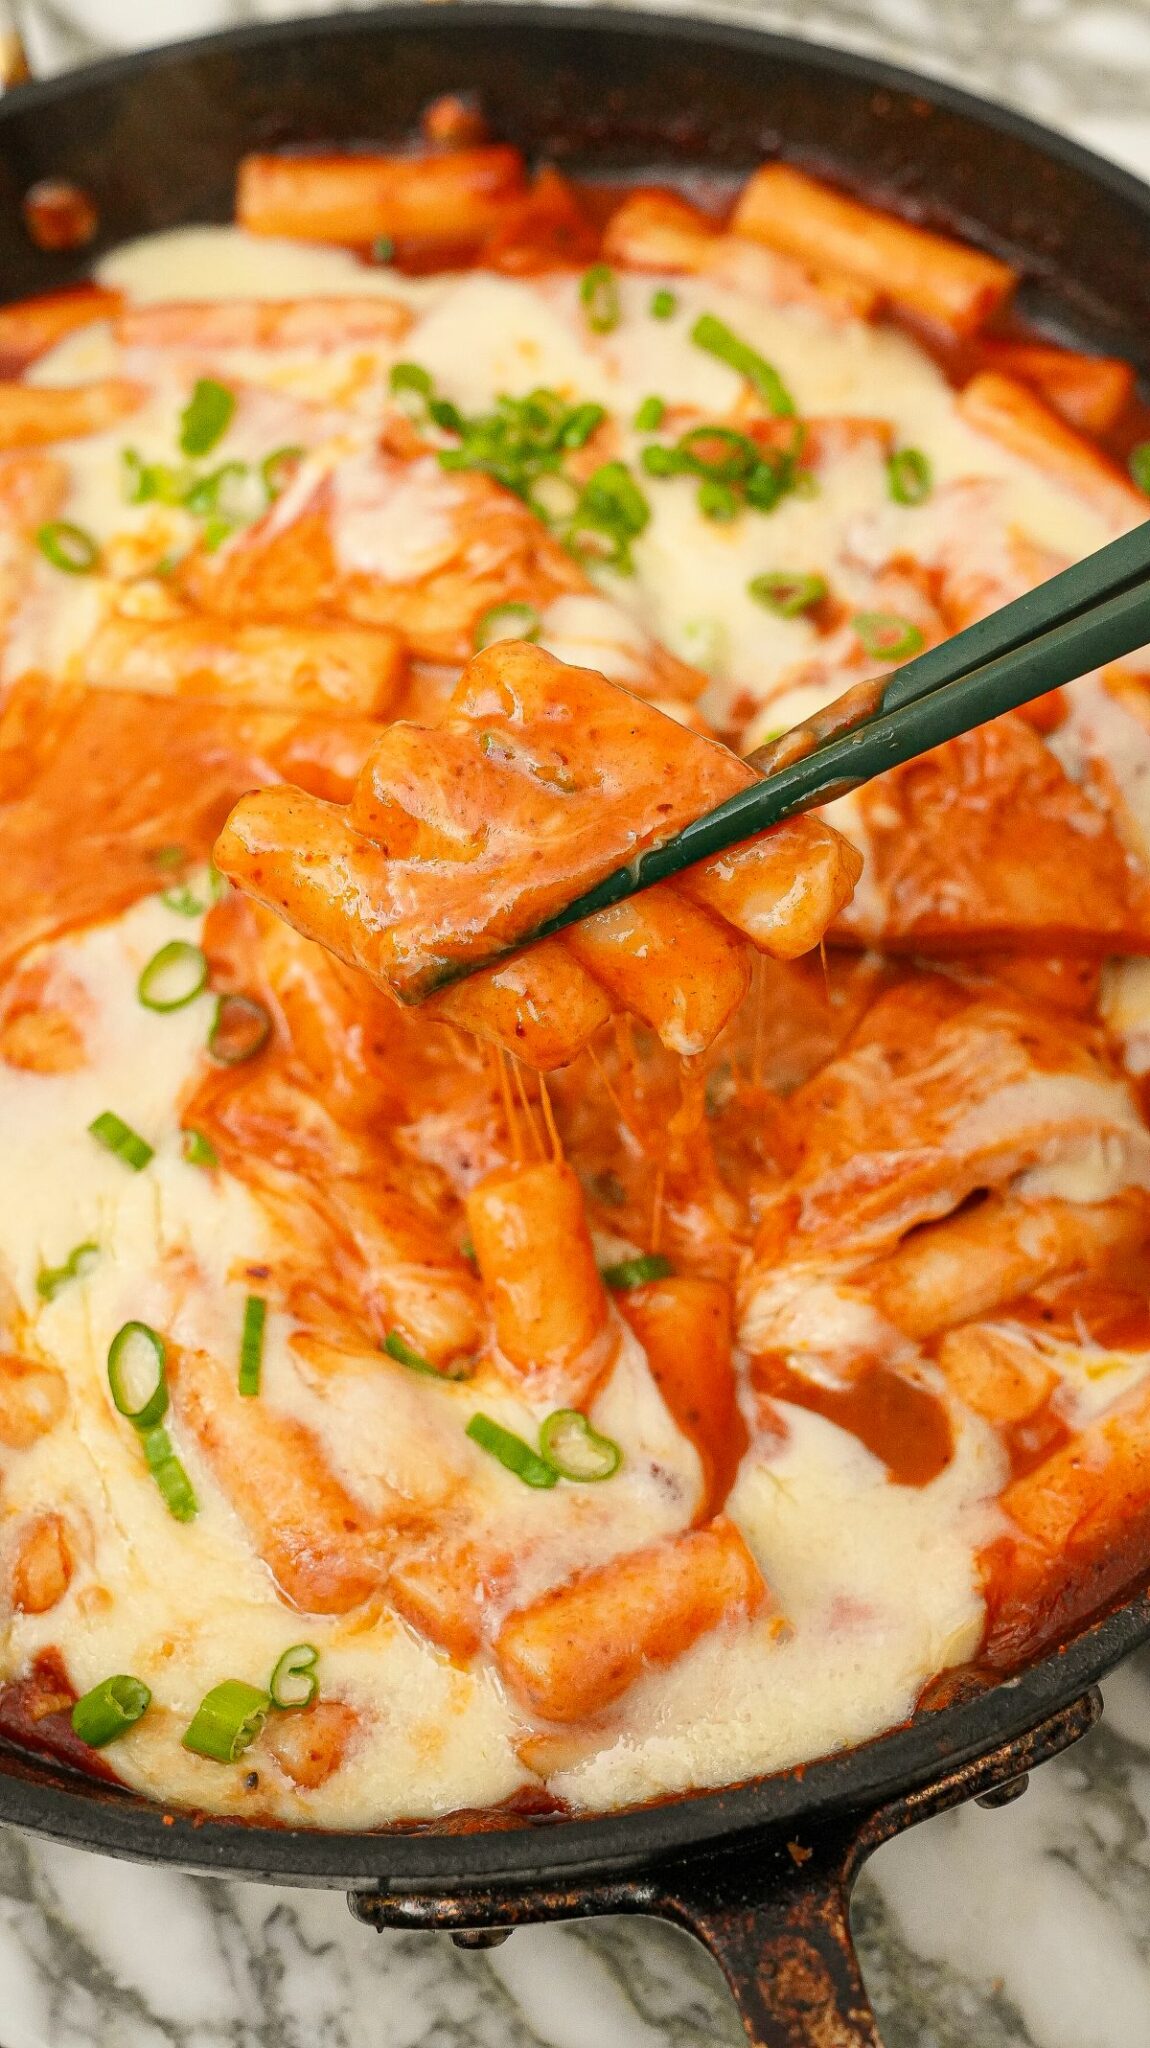
Tteokbokki – Korean Spicy Rice Cakes (VIDEO)
This post may contain affiliate links. Please read our disclosure policy.
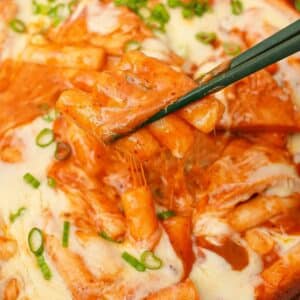
As a Korean-American who grew up eating Tteokbokki, my wife had a lot of opinions when I was developing this recipe! The perfect Tteokbokki is balanced – the soft and chewy rice cakes are coated in a glossy sauce that is spicy, sweet, and not runny nor thick. This is my easy, authentic version for the home cook!
Watch the Tteokbokki Recipe Video Below!
Table of Contents
Tteokbokki (Korean Spicy Rice Cakes) Ingredients
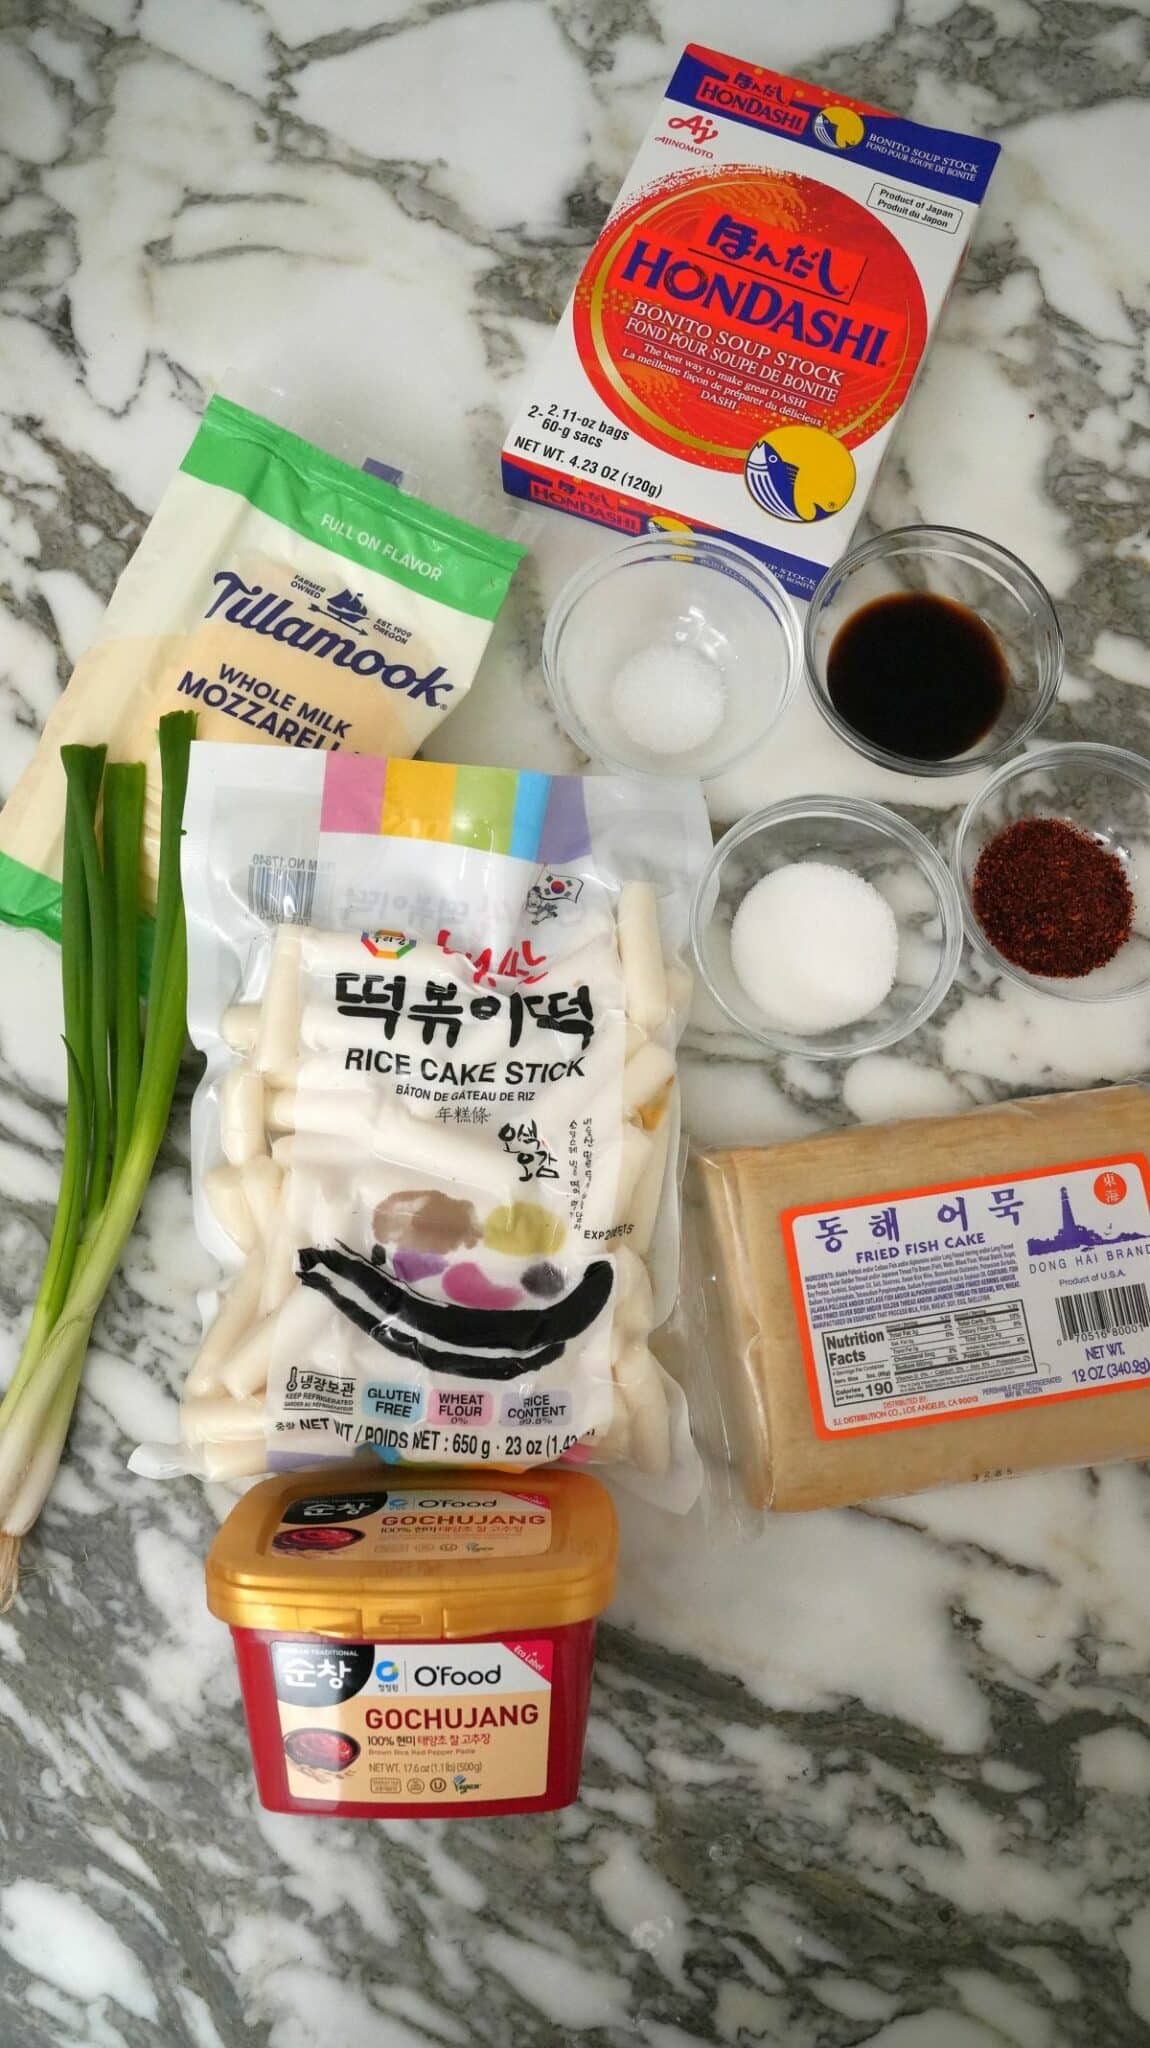
Refer to the recipe card for the full list of ingredients and measurements!
- tteok, cylindrical rice cakes – I purchase these frozen from the Korean market. You can soak frozen tteok in water to rehydrate them and get them soft; I skip that step in this recipe because I boil them in the dashi stock.
- dashi stock – see note below
- gochujang – this is a spicy and sweet Korean red pepper paste, with a strong flavor profile and a hint of umami. It is usually sold in tubs of varying sizes – I see them at all of the grocery stores near me.
- It’s an extremely popular and versatile ingredient – I use it in so many of my favorite dishes like Kimchi Fried Rice, Spicy Honey Garlic Tofu, Gochujang Honey Wings, Spicy Gochujang Noodles, Korean Fried Cauliflower, Korean Fried Chicken and more!
- gochugaru – this is Korean red chili pepper flakes (or powder, depending on which version you purchase). It’s vibrant in color and smoky in flavor, used in dishes like Korean Cucumber Salad or Spicy Pork Bulgogi.
- While the heat level varies, it’s definitely on the spicy side. I recommend you adjust the amount based on your spice tolerance level.
- Korean soy sauce – I got this from my local Korean grocery (H Mart); it’s different from Japanese soy sauce in that it’s lighter in color, thinner, saltier, and less sweet. If you don’t have it on hand, you can just use your all-purpose soy sauce and add salt to taste. You may not notice the difference.
- sugar, or honey
- msg – this is always optional
- scallions, whites and greens separated
- fish cakes, cut into triangles (or fish balls, or a mixture of both) – I purchase sheets of rectangular fish cakes from the Korean market and slice them into triangles. You can also use fish balls. These are the same fish cakes used in Korean Stir Fried Fish Cakes!
- mozzarella cheese, optional – As of recent times, Korean cuisine has really embraced mozzarella cheese as a unique, fusion topping to their dishes – the mild cheese pairs perfectly with the flavors of Tteokbokki. This is similar in concept to Korean Corn Cheese!
Key Tip
Stock Tips (And Why I Use Dashi)
Tteokbokki is traditionally made with anchovy and kelp stock – however, I found that dashi works just as well and is much easier to work with (as you can purchase it in powder form). I tested this recipe both ways and did not notice a huge difference in the final dish when using dashi.
If you want to make it the traditional way, this is how to make the anchovy and kelp stock:
- Saute 8 large dried anchovies (head and insides removed) for 2 minutes in a pot over medium high heat – you can easily find dried anchovies at any Korean grocery story
- Add 4 cups of water and 1 large piece of konbu
- Boil for 30 minutes until the stock has reduced to 2.5 cups (if you are scaling this recipe, reduce until there is about 2/3 of liquid left)
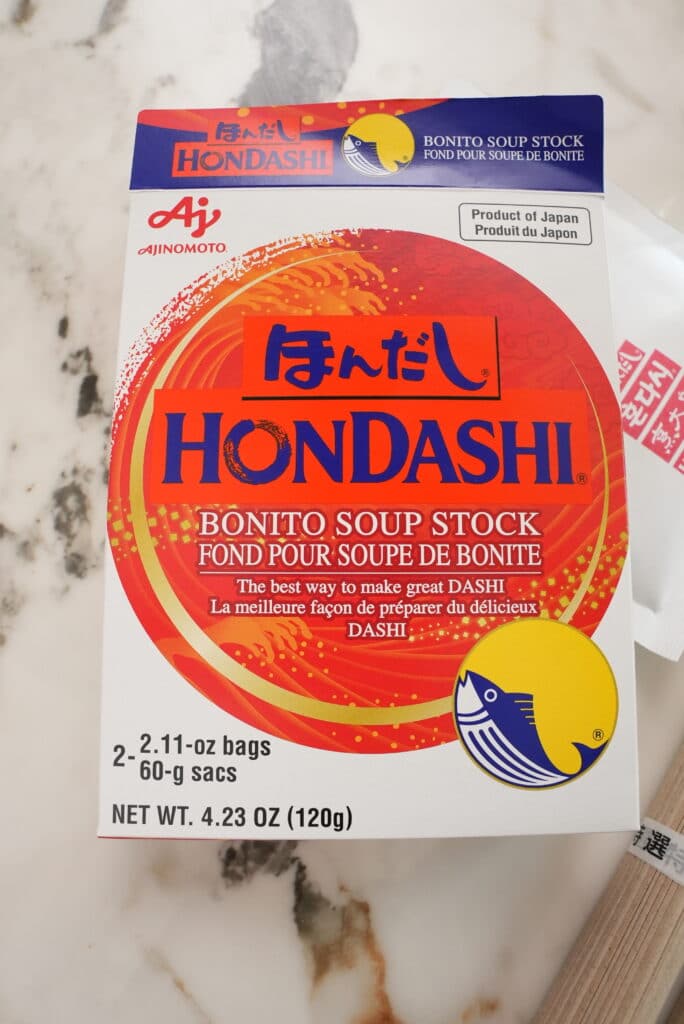
What is Dashi Powder?
Dashi is Japanese soup stock that is commonly made from dried kelp (kombu) and dried bonito flakes (katsuobushi). It has a unique, rich, umami-packed savory flavor. See below for a photo of the brand I use.
Recipe Instructions
1. Simmer the Tteok
To a large wide oven safe pan, add the stock (anchovy, kelp, or dashi – up to you! see note above on why I chose dashi) and the tteok. I recommend using a wide, shallow pan – refer to the video for reference. If you are topping with mozzarella cheese, make sure the pan is also oven safe.
Bring the broth to a simmer and cook the tteok for 5-6 mintues or until tender. Usually it’s recommended to rehydrate frozen tteok before cooking it – we can skip this step because the tteok will simmer in the broth.
2. Make the Tteokbokki Sauce
In a small bowl, add the gochujang, gochugaru, soy sauce, sugar, and msg.
Add ½ cup of hot stock (from the pan) to the sauce and mix together until the ingredients are combined and the paste has dissolved. This will be your tteokbokki sauce – it’s best that it’s completely dissolved and combined before you add it to the pan.
Add the mixture directly to the tteok in the broth and mix to combine.
Key Tip
Customize to Your Preference!
Tteokbokki is delicious as is but it’s also so much fun and so tasty when you customize it to your own preference! Everyone has their own way that they like to enjoy it, so here are some ideas to inspire you for when you make your own:
- Add in different proteins, like hard boiled eggs, mini sausages, sliced spam, or pork belly. I’ve even seen people add in frozen shrimp!
- Add in ramen to make it “rabokki” – this is a very popular Korean bar dish!
- I personally love frozen dumplings into my tteokbokki – the dumplings cook right in the broth and are so delicious with the sauce.
- Sliced cabbage and corn are two popular vegetable add-ins.
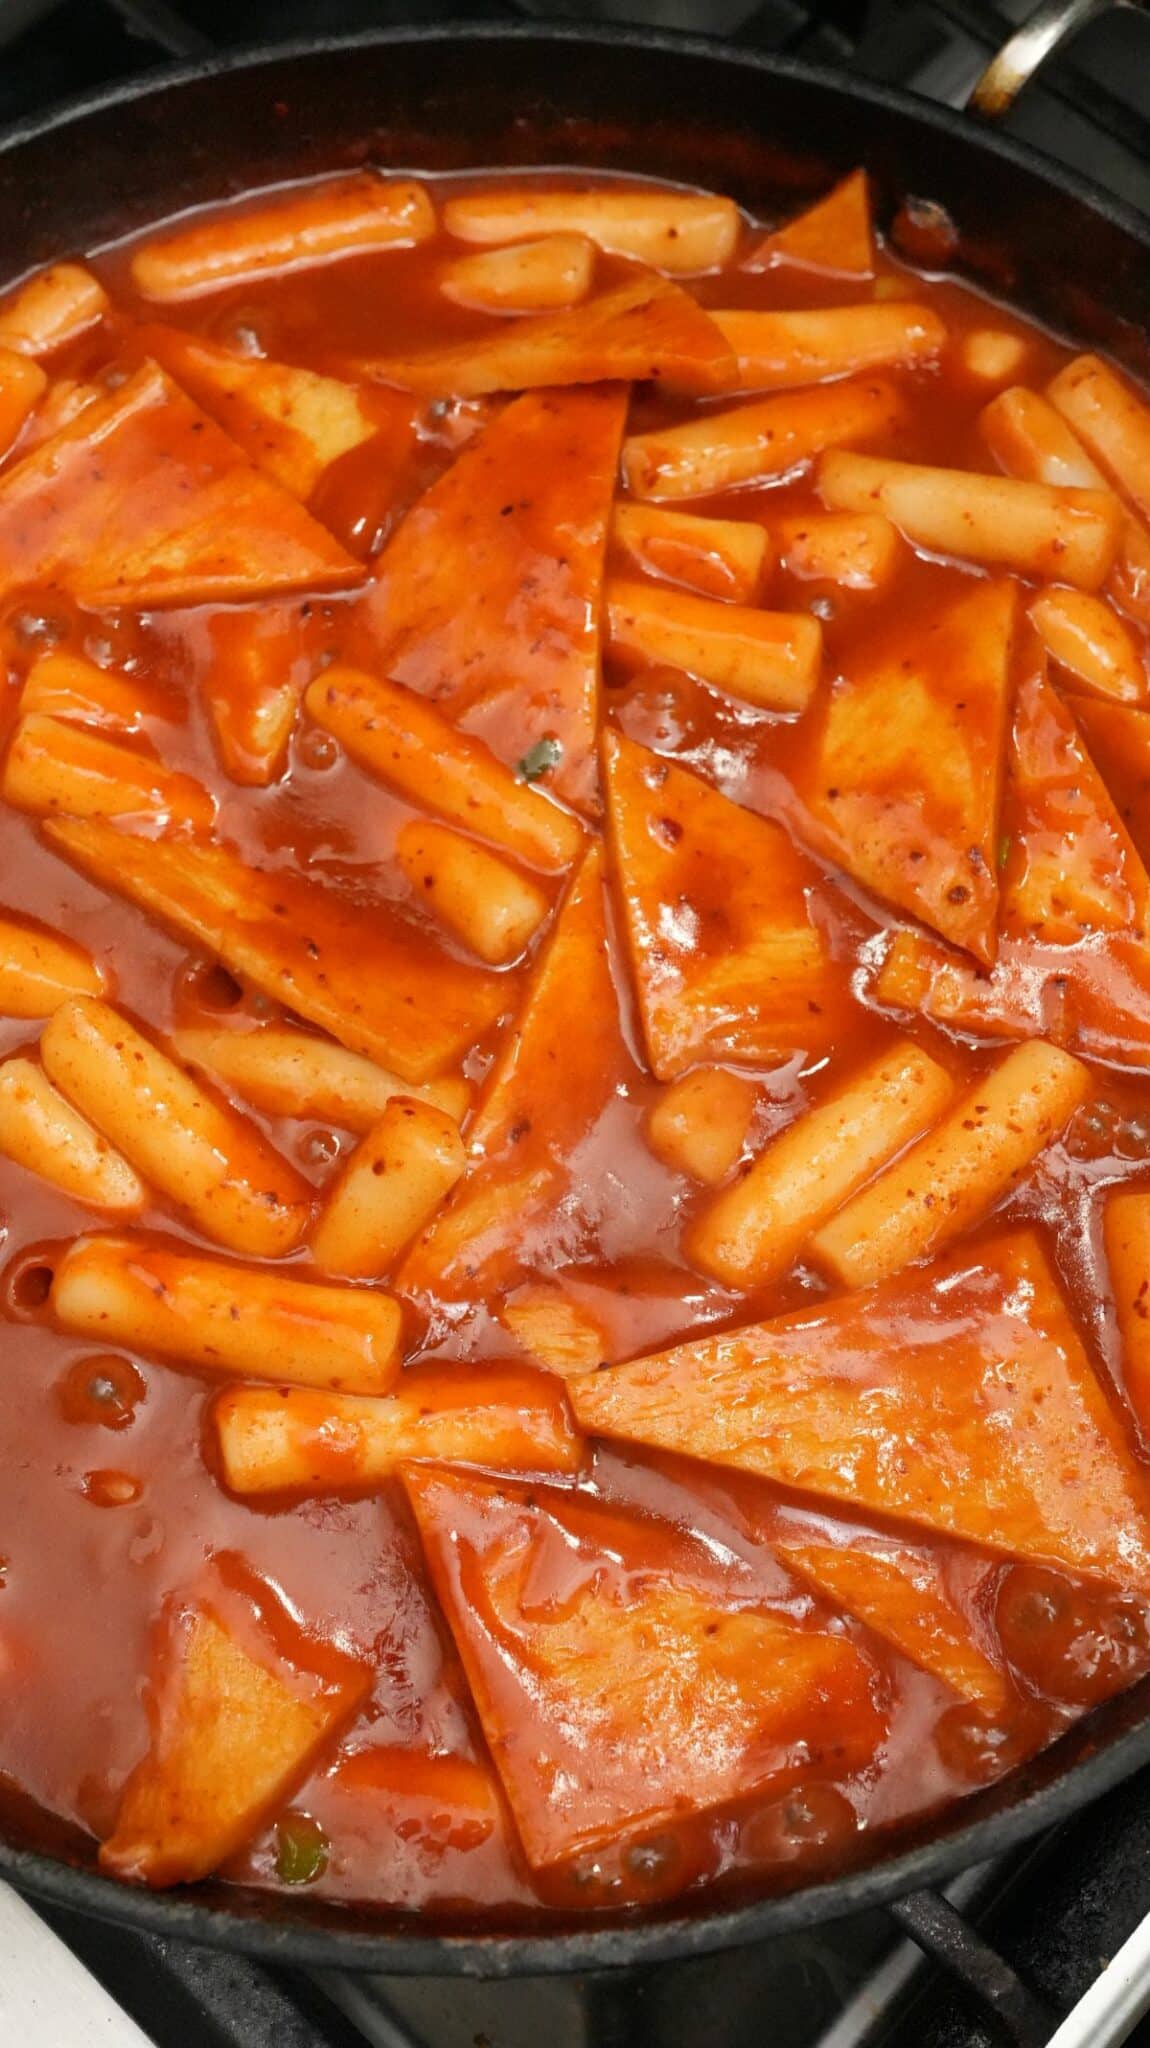
3. Add Scallion Whites and Fish Cakes
If you are using the rectangular sheets of fish cakes, slice them into your preferred shape – I like to cut them diagonally into triangles. This is totally up to your preference!
Add the scallion whites and fish cakes (or fish balls) to the tteokbokki.
Simmer over medium heat for 10-15 minutes until the sauce is thickened and glossy. The tteok should be soft and chewy.
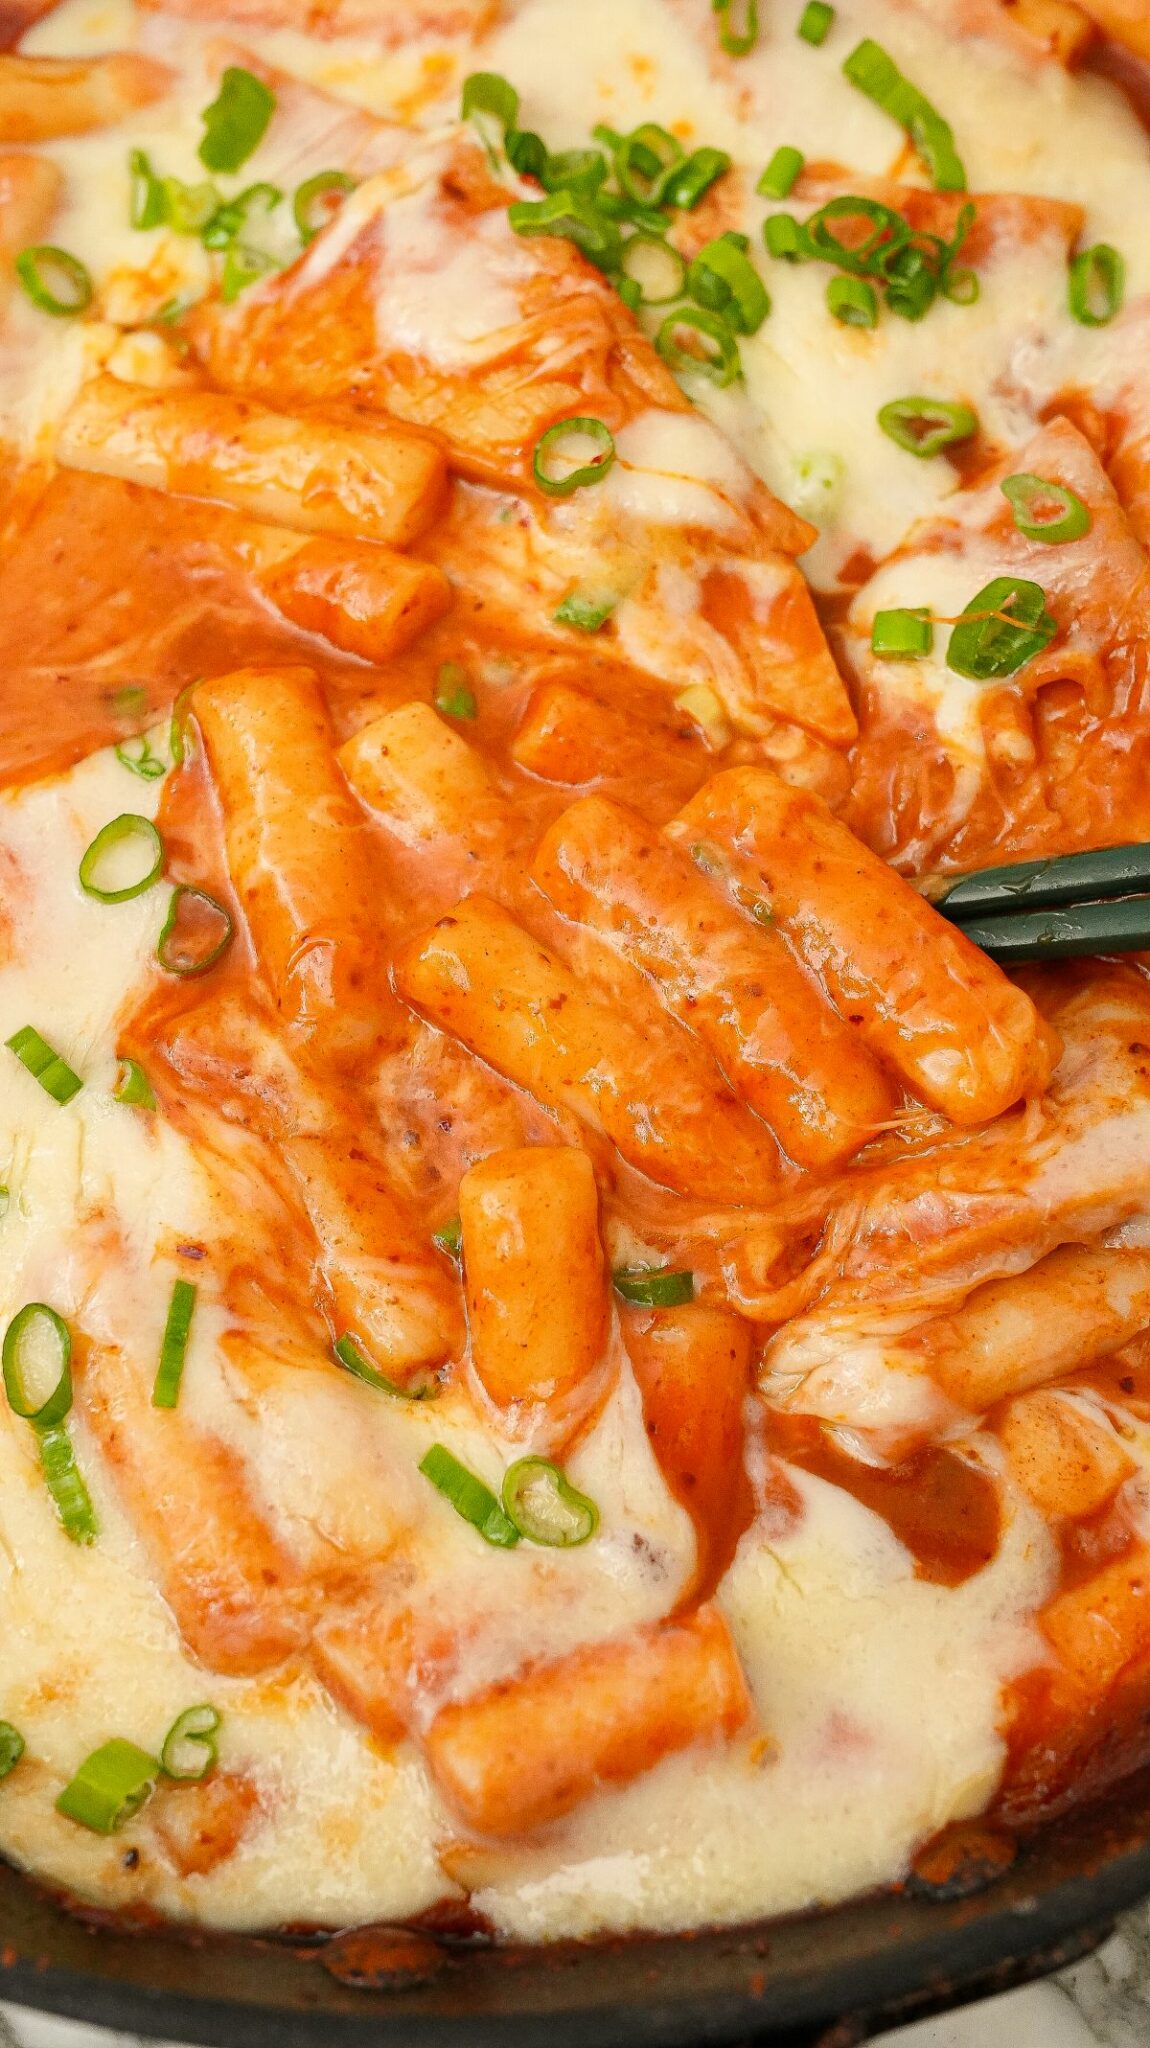
4. Top with Cheese and Broil
If topping with cheese, evenly add the shredded mozzarella cheese on top of the tteokbokki and place the pan in the broiler for 5 minutes, or until the cheese has melted.
Top with optional scallion greens and enjoy!
PRO TIPS
Expert Tips for Making The BEST Tteokbokki at Home!
- Tteokbokki is traditionally made with anchovy and kelp stock – however, I found that dashi works just as well and is much easier to work with (as you can purchase it in powder form). I tested this recipe both ways and did not notice a huge difference in the final dish when using dashi. I prefer using dashi powder to make dashi but you can also find liquid versions at most Asian grocery stores.
- If you want to make it with anchovy and kelp stock, here are the instructions: Saute 8 large dried anchovies (head and insides removed) for 2 minutes in a pot over medium high heat – you can easily find dried anchovies at any Korean grocery story. Add 4 cups of water and 1 large piece of konbu. Boil for 30 minutes until the stock has reduced to 2.5 cups (if you are scaling this recipe, reduce until there is about 2/3 of liquid left)
- I used Korean soy sauce, which I got from my local Korean grocery (H Mart); it’s different from Japanese soy sauce in that it’s lighter in color, thinner, saltier, and less sweet. If you don’t have it on hand, you can just use your all-purpose soy sauce and add salt to taste. You may not notice the difference.
- For the fish cakes, I purchase sheets of rectangular fish cakes from the Korean market and slice them into triangles. You can also use fish balls.
- Customize your tteokbokki at home by adding in your favorite ingredients – protein like hard boiled eggs, mini sausages, sliced spam, pork belly, or frozen shrimp. Add in ramen to make it “rabokki” – this is a very popular Korean bar dish! I personally love frozen dumplings into my tteokbokki – the dumplings cook right in the broth and are so delicious with the sauce. Sliced cabbage and corn are two popular vegetable add-ins.
Storage, Reheating, and Make Ahead Tips
Tteokbokki can be stored in an airtight container in the refrigerator for up to 3 days. The tteok will harden while refrigerated but will soften once warmed up. I recommend reheating it in the microwave. You may need to add a little bit of water to loosen up the sauce.
I don’t recommend making this dish ahead – it tastes best fresh!
If you tried this Tteokbokki Recipe or any other recipe on my website, please leave a 🌟 star rating and let me know how it went in the comments below!
Tteokbokki – Authentic! (VIDEO)
Equipment
Ingredients
- 2 1/2 cups dashi stock, or 1 tbsp hondashi powder + 2 1/2 cups hot water
- 1 pound tteok, cylindrical rice cakes
- 1/2 lb fish cakes, cut into triangles (or fish balls, or a mixture of both)
- 1/3 cup gochujang
- 1 tbsp gochugaru
- 2 tbsp Korean soy sauce
- 1 tbsp sugar, or honey
- ¼ tsp msg
- 2 scallions, whites and greens separated
- 1 cup mozzarella cheese
Instructions
- To a large wide oven safe pan over high heat, add the rice cakes along with 2 cups of the dashi stock. Bring the broth to a simmer, reducing the heat as necessary, and cook the tteok for 5-6 mintues or until tender.
- In a small bowl, add the gochujang, gochugaru, soy sauce, sugar, and msg. Add the remaining ½ cup of hot stock to the sauce and mix together until the ingredients are combined and the paste has dissolved. Add the mixture directly to the tteokbokki and mix to combine.
- Add the scallion whites and fish cakes to the tteokbokki. Simmer over medium heat for 10-15 minutes until the sauce is thickened and glossy.
- Evenly add the cheese on top of the tteokbokki and place in the broiler for 5 minutes or until the cheese has melted. Top with the scallion greens and enjoy!
Notes
Nutrition
Nutrition information is automatically calculated, so should only be used as an approximation.