Easy Oven Baked Ribs (BEST Method!) (VIDEO)
This post may contain affiliate links. Please read our disclosure policy.
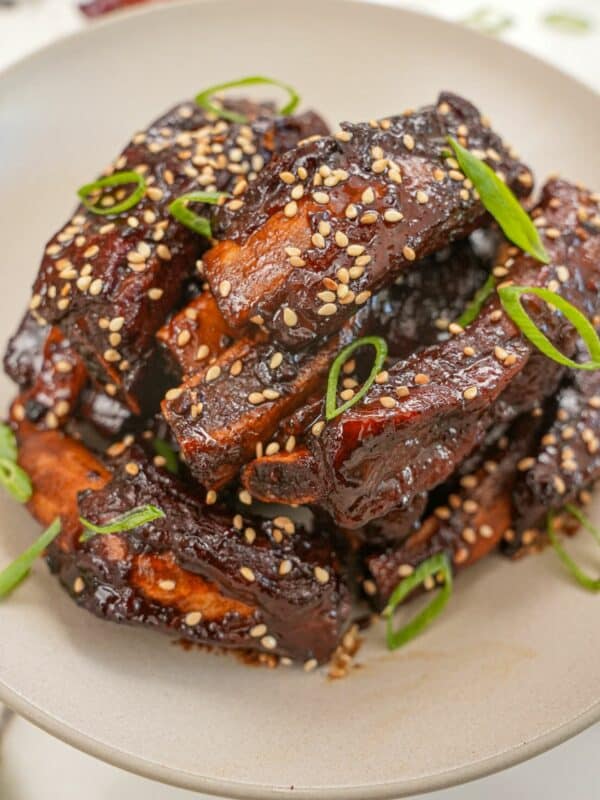
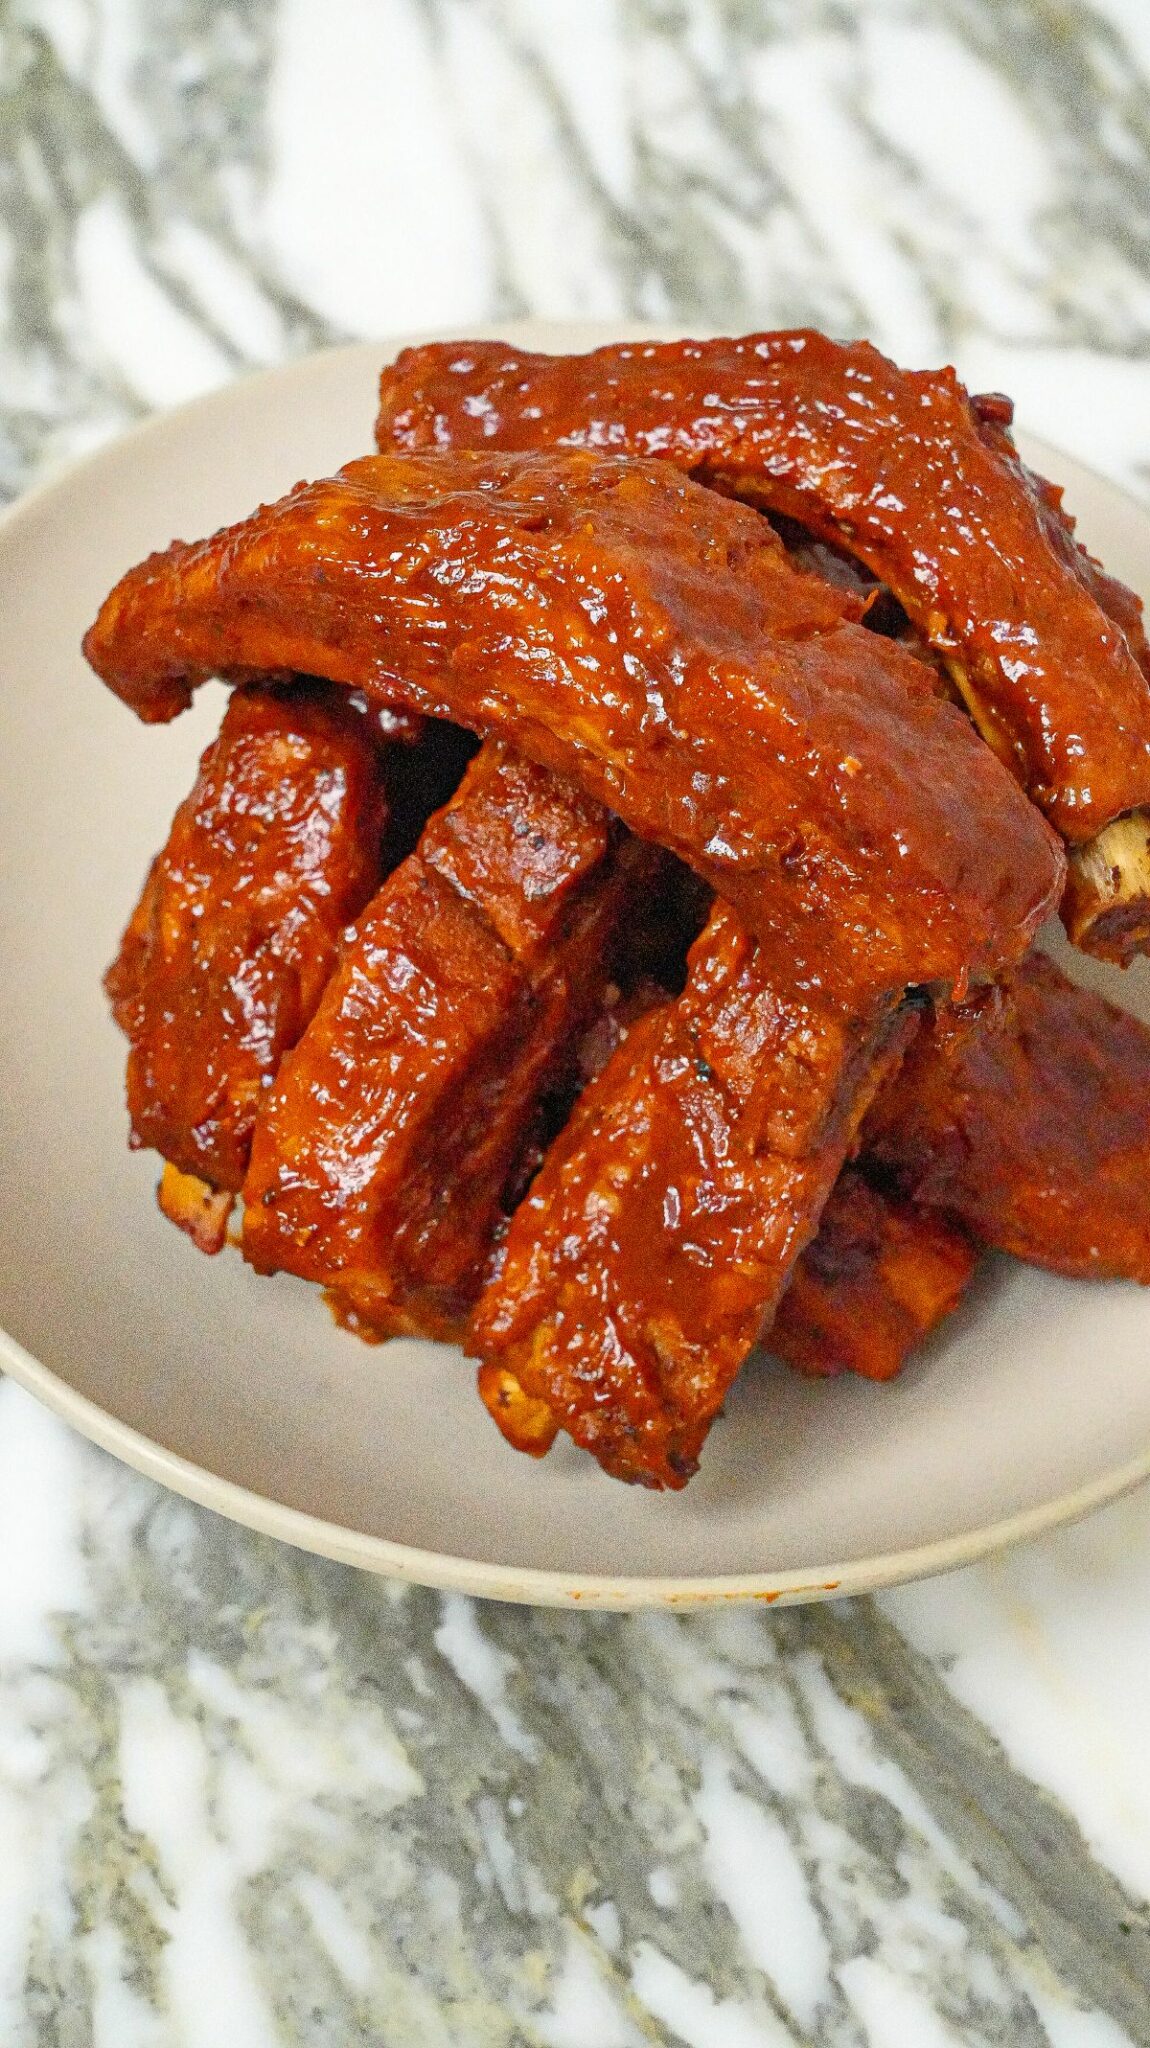
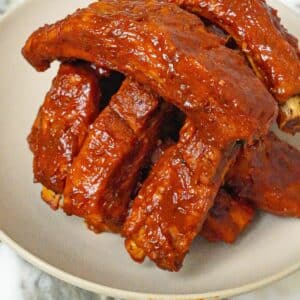
This is the easiest way to make the best, tender, fall-off-the-bone Oven Baked Ribs! Once seasoned, you pop them into the oven and bake at a low temperature until they’re nice and juicy – I love brushing them with my Homemade BBQ Sauce for an incredible meal that’s perfect for family and friends!
Watch the Oven Baked Ribs Recipe Video Below!
Table of Contents
- Watch the Oven Baked Ribs Recipe Video Below!
- Ingredients for Oven Baked Ribs
- Oven Baked Ribs: Step-By-Step Recipe Instructions
- How to Remove Rib Membrane
- What Should I Serve with Oven Baked Ribs?
- Expert Tips for Making The BEST Oven Baked Ribs at Home!
- Storage, Reheating, and Make Ahead Tips
- Oven Baked Ribs (BEST Method!) Recipe
Ingredients for Oven Baked Ribs
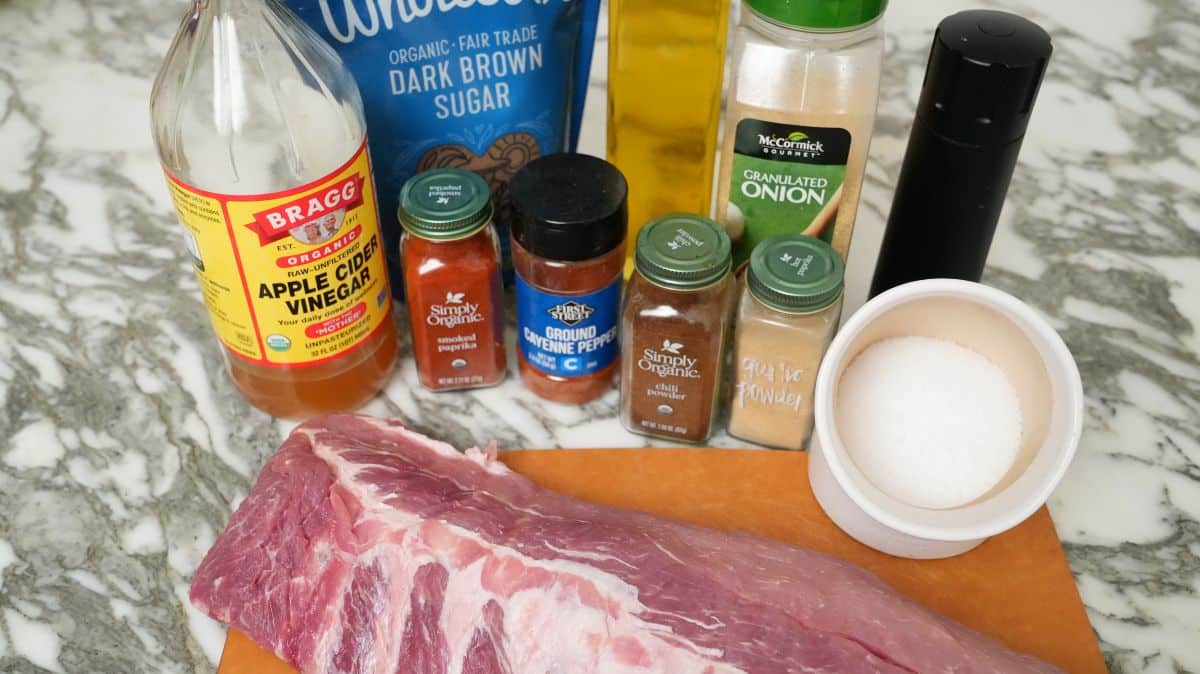
Refer to the recipe card for the full list of ingredients and measurements!
- pork ribs – I recommend using baby back ribs or St. Louis ribs.
- If you have extra baby back ribs, try my Sticky Asian Ribs – they’re so additively delicious!
- avocado oil – this is my go-to neutral oil; if you don’t have it, you can substitute with another neutral oil like canola or vegetable oil
- I’m using avocado oil as my binder, so the dry seasonings can stick to the ribs. You can also use yellow mustard as your binder – it’ll add an extra layer of flavor.
- I love this combination of seasoning but you can always adjust to your own preference – I recommend using a mixture of salty (salt), spicy (black and cayenne peppers), smoky (like smoked paprika), and aromatic (garlic and onion powders)!
Love pork? Me too! My favorite pork recipe is my grandpa’s Crispy Pork Belly – I even adjusted it so you can make Air Fryer Crispy Pork Belly instead! Pork Katsu is another favorite, as is the classic American Chinese dish Sweet and Sour Pork!
Oven Baked Ribs: Step-By-Step Recipe Instructions
1. Cut the Ribs
Preheat the oven to 300F.
Pat the ribs dry with a paper towel. I recommend removing the membrane as best as possible, as it’ll help the ribs keep from becoming chewy and you’ll be able to season the bottom of the ribs, as well. See note below for more information on removing the membrane –

Once the membrane has been removed, cut the ribs evenly between the bone to create individual ribs. I prefer baking them individually vs the whole slab method – cutting up the ribs reduces the baking time by about an hour and it also helps keep the shape of the ribs.
Key Tip
How to Remove Rib Membrane
It’s important to remove the rib membrane for two reasons – keeping the membrane can sometimes lead to the ribs becoming chewy or rubbery, and removing the membrane also allows for seasoning the bottom of the ribs, which are oftentimes neglected. Sometimes they are already removed, so check your ribs! You want to season (and broil) both sides of the ribs for even flavor!
Here’s how to remove the membrane:
- Flip the ribs over so the membrane is facing you
- Use your finger (or a butter knife) to slide under the membrane – you only need a little to grab on to it
- Firmly pull the membrane up and across the ribs to remove!
If you’re still having trouble with the membrane, here are a couple things that may make it easier:
- Rinse the ribs in warm water to help loosen and soften the membrane – just remember to pat dry afterwards
- If you don’t have a great grip, using a paper towel may help you grip the membrane better
- If the membrane is thin, you might need to remove it in pieces
- Your butcher may be able to remove it for you – ask the next time you are the meat counter!
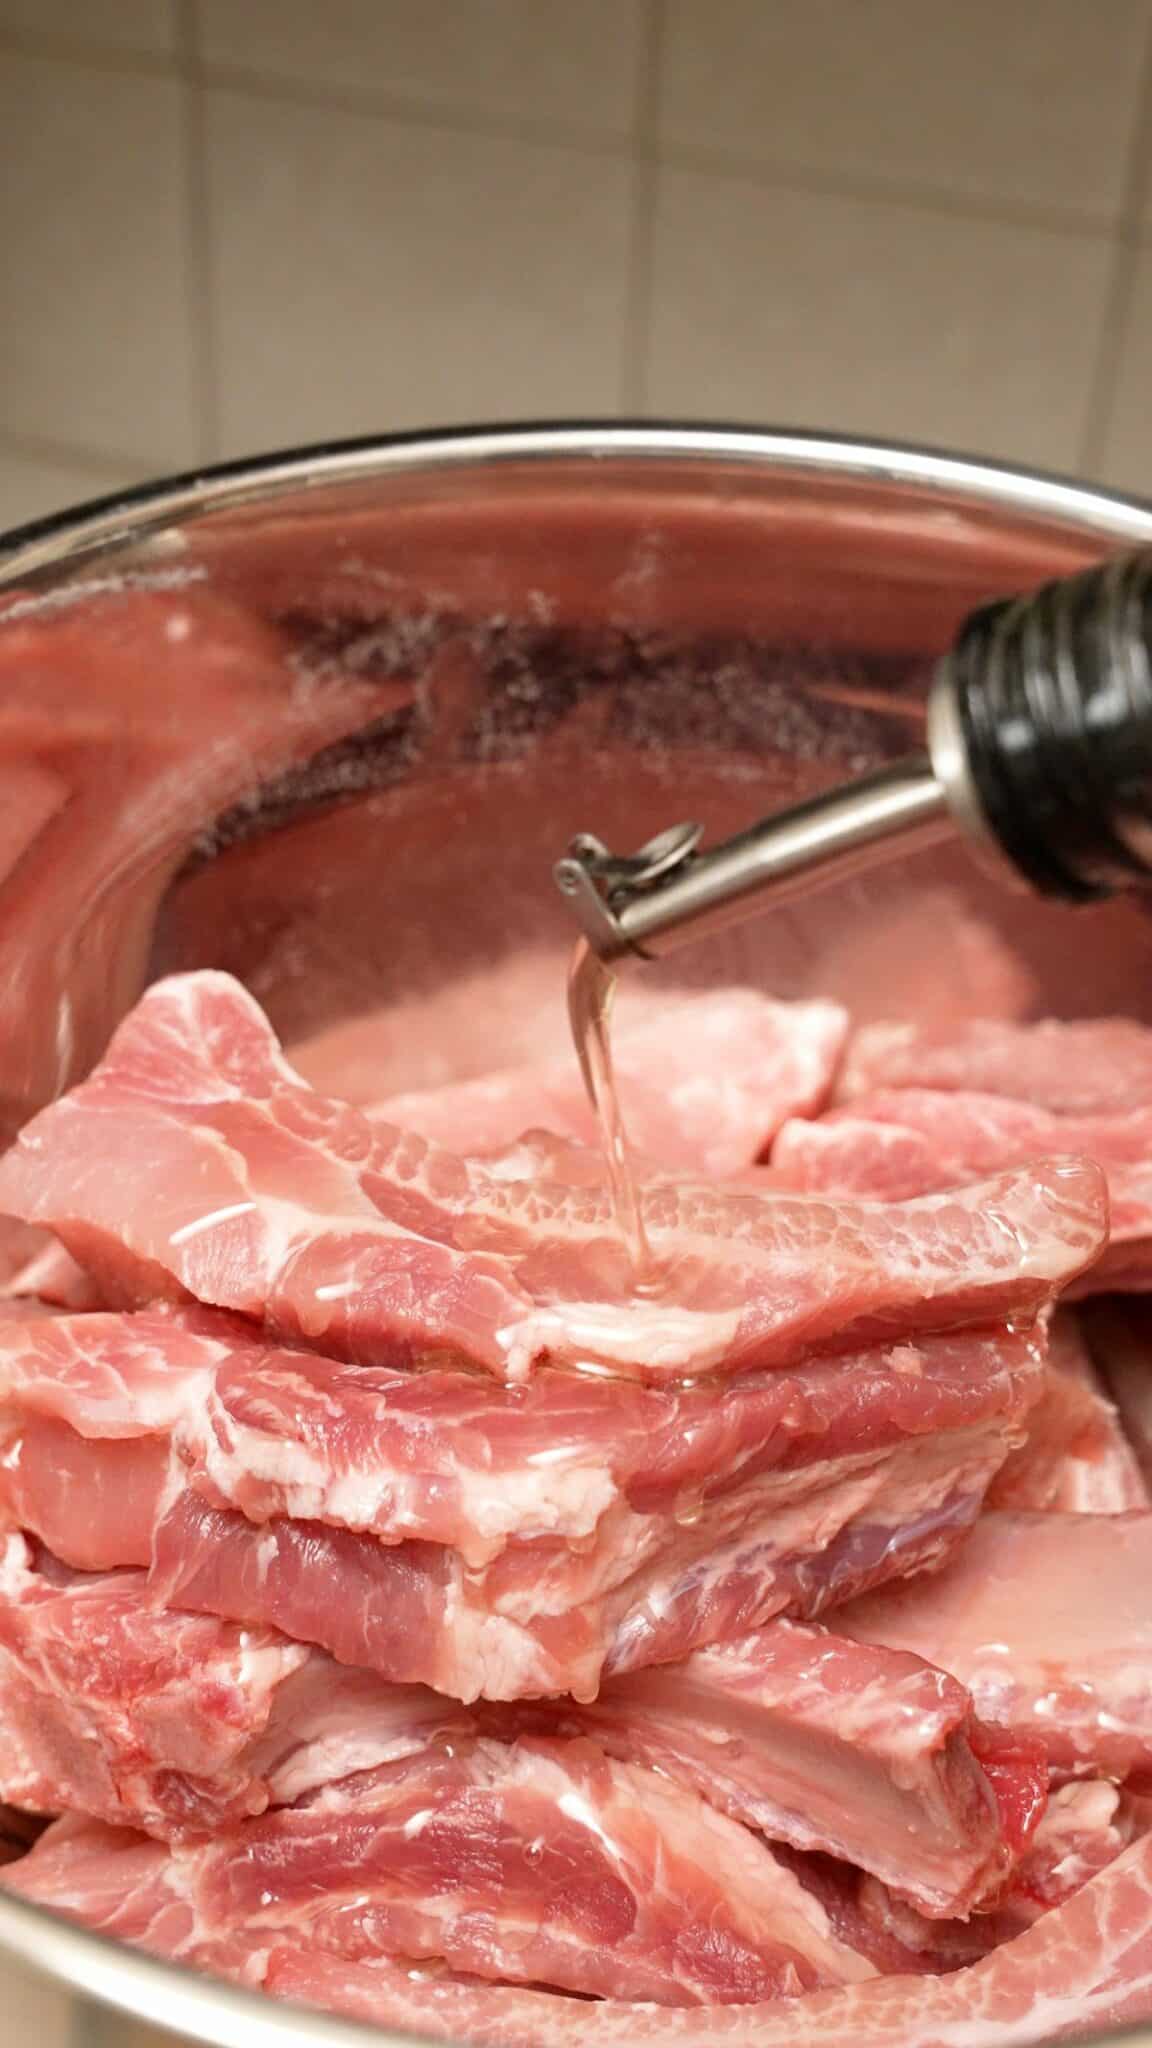
Add the ribs to a bowl and toss with 1 tbsp of avocado oil. The oil will act as a binder and help the seasonings stick to the ribs.
2. Season the Ribs
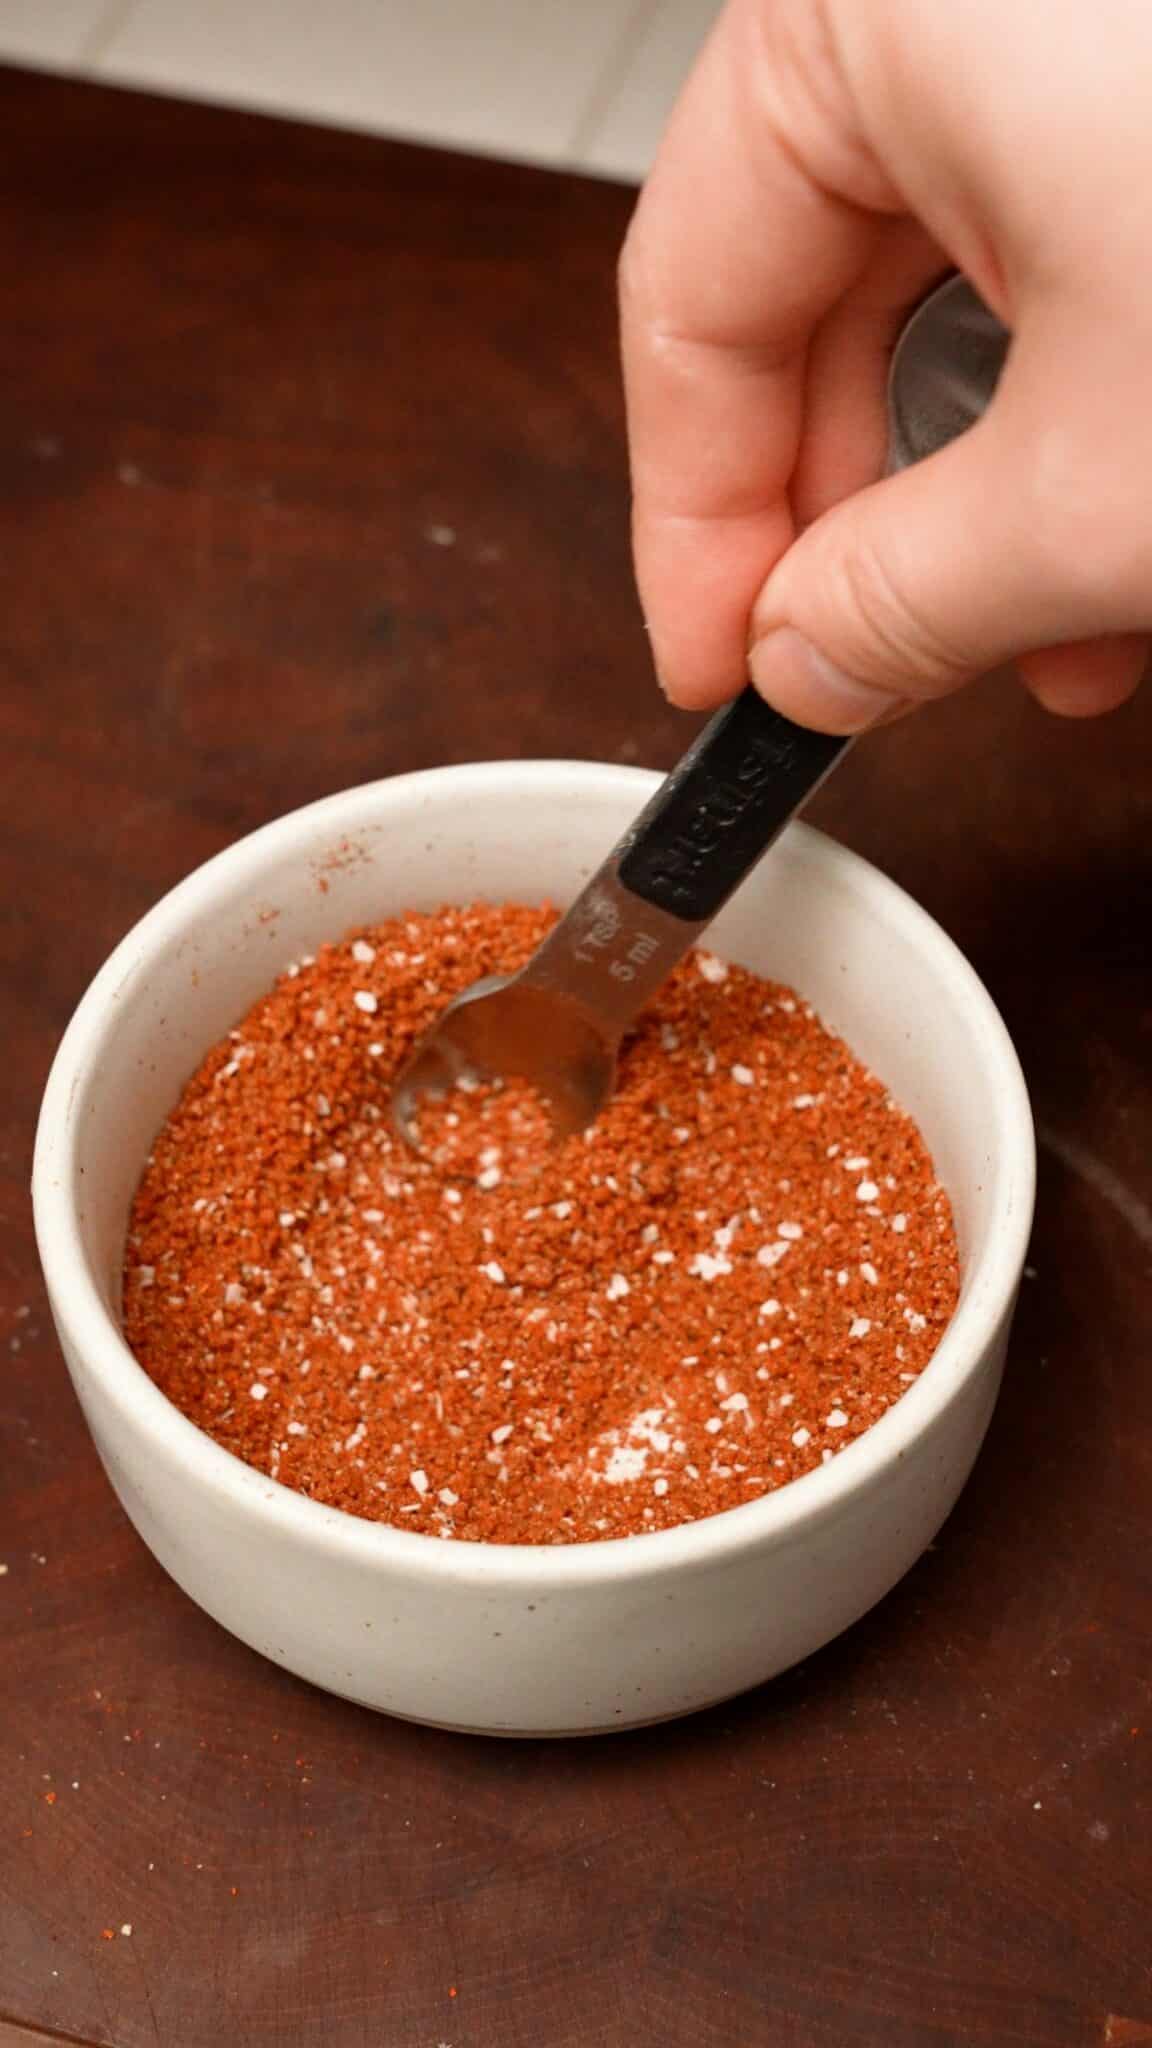
In a small bowl, mix together salt, pepper, garlic powder, onion powder, paprika, cayenne pepper, and brown sugar.
Add the seasoning mixture to the ribs in the bowl. Toss to coat the ribs evenly. I like to take my time and check to make sure each rib is seasoned well.

3. Bake the Ribs
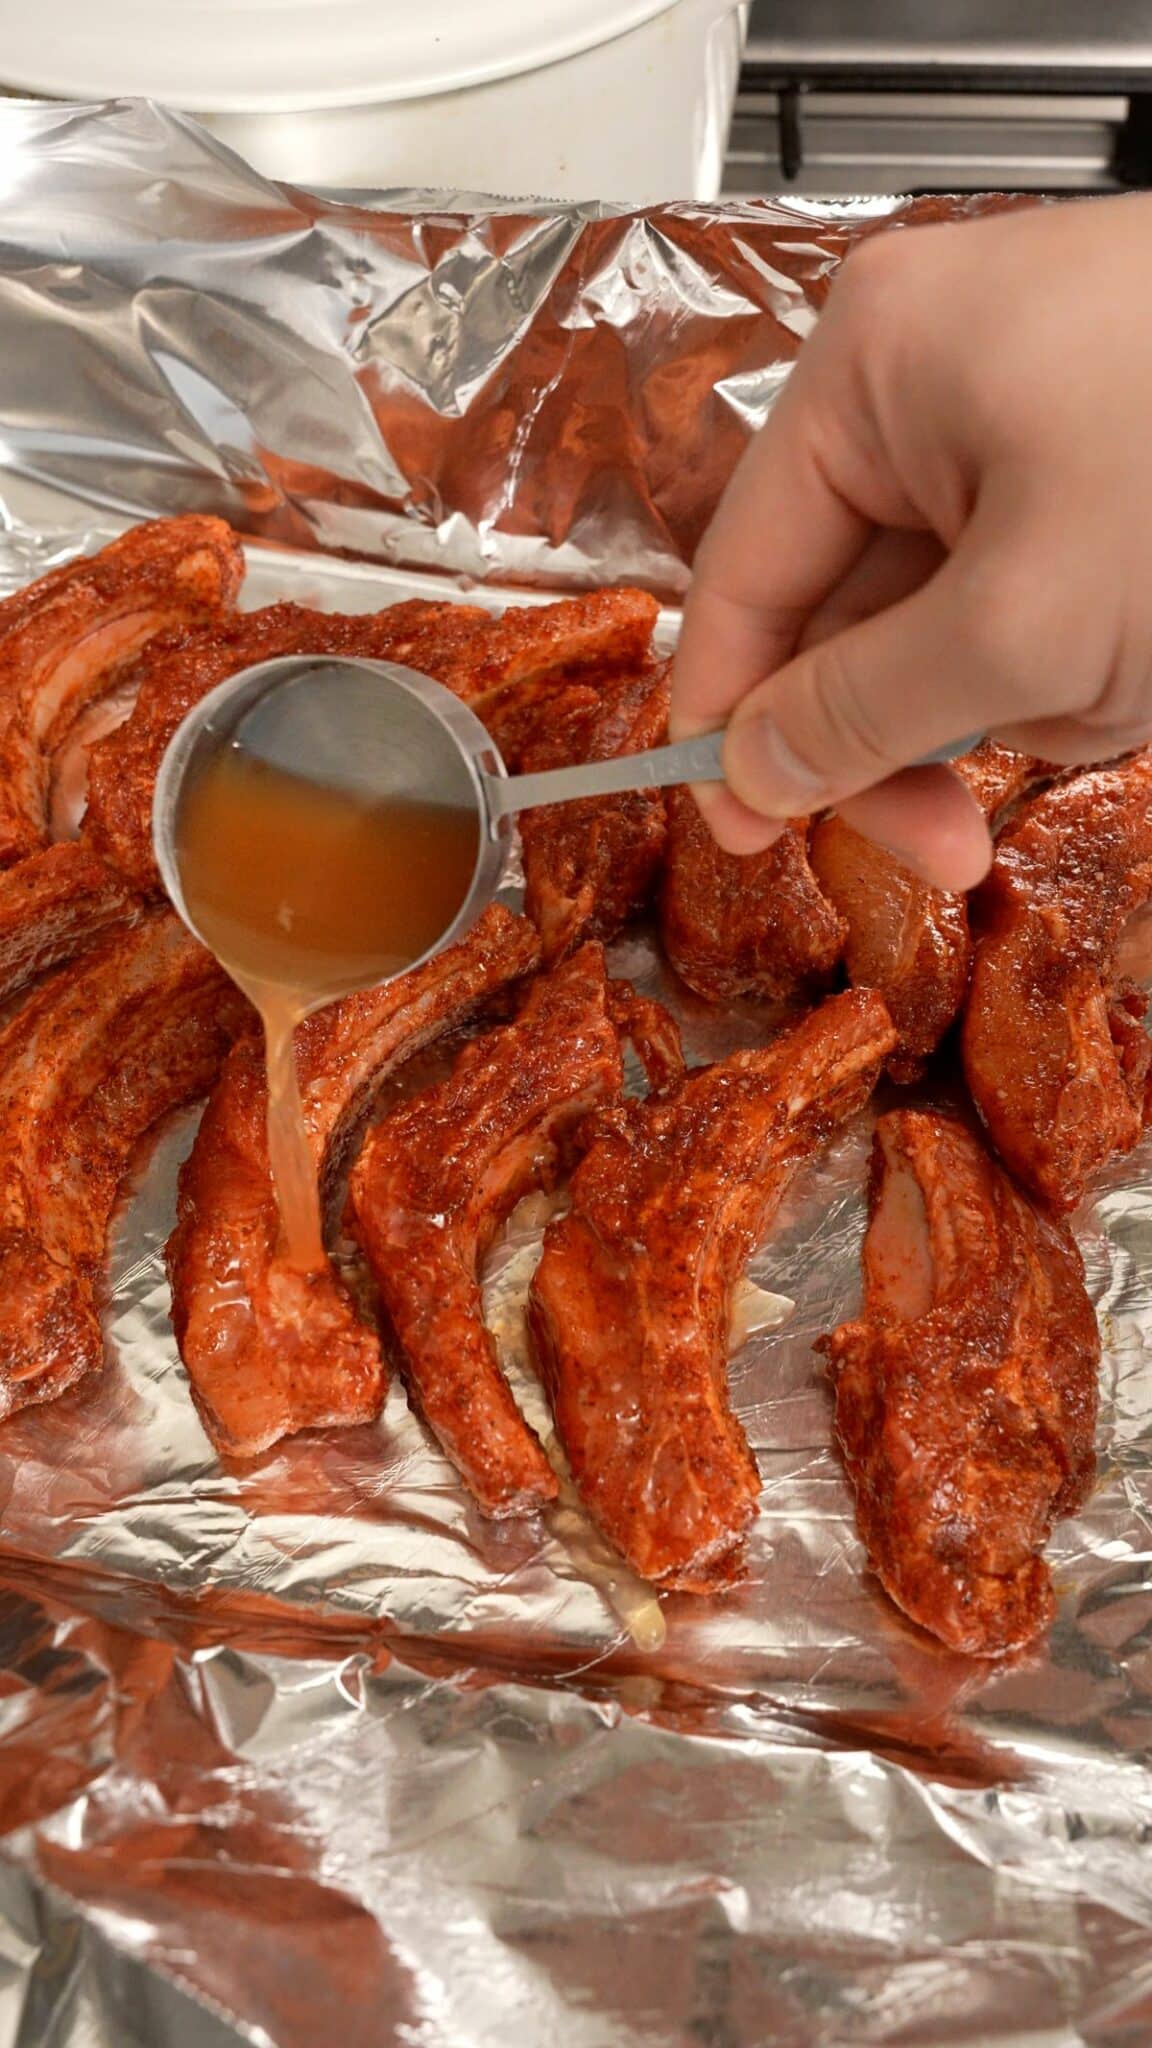
Take a baked sheet and double line it with foil to prevent any leakage during baking. Place the seasoned ribs on top, spaced evenly, then add 1/4 cup of apple cider vinegar to the ribs. This liquid will help steam the ribs to make them fall-off-the-bone tender during baking.
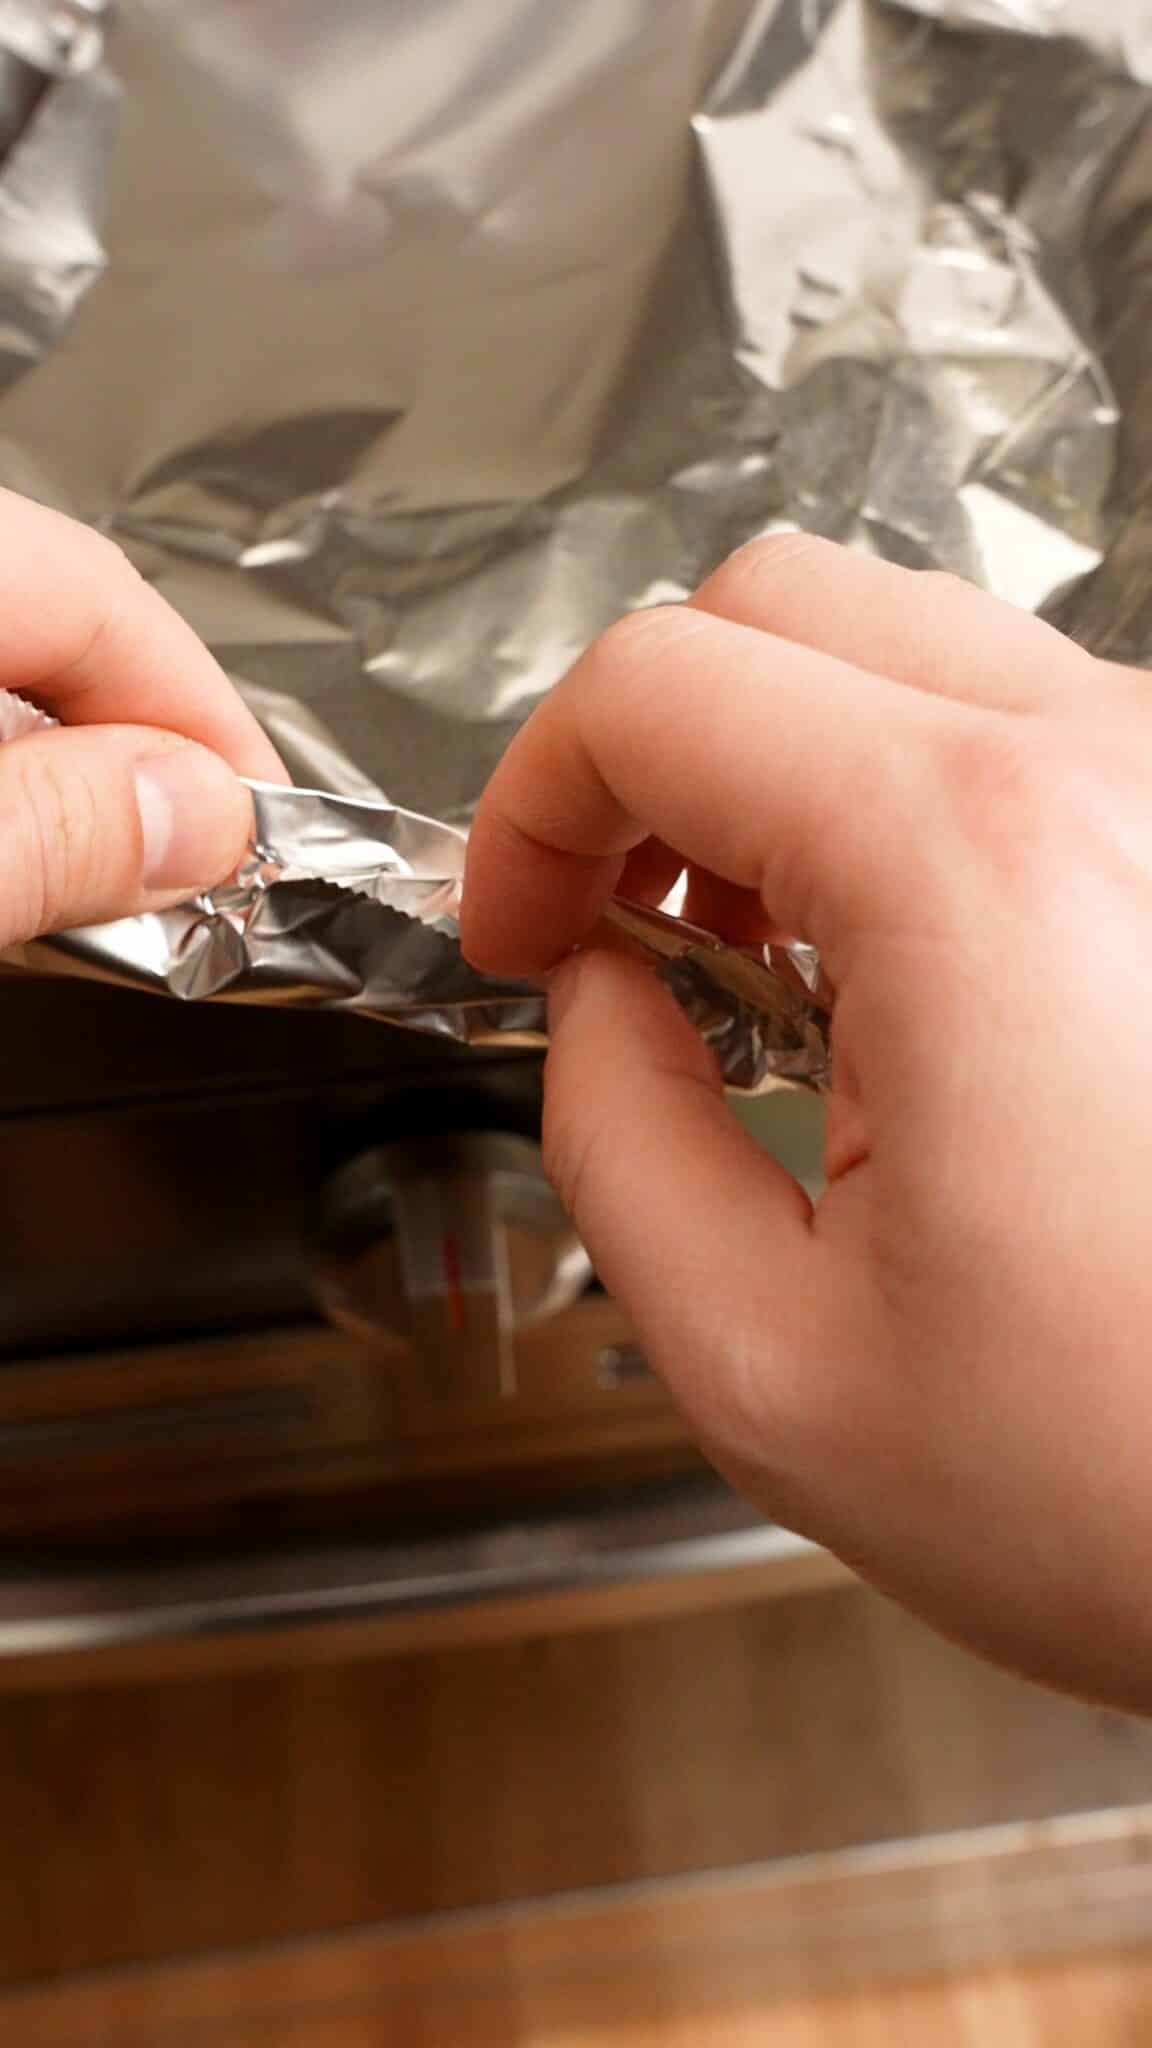
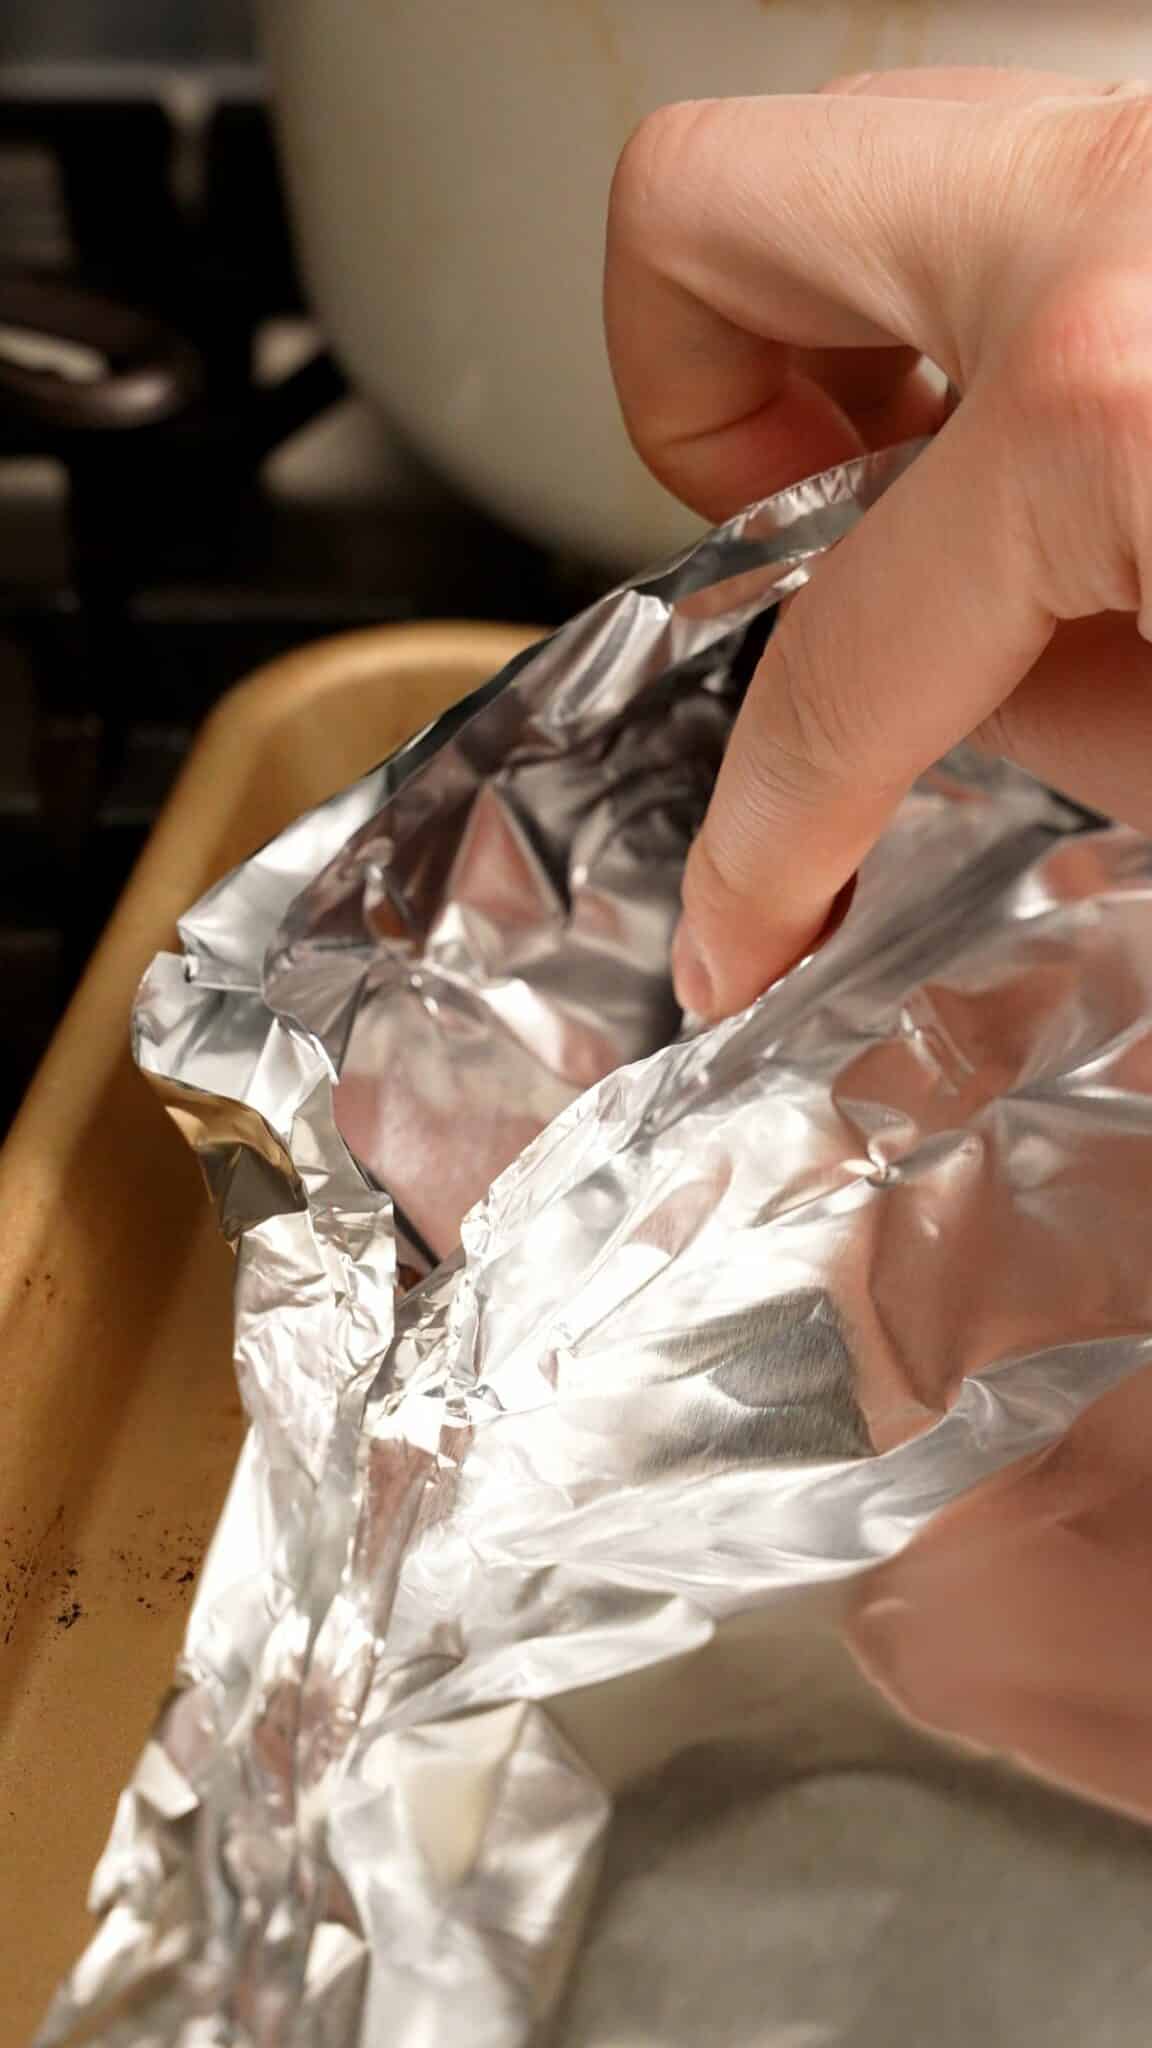
Take another piece of foil, longer than the baking sheet, and cover the ribs with it. Crimp the top layer of foil over the bottom sheet to seal it, keeping one corner open to allow steam to vent.
Bake at 300F for 90 minutes, or until the meat is easily able to be pulled off the bone.
4. Brush with Sauce and Broil
Remove the ribs from the oven and uncover.
Take Homemade BBQ Sauce or your favorite store bought sauce and brush the ribs on both sides.
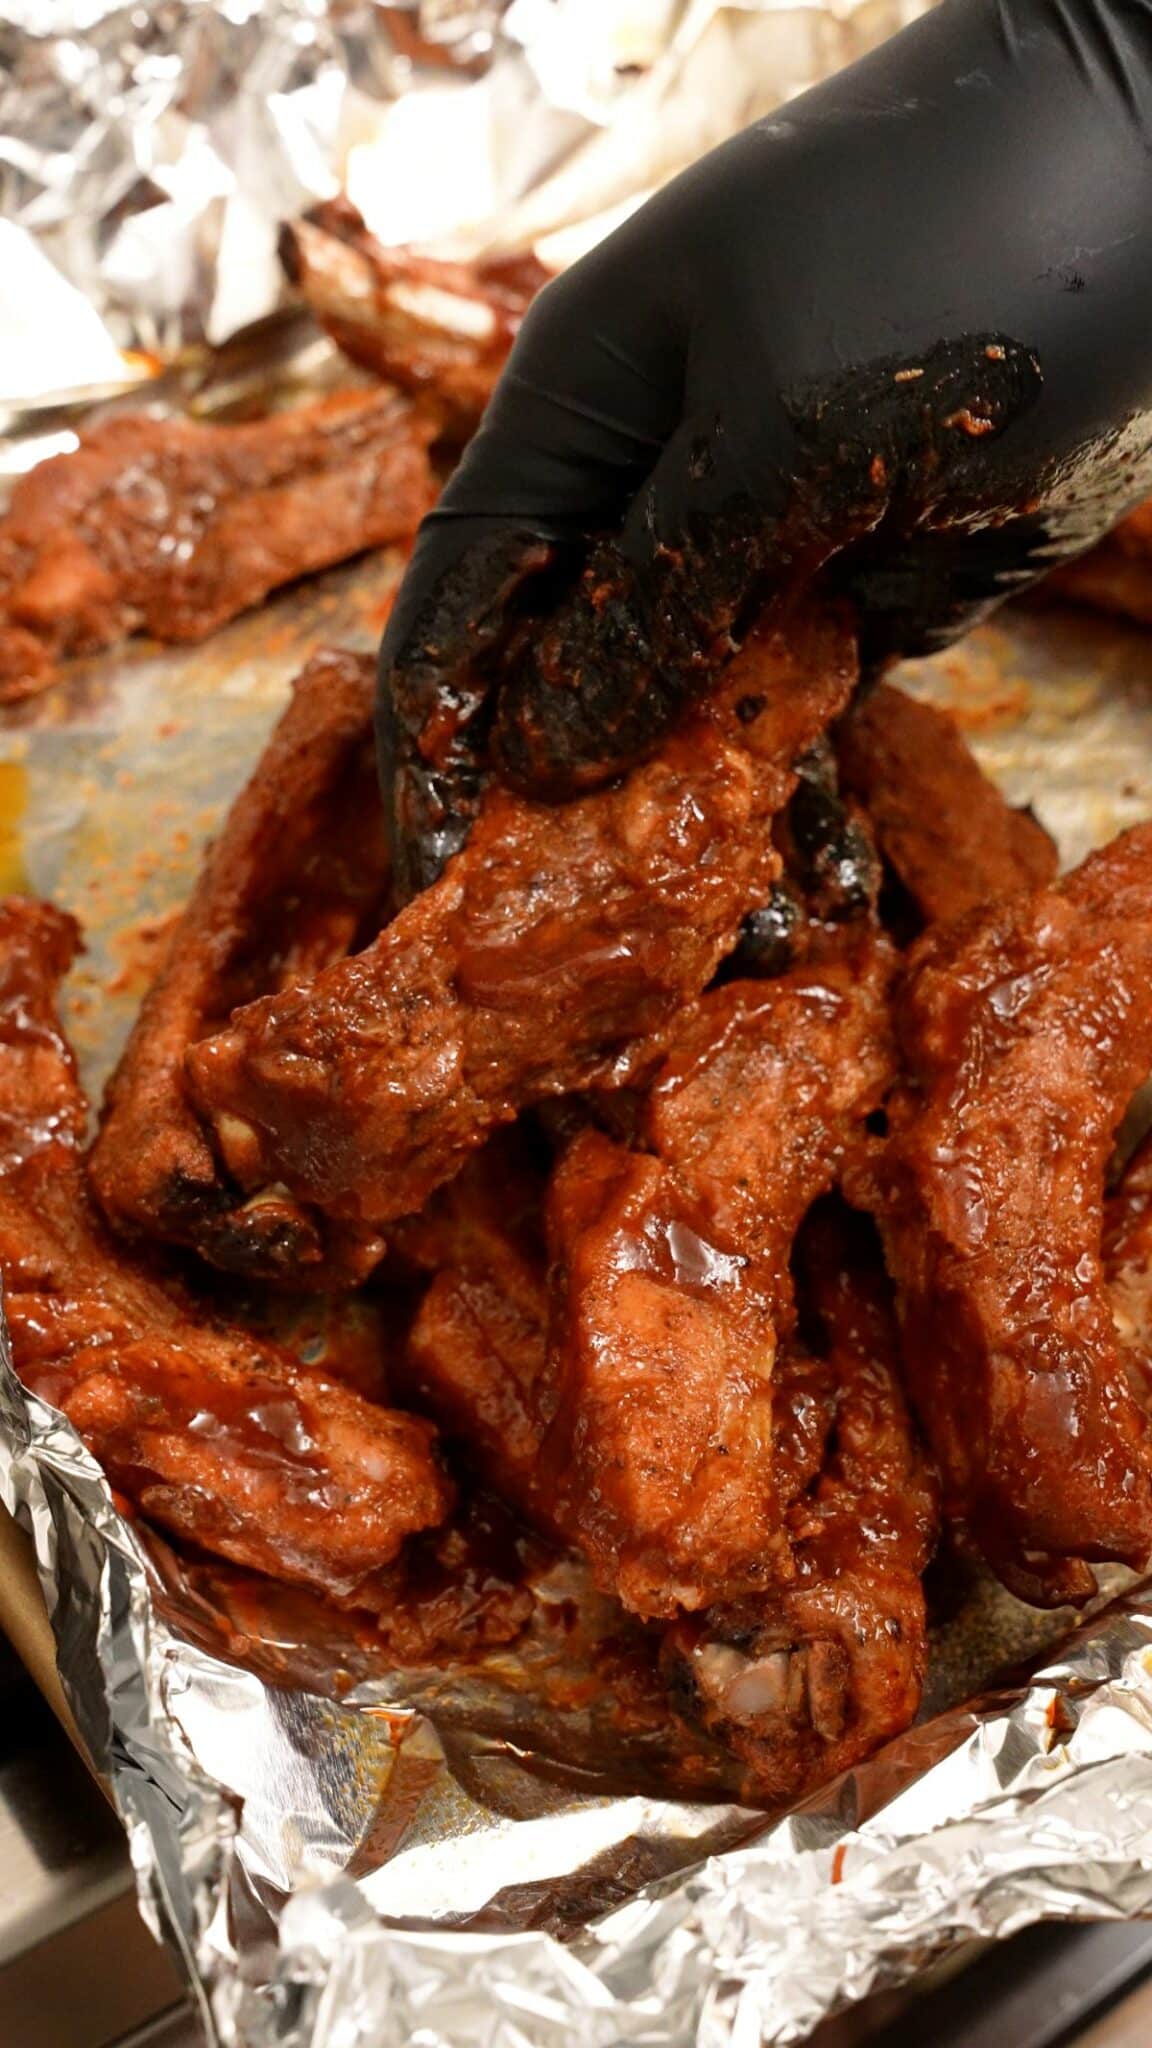
Bake at 350F for 5 minutes until the bbq sauce has become tacky and thickened on the ribs.
What Should I Serve with Oven Baked Ribs?
Oven Baked Ribs go perfectly with all of my favorite sides – imagine the table is set with Baked Mac and Cheese, Creamy Mashed Potatoes, Cheddar Biscuits and a Garlic Herb Compound Butter, and Roasted Brussels Sprouts or Roasted Green Beans with Bacon!
PRO TIPS
Expert Tips for Making The BEST Oven Baked Ribs at Home!
It’s important to remove the rib membrane for two reasons – keeping the membrane can sometimes lead to the ribs becoming chewy or rubbery, and removing the membrane also allows for seasoning the bottom of the ribs, which are oftentimes neglected. You want to season (and broil) both sides of the ribs for even flavor!
Here’s how to remove the membrane:
- Flip the ribs over so the membrane is facing you
- Use your finger (or a butter knife) to slide under the membrane – you only need a little to grab on to it
- Firmly pull the membrane up and across the ribs to remove!
Cutting up the ribs reduces the baking time by about an hour (vs. whole slab method), and it helps keep the shape of the ribs!
A binder is necessary to ensure the seasonings stick onto the ribs. You can use a neutral oil or 1 tbsp of mustard, which will give another depth of flavor to the ribs
Brush on my Homemade BBQ Sauce or your favorite premade BBQ seasoning!
Broil the ribs for 3-4 minutes on one side – take the ribs out of the oven and flip them and broil again for 3-4 minutes. Don’t skip broiling the bottom of the ribs – you want both sides to get broiled until charred and sticky. Enjoy!
Storage, Reheating, and Make Ahead Tips
Store any leftover ribs in an airtight container in the refrigerator for up to 3 days.
I like to reheat any leftover ribs in the air fryer at 350F for 6-7 minutes or in the oven for 15 minutes until warmed through.
I don’t personally like to make these ahead of time – I’ve noticed that sometimes, reheating can lead to the ribs slightly drying out. The most I would do is prepare the ribs (remove the membrane and cut to separate) in advance and keep them wrapped in plastic or in an airtight container until you’re ready to bake them.
If you tried this Oven Baked Ribs Recipe or any other recipe on my website, please leave a 🌟 star rating and let me know how it went in the comments below!
Oven Baked Ribs (BEST Method!)
Video
Ingredients
- 1 rack baby back ribs
- 1 tbsp avocado oil
- ½ tbsp kosher salt
- 1 tsp black pepper
- ½ tsp garlic powder
- ½ tsp onion powder
- 2 tsp smoked paprika
- 1 tsp chili powder
- ½ tsp cayenne pepper
- ¼ cup brown sugar
- 1/4 cup apple cider vinegar
Instructions
- Preheat the oven to 300F.
- Pat the ribs dry with a paper towel then remove the membrane if still attached. Cut the ribs evenly between the bone to create individual ribs then add to a bowl and toss with 1 tbsp of avocado oil.
- In a small bowl, mix together salt, pepper, garlic powder, onion powder, paprika, cayenne pepper, and brown sugar.
- Add the dry seasonings to the ribs and toss to coat the ribs evenly.
- Place the ribs on a double foil lined baking sheet. Add the apple cider vinegar to the bottom of the pan. Cover the ribs with another layer of foil and crimp the edges closed, leaving one corner open to vent. Bake in the center rack of the oven for 90 minutes.
- Remove the ribs from the oven and uncover. Remove the ribs to a plate and drain the excess liquid from the foil. Return the ribs to the foil and lather with your favorite BBQ sauce. Bake at 350F for 5 minutes until the bbq sauce has become tacky and enjoy.
Notes
Nutrition
Nutrition information is automatically calculated, so should only be used as an approximation.