This post may contain affiliate links. Please read our disclosure policy.
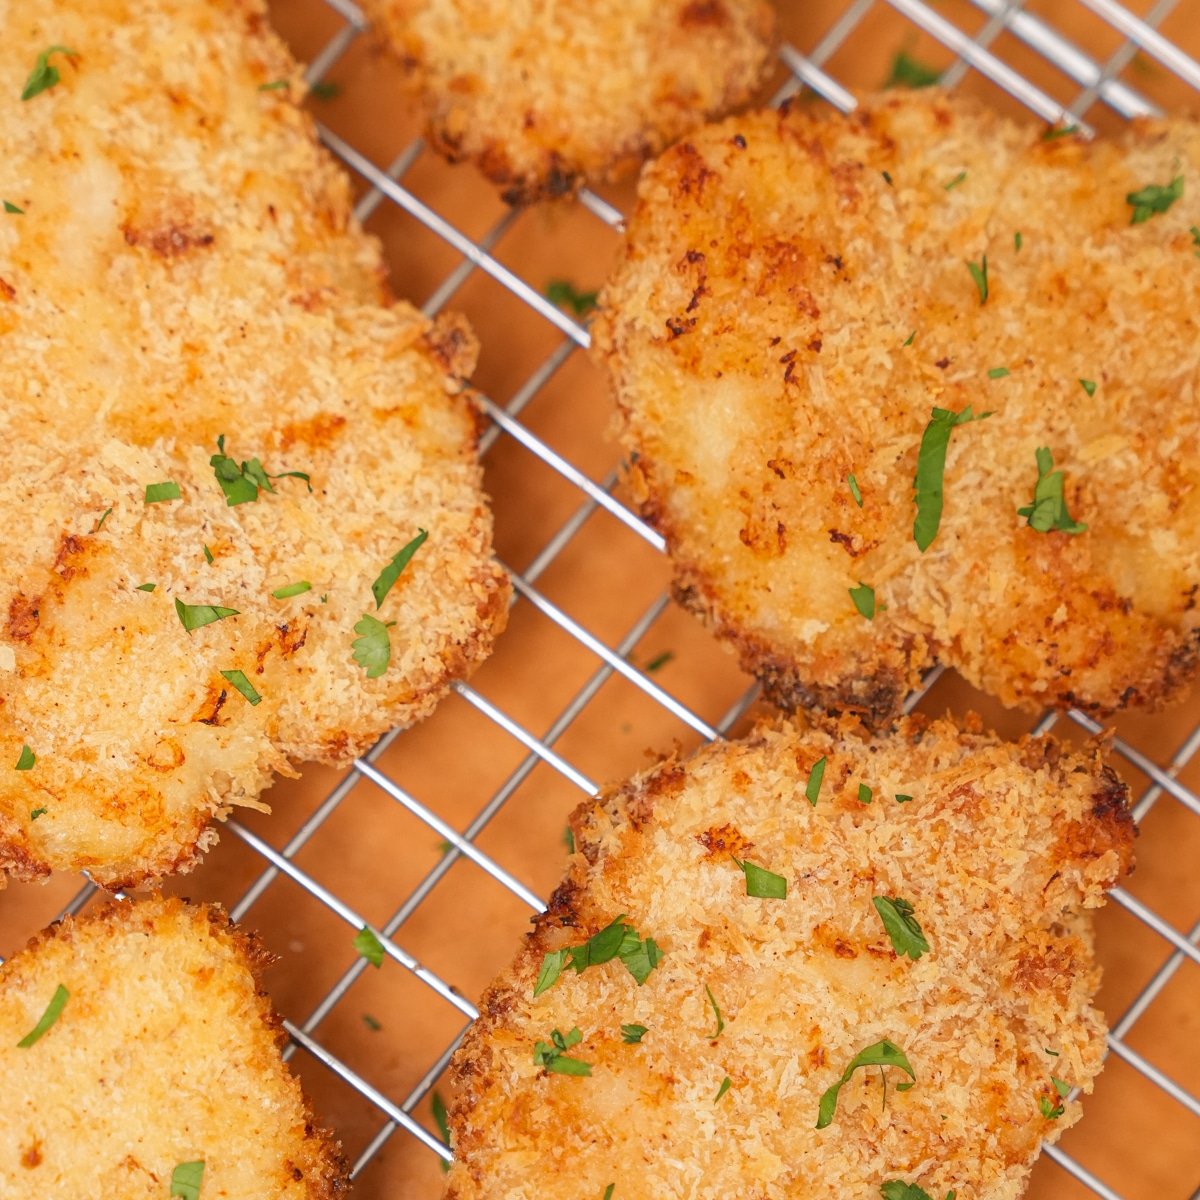
These crowd pleasing Air Fryer Chicken Tenders are a wonderful weeknight dinner option that the whole family is guaranteed to enjoy! The end result is a perfectly juicy interior and an extra crispy exterior to dip in your favorite sauce (like my Raising Cane’s Sauce) or enjoy on their own!
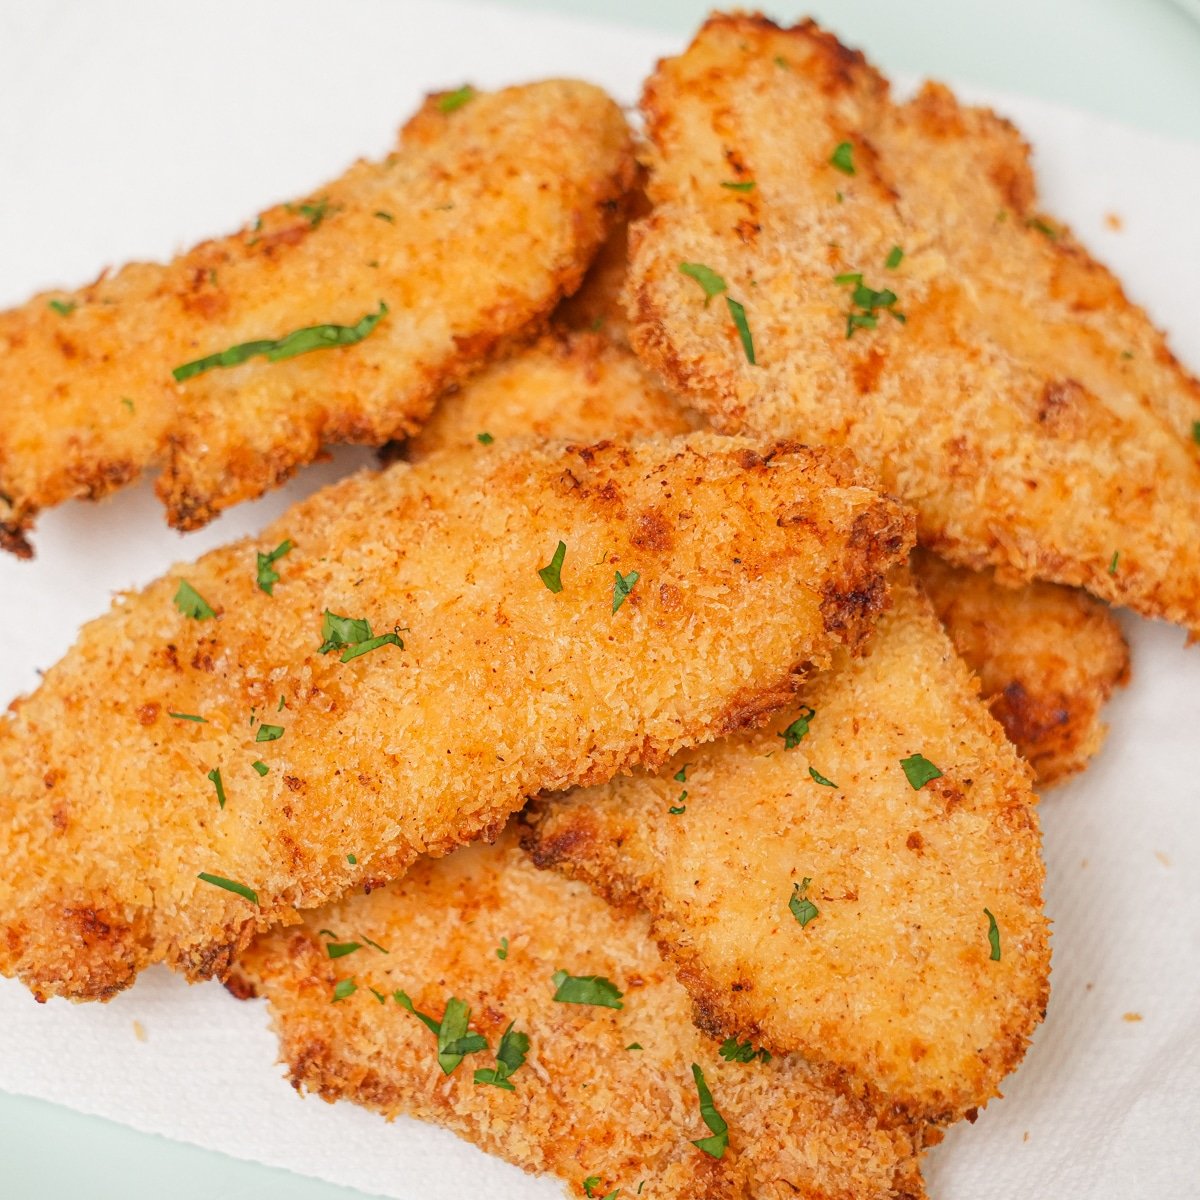
Watch the Air Fryer Chicken Tenders Recipe Video Below!
Table of Contents
- Watch the Air Fryer Chicken Tenders Recipe Video Below!
- Why These Air Fryer Chicken Tenders Are Better Than The Rest
- Why You Should Brine Your Chicken
- Ingredients for Air Fryer Chicken Tenders
- Air Fryer Chicken Tenders: Recipe Instructions
- Storage Tips
- Top Cooking Tips for Crispy Chicken Tenders
- What to Serve with Air Fryer Chicken Tenders
- Delicious Sauces For Dipping Air Fryer Chicken Tenders:
- Air Fryer Chicken Tenders (Extra Crispy!) Recipe
Why These Air Fryer Chicken Tenders Are Better Than The Rest
- Extra juicy AND crispy: Brining the chicken tenders for just 30 minutes allows for the meat to retain more moisture, acting as a safeguard to allow for the exterior to get extra crispy at higher temperatures in the air fryer, just like my Air Fryer Crispy Pork Belly!
- Healthy: These Air Fryer Chicken Tenders don’t require any deep frying due to the air fryer. I use a neutral oil spray like avocado oil to lay a light coating to allow the panko breadcrumbs to get extra crispy. I use a similar method in my Air Fryer Taiwanese Popcorn Chicken or my Air Fryer Chicken Katsu to get a super crispy exterior! For the chicken wing lovers, try my Air Fryer Chicken Wings! If you have bone-in chicken thighs, my Air Fryer Chicken Thighs recipe comes out perfectly every time!
- Easy to prepare ahead of time: A large batch can be made ahead of time and stored in the refrigerator or freezer to pop in the air fryer and make whenever you need them!
- Great with anything: You can pair these with a delicious side of Baked Mac and Cheese or some simple Roasted Green Beans with Bacon for a weeknight dinner that will be a family favorite!
Want a non-meat alternative? Try my super crispy Air Fryer Tofu!
Why You Should Brine Your Chicken
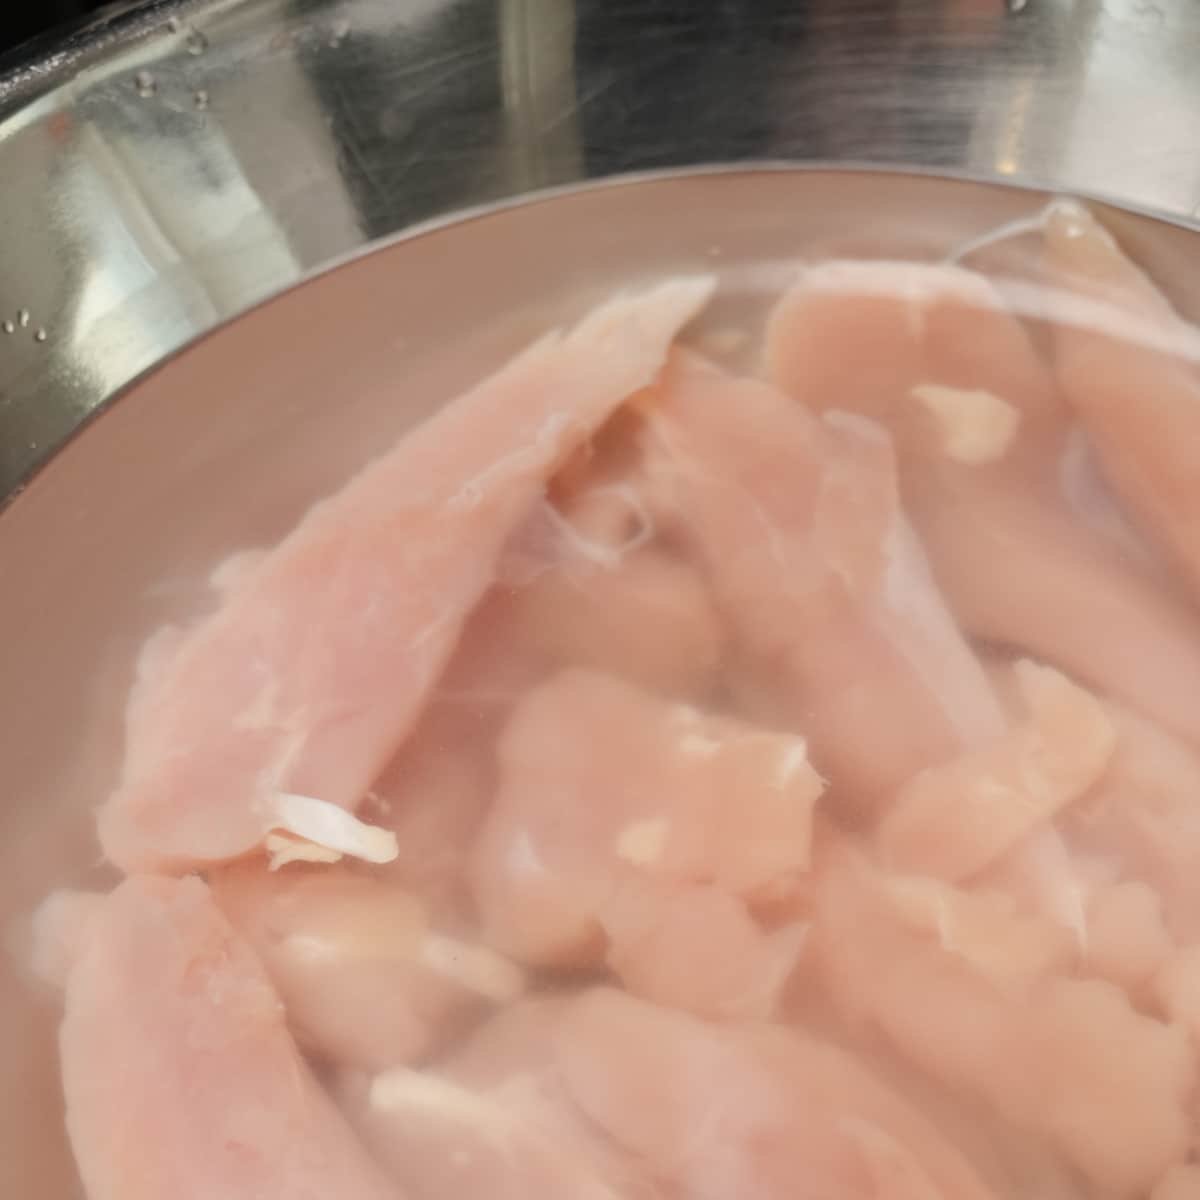
To me, there is nothing worse than a dry, under seasoned chicken tender (we’ve all had them!). Brining means to submerge meat in a seasoned water solution for that meat to absorb which keeps it juicy and flavorful. While this step can be optional if you are short on time, I highly recommend you brine your chicken for two reasons:
- The brining solution absorbs into the chicken which adds moisture to the meat and keeps it extra juicy during the air frying process!
- The extra moisture from brining the chicken allows for you to air fry the exterior for longer and at a higher temperature, ensuring an extra crispy exterior while keeping the chicken moist.
If you are short on time or don’t want to deal with the extra water or bowl, at a minimum I suggest sprinkling the chicken with a 2:1 ratio of salt and sugar and letting that absorb into the chicken while you prepare the other ingredients. It will make a difference!
Ingredients for Air Fryer Chicken Tenders
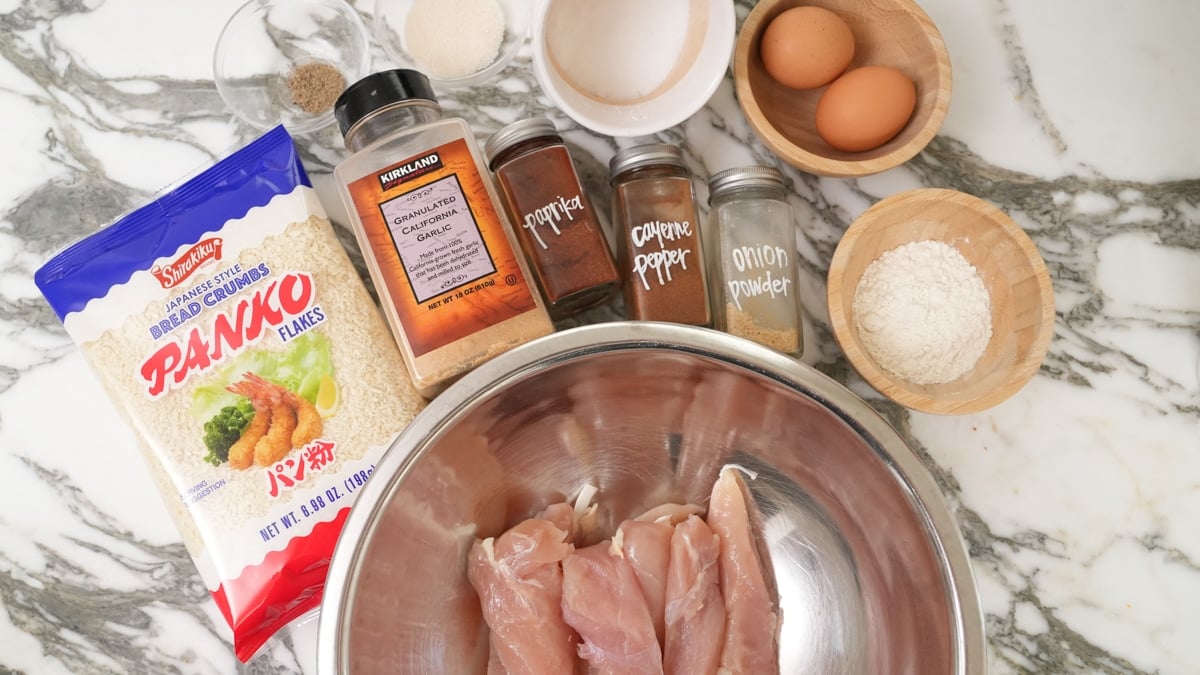
- Panko Breadcrumbs: Panko Breadcrumbs are one of my favorite types of breading for the air fryer. Their coarse texture and initial crispiness make for an ideal exterior when less oil is used like in this recipe.
- Eggs & Flour: When eggs are combined with flour, this will allow the breading to stick to the chicken strips. If you don’t have flour available, substitute the flour with potato starch to get the same effect!
- Chicken Tenders: You can easily find chicken tenders (sometimes called chicken tenderloins) in your local supermarket. I prefer to by air chilled chicken tenders, even though they are a little more expensive, because they are not pre-packed with water – the cheaper varieties are intentionally filled with water and you end up paying for it through the weight of the chicken!
- Spices: I opt for a spice mix of kosher salt, black pepper, garlic powder, onion powder, paprika, and cayenne pepper for my chicken. You can customize this to however you’d like!
Air Fryer Chicken Tenders: Recipe Instructions
1. Brine The Chicken Tenders
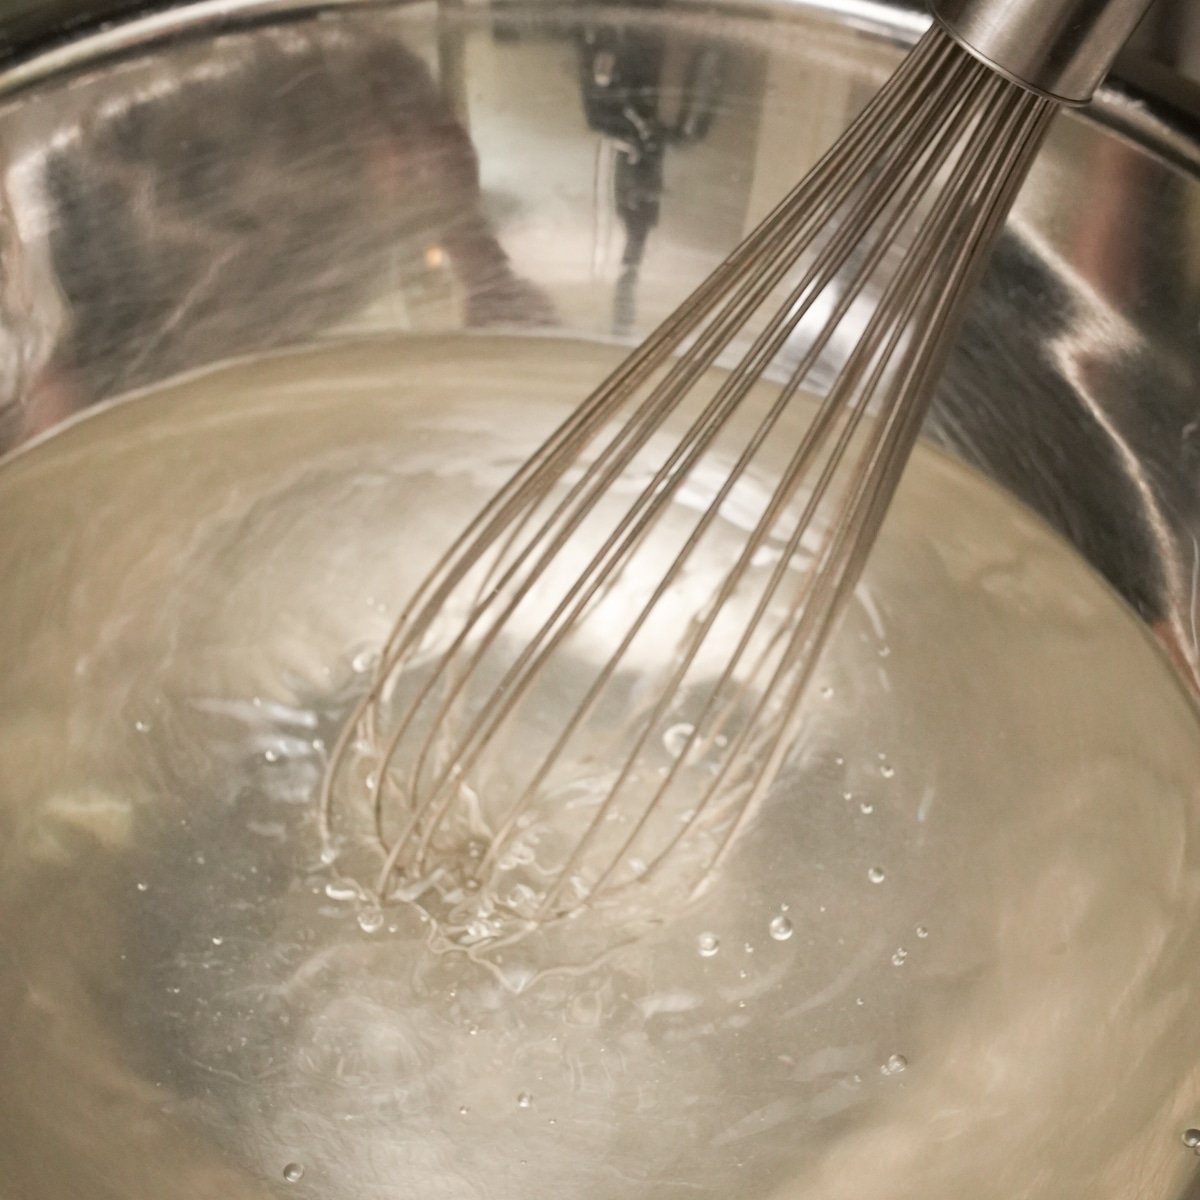
Mix together water, kosher salt, and sugar in a large bowl until the salt and sugar is dissolved. Submerge the chicken strips in the water and let brine for at least 30 minutes (or up to overnight for best results!).

2. Mix Together The Seasoning Mix
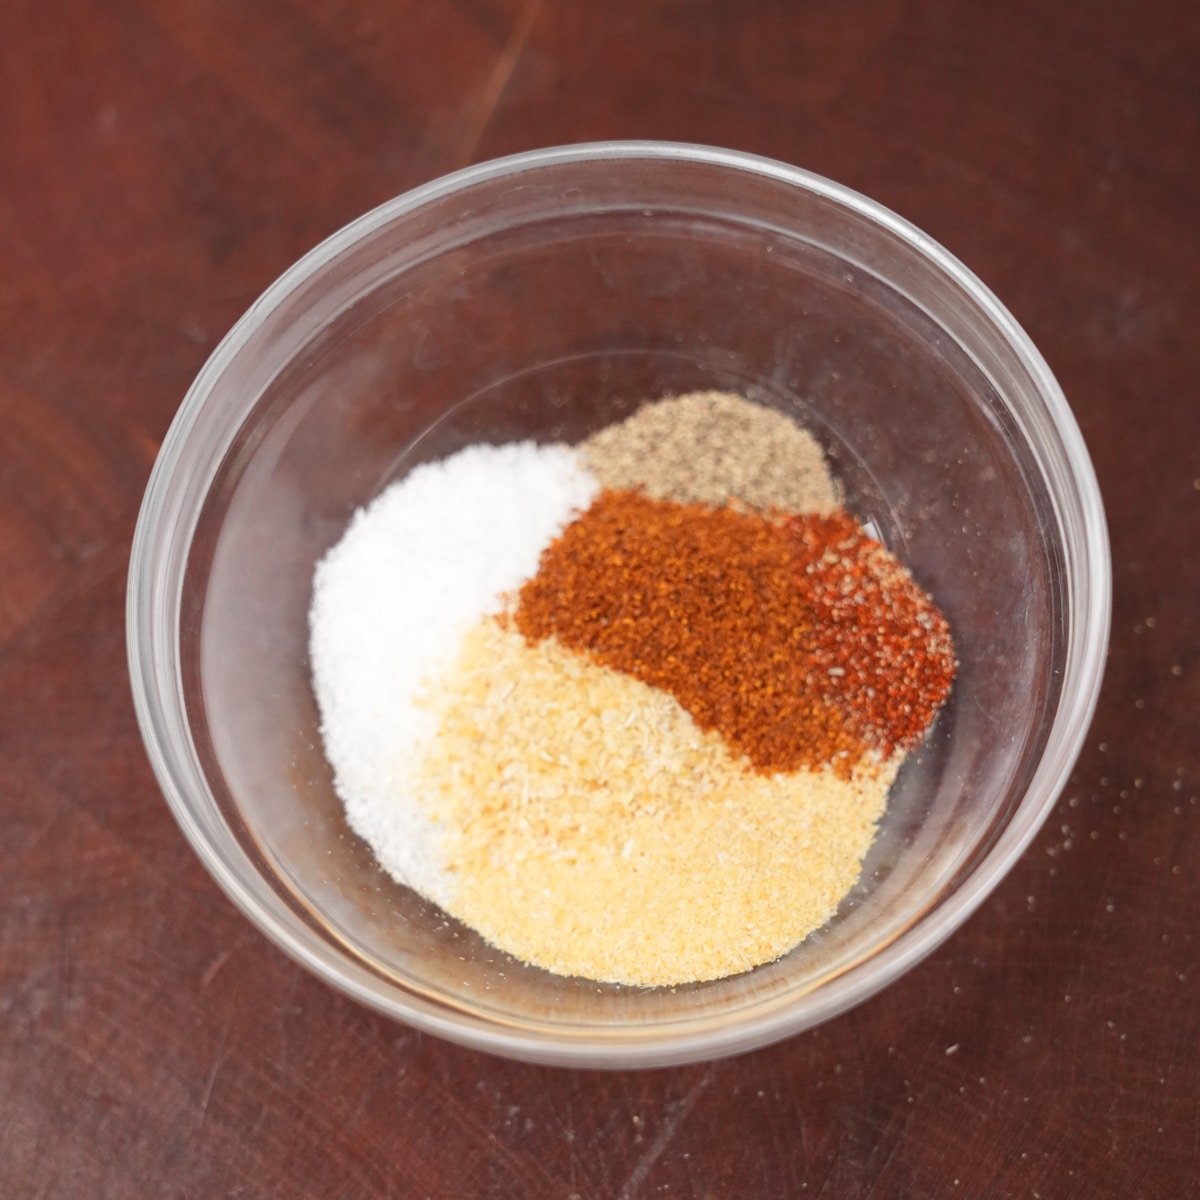
In a small bowl, mix together kosher salt, black pepper, garlic powder, onion powder, paprika, and cayenne pepper. You will have just over 3 teaspoons of the seasoning mix, which we will use in the wet batter and dry batter in the next steps.
3. Make The Wet Batter
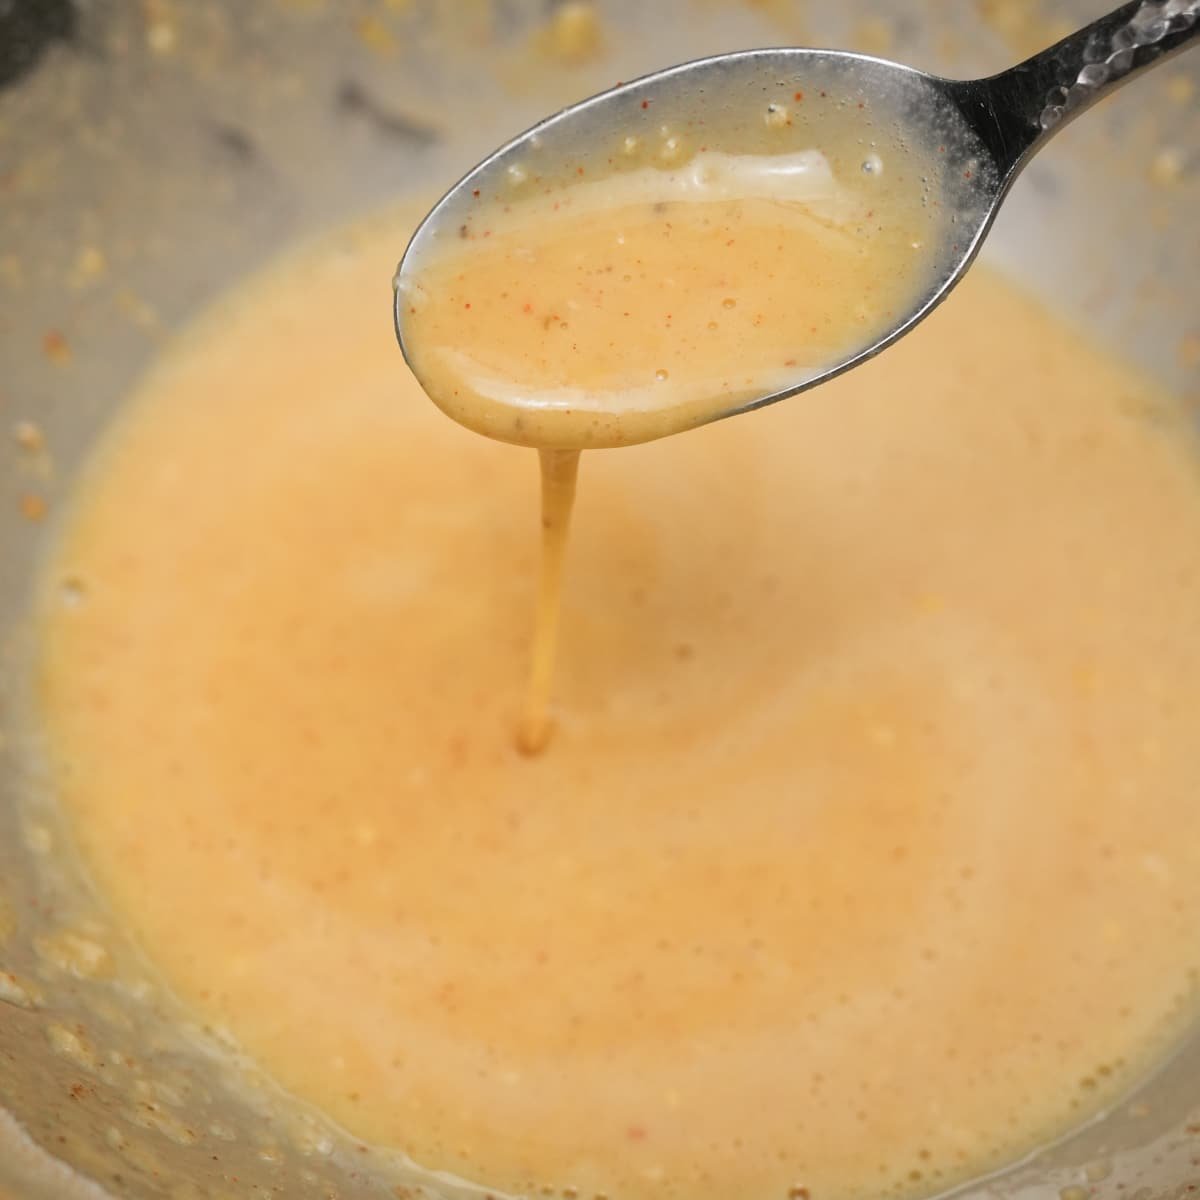
Mix the eggs, flour, and 1 teaspoon of the seasoning mix to make the wet batter for the chicken tenders. This wet batter will allow for the breading to stick to the chicken and give it another layer of seasoning! The consistency should be slightly looser than pancake batter, so if needed, add water 1 tablespoon at a time until you achieve the correct consistency (refer to the recipe video).
4. Season The Panko Breadcrumbs
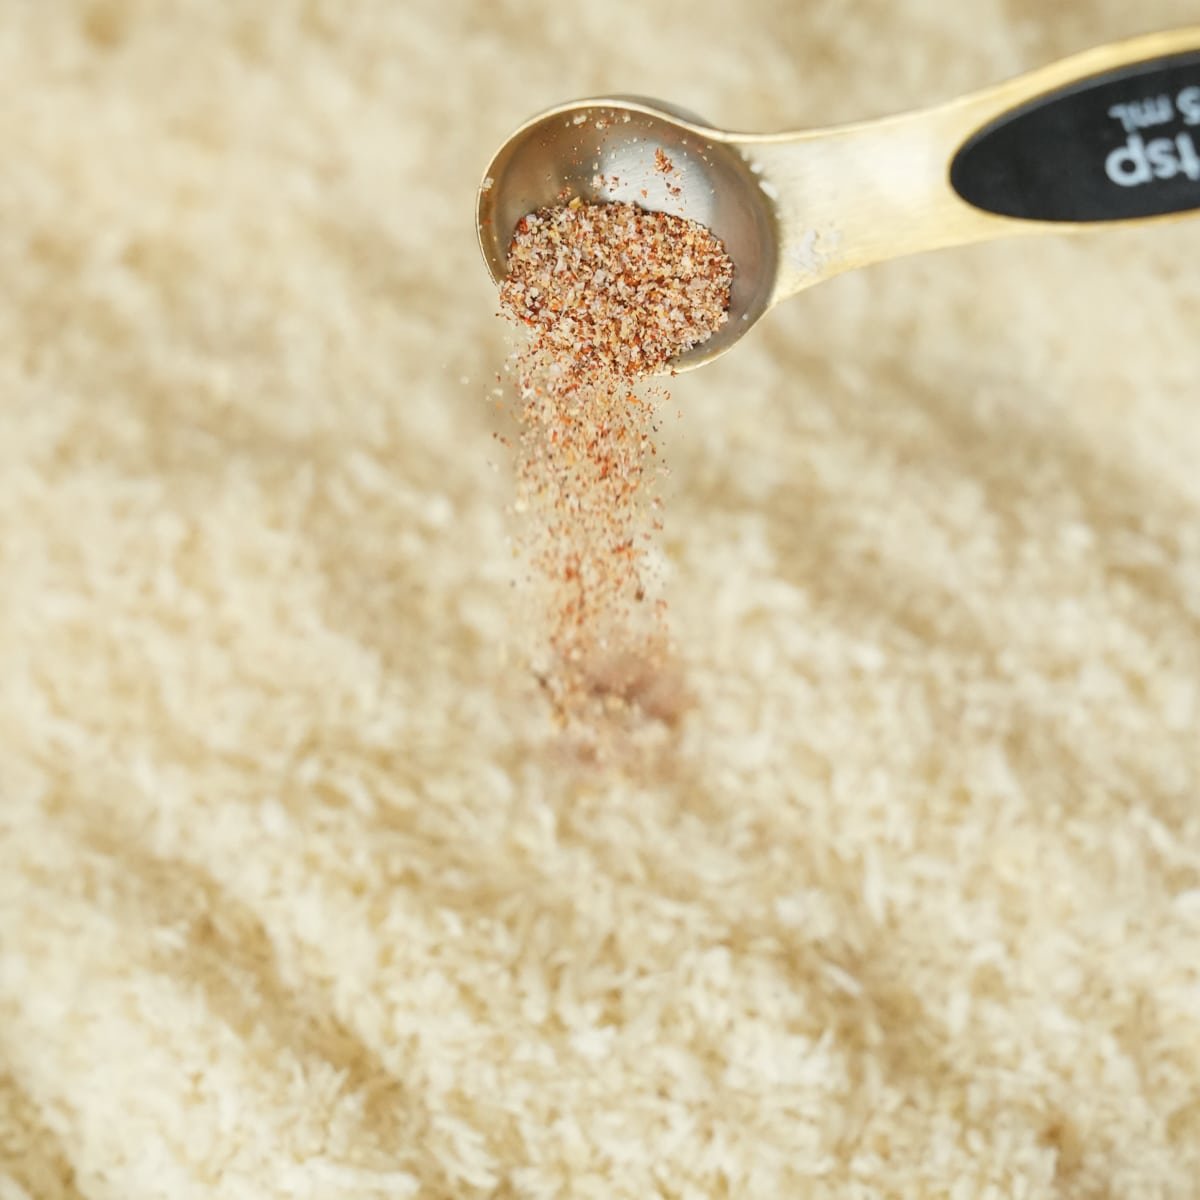
Add the remaining seasoning mix to a tray of panko breadcrumbs. Mix the spices with your hands into the panko breadcrumbs so they are evenly distributed.
5. Dredge The Chicken Tenders
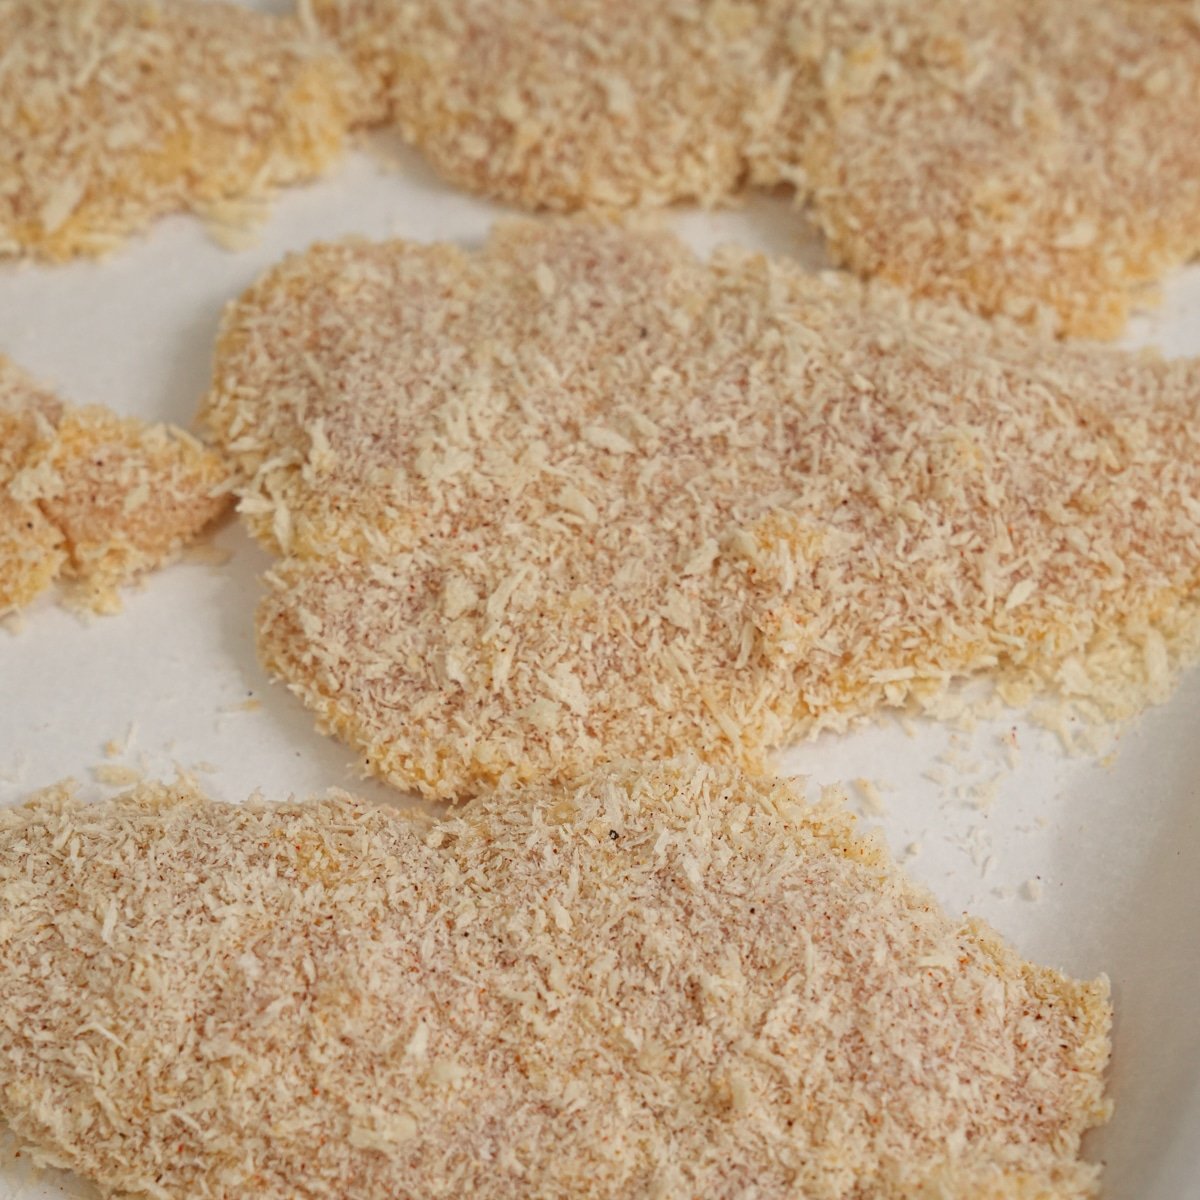
Remove the chicken tenders from the brining solution and pat them dry with a paper towel (important step!). Dip the chicken tenders in the egg mixture and let the excess batter drip off, then add them to the panko and press the breadcrumbs in firmly with your hands on all sides of the chicken tender. Spray the top side of the tenders with a neutral oil spray then heat to the air fryer!
My Pro Tip
Press the Breading Into The Chicken!
Do not be gentle when breading the chicken tenders in the panko. Use your hands to really press the panko breadcrumbs into the chicken, then shake off any excess. You should not see any bald or damp spots on the chicken tenders after the breading is added. This will ensure the breading does not fall off in the air fryer!
6. Air Fry The Chicken Tenders
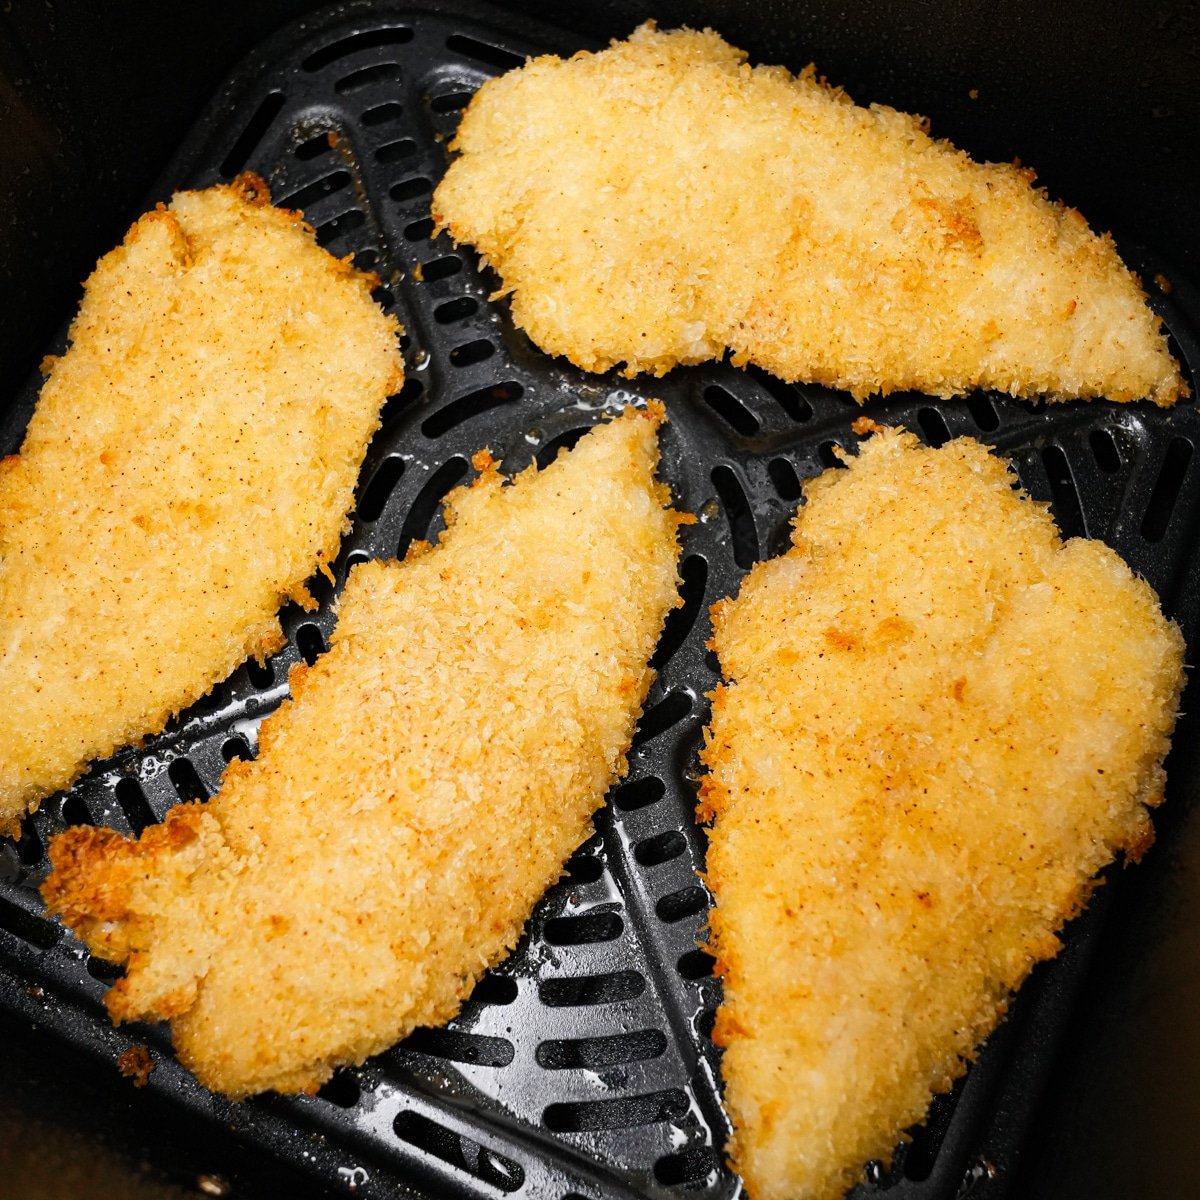
Place the chicken tenders in a single layer in the air fryer, with the side you just sprayed facing down. Spray the other side of the chicken tenders with another layer of spray and air fry at 400°F (200°C) for 8 minutes. Give them a flip then air fry again at the same temperature for another 4-6 minutes until the panko crust is golden and crispy!
Storage Tips
- In the Refrigerator: Store the cooked chicken tenders in an airtight container for 2-3 days. Reheat at 375°F for 4-5 minutes until warmed through and the exterior is crispy.
- In the Freezer: Freeze the uncooked chicken tenders in a single layer in the freezer until frozen solid. Place them in a freezer bag for up to 3 months. To cook, follow the same cooking instructions but add 2-4 minutes of extra cooking time after the first flip and ensure the internal temperature reads at least 165°F.
Top Cooking Tips for Crispy Chicken Tenders
- Prevent Soggy Chicken Strips: Ensure that you are patting the chicken dry after brining and using enough oil spray to cover all parts of the breading before air frying! These are my two key tips for preventing soggy chicken tenders.
- Adjust the seasonings to your preference: The seasoning mix I’ve created is simply a guide to how I make and enjoy my chicken tenders! You can easily swap or add more seasonings based on what you prefer! White pepper, dried parsley, rosemary, thyme, cumin, and mustard powder are great options as well!
- Cooking Times: Because air fryers vary by model and power, cooking times may vary. 8 minutes at 400°F should be your initial base line in the initial air fry. The 2nd air fry is where you can adjust the cooking time to get the chicken strips as crispy as you like!
What to Serve with Air Fryer Chicken Tenders
The best part about these Air Fryer Chicken Strips is that they go with pretty much anything!
Vegetables: Serve them with a simple vegetable like my Korean Broccoli Salad or Roasted Green Beans with Bacon for an easy side dish.
Pastas: These pair wonderfully with my Hawaiian Macaroni Salad or Baked Mac and Cheese for a delicious lunch or dinner option!
Sauce IDeas!
Delicious Sauces For Dipping Air Fryer Chicken Tenders:
While Ketchup, Mustard, and BBQ sauce might be the easy options, try some of my favorite sauces to dip these Air Fryer Chicken Strips in.
- Sweet & Spicy Korean Sauce: Make the sauce from my Korean Fried Chicken for a sauce that is sweet, spicy, and tangy!
- Sweet and Sour: My personal favorite! Try my Sweet and Sour Chicken or Sweet and Sour Pork recipes if you love it too!
- Honey Mustard: Tangy mustard combined with the sweet honey – what’s not to love!
- Sweet Chili Sauce: try the Sweet Chili Sauce from my Thai Sweet Chili Chicken Wings!
Air Fryer Chicken Tenders (Extra Crispy!)
Equipment
Ingredients
Chicken Tenders and Brining Solution
- 1.5 lb chicken tenders or chicken tenderloins
- 4 cups water
- 2 tbsp kosher salt
- 1 tbsp sugar
Seasoning Mix (For Wet Batter and Panko)
- 1 tsp salt
- ½ tsp black pepper
- ½ tsp paprika
- ½ tsp garlic powder
- ½ tsp onion powder
- ¼ tsp cayenne pepper
Wet Batter
- 3 tbsp all-purpose flour
- 2 large eggs
- 1 tsp Seasoning Mix, (refer to above)
- 1 tbsp water, if needed, to achieve the correct wet batter consistency
Breading
- 2 cups panko breadcrumbs
- 2 tsp Seasoning Mix, (refer to above)
- Neutral oil spray, such as avocado, canola, or vegetable oil
Instructions
- Mix water with kosher salt and sugar in a large bowl until they are dissolved. Submerge the chicken tenders in the solution and brine for 30 minutes or up to overnight in the refrigerator.
- In a small bowl mix salt, black pepper, paprika, garlic powder, onion powder, and cayenne pepper.
- In a separate large bowl, add flour, eggs, and 1 teaspoon of the seasoning mix. Mix well until the batter is slightly looser than pancake batter. If too thick, add 1 tablespoon of water at a time and mix until you reach the consistency shown in the video.
- On a large plate or pan, mix the panko breadcrumbs and the remaining seasoning mix.
- Remove the chicken tenders from the brining solution and pat them dry with a paper towel. Dip the chicken tenders in the egg & flour mixture then let the excess liquid drip off. Place the tenders in the panko breadcrumbs and pack the breading in well, pressing tightly with your hands. Lay them onto a parchment paper lined baking sheet or plate.
- Spray the top side of the chicken tenders with the neutral oil spray. Place the sprayed side face down in the air fryer basket and spray the other side of the chicken tenders. Air fry the chicken tenders at 400F for 8 minutes. Flip and air fry the chicken tenders again at 400F for another 4-6 minutes until the panko is golden and crispy.
Notes
- In the Refrigerator: Store the cooked chicken tenders in an airtight container for 2-3 days. Reheat at 375°F for 4-5 minutes until warmed through and the exterior is crispy.
- In the Freezer: Freeze the uncooked chicken tenders in a single layer in the freezer until frozen solid. Place them in a freezer bag for up to 3 months. To cook, follow the same cooking instructions but add 2-4 minutes of extra cooking time after the first flip.
- Brine your chicken – this adds moisture to the meat and keeps it extra juicy during the air frying process. You’ll be able to air fry the exterior for longer and at a higher temperature, ensuring an extra crispy exterior while keeping the chicken moist.
- If you are short on time or don’t want to deal with brining, at a minimum I suggest sprinkling the chicken with a 2:1 ratio of salt and sugar and letting that absorb into the chicken while you prepare the other ingredients. It will make a difference!
- Ensure that you are patting the chicken dry after brining and using enough oil spray to cover all parts of the breading before air frying! These are my two key tips for preventing soggy chicken tenders.
- Do not be gentle when breading the chicken tenders in the panko. Use your hands to really press the panko breadcrumbs into the chicken, then shake off any excess. You should not see any bald or damp spots on the chicken tenders after the breading is added. This will ensure the breading does not fall off in the air fryer!
- Cooking Times: Because air fryers vary by model and power, cooking times may vary. 8 minutes at 400°F should be your initial base line in the initial air fry. The 2nd air fry is where you can adjust the cooking time to get the chicken strips as crispy as you like!
Nutrition
Nutrition information is automatically calculated, so should only be used as an approximation.



When you mentioned super crispy, imagine the crackling sounds. 🤤 Going to try it out. Thanks for sharing.
@mylittlesunshine_lovely
Kiddos love these and I love that these don’t need to be deep fried but still turns out more delicious!!!
@sunshine.grays
Kaus.palejwala@gmail.com
I like less oil food, thanks
@irenewinata66
I like less oil food, thanks
Easy and yummy!
Ig @neezaa
nisa_109@hotmail.com
Delicious chicken tenders! Love all the air fried recipes and excited to keep making all the other recipes you have! Thank you for sharing your passion with all of us! @nataliyanasaruk
Yummy
Flavorful chicken!
Easy and Delicious @r_yr_y
Trying this tonight