The Best Homemade Chili Crisp (VIDEO)
This post may contain affiliate links. Please read our disclosure policy.
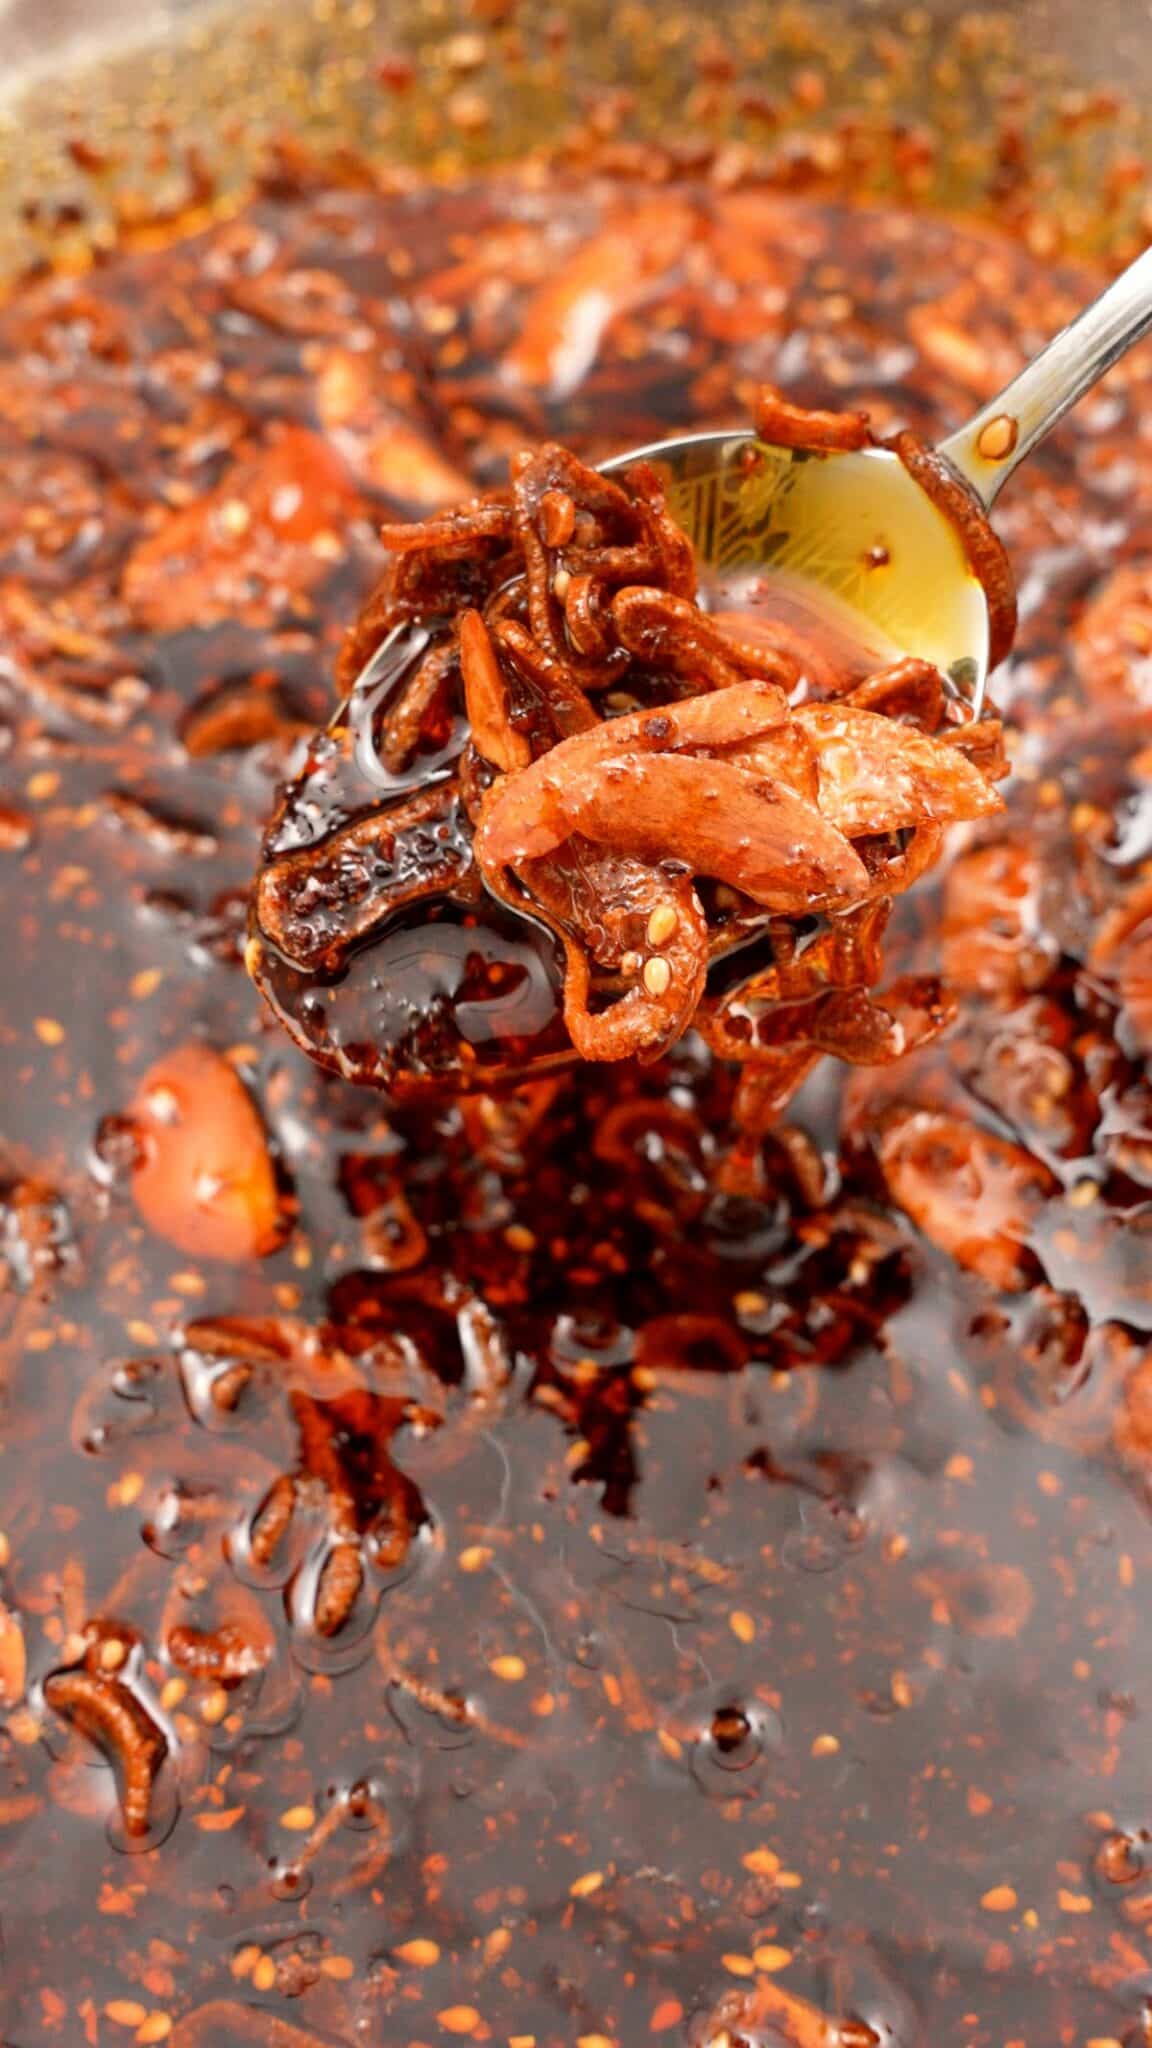
Homemade Chili Crisp is for the people who love Chili Oil but want even more texture and crunch! It has all the spicy, tingly, aromatic flavors of chili oil but is addictively crispy and crunchy with fried garlics and shallots!
Watch the Chili Crisp Recipe Video!
A Note from CJ
Better than store bought Chili Crisp!

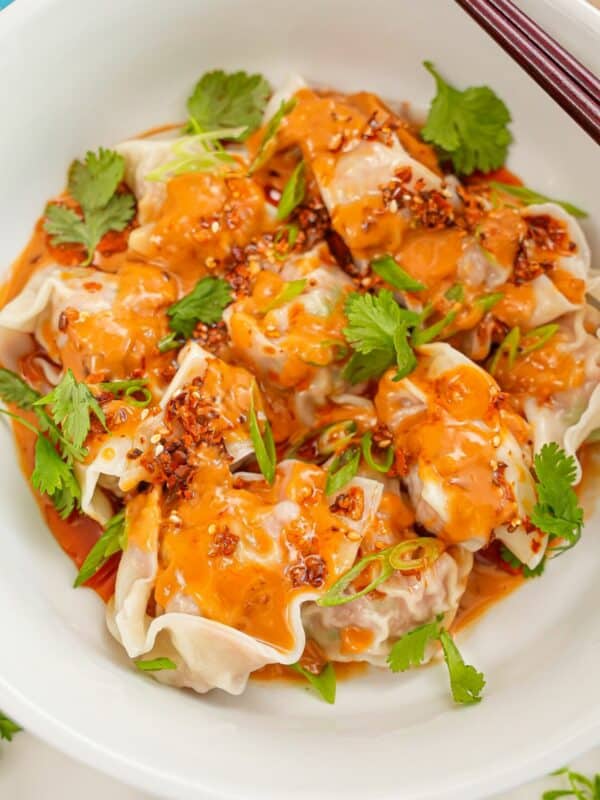
Don’t buy this in the store when you can make homemade Chili Crisp any time! Sometimes it’s called Chili Crunch, but no matter what you call it, I love how Chili Crisp goes with everything – not only does it add amazing flavor but I love the texture and crunch! Try it in Dan Dan Noodles, Mapo Tofu, or homemade Dumpling Dipping Sauce. Drizzle it over Chili Garlic Cucumber Salad, Spicy Green Beans, or Chili Oil Smashed Potatoes. Of course, it’s perfect on noodles like Sesame Peanut Noodles or Chili Oil Noodles!
Ingredient Tips
Refer to the recipe card for the full list of ingredients and measurements!
- neutral oil – I highly recommend using a high quality oil, as it is such a large component of this recipe. My go-to neutral oil is avocado oil but you can also use vegetable, canola, peanut, or grapeseed oil. Do not use olive oil or sesame oil.
- shallots and garlic – frying the shallots and garlic not only creates the crunchy texture but it also infuses the oil with aromatic flavor. If you like a lot of texture and crunch, you can increase the amount of both.
- Sichuan chili flakes – I like to use Sichuan chili flakes because they are milder than other chili flakes (while still providing heat) – the heat doesn’t overpower the other flavors. I also love it’s beautiful vibrant color and the aromatic flavor it adds.
How to Make Chili Crisp
Fry the Aromatics and Strain – My homemade chili crisp recipe starts by infusing oil with crispy garlic and shallots. Slice them evenly to about ⅛ inch, then fry in neutral oil at 225°F until golden brown and fragrant. Strain and set aside the crunchy aromatics, but keep the infused oil — it’s packed with flavor and forms the base of your chili crisp.
Heat the Oil, Pour, and Stir with Add-Ins – In a heatproof bowl, mix chili flakes, salt, sugar, and sesame seeds. Reheat the infused oil to 375°F, then pour it over the chili mixture and stir to combine. Add soy sauce, sesame oil, and the fried garlic and shallots for crunch. Let it cool, then store your chili crisp in a jar to drizzle over noodles, rice, or eggs!

SAFETY TIPS
CJ’s Safety and Storage Tips
Safety Tips – You will be handling boiling hot oil when making Chili Crisp, so safety is key!! Use a ceramic or oven safe bowl – do NOT use a glass bowl. Glass can crack or shatter when exposed to high temperatures due to thermal shock. Ensure there is at least 3-4 inches of clearance between the szechuan chili flakes and the rim of the bowl they are in, to allow for bubbling (refer to the video). Pour the oil VERY SLOWLY.
Use a Thermometer (Heat Management) – When making homemade Chili Crisp, heat management is key! If the oil gets too hot, the aromatics can burn or turn too dark, taste bitter, and ruin the oil (which is the base of your chili crisp). Use a thermometer to make sure that you are heating the oil to the recommended temperatures!
Storage Tips – Homemade Chili Crisp should be stored in a sterilized airtight container (such as a mason jar) in the refrigerator for up to 3 months. Do not leave it in room temperature, especially since this oil was infused with aromatics like garlic and shallot.
If you tried this Chili Crisp Recipe or any other recipe on my website, please leave a 🌟 star rating and let me know how it went in the comments below!
Homemade Chili Crisp (VIDEO)

Video
Equipment
Ingredients
- 3 cups neutral oil
- 2 large shallots
- 12 cloves garlic
- 1.5 cup szechuan chili flakes
- 1 tbsp sesame seeds
- 1/2 tbsp salt
- 1/2 tbsp sugar
- 2 tbsp soy sauce
- 1/2 tbsp sesame oil
Instructions
- Add neutral oil to a saucepan over high heat and add the sliced garlic and shallot. Cook until bubbling and pale golden brown. Strain the shallots and garlic and reserve the oil.
- In a large heatproof bowl add the szechuan chili flakes, salt, sugar, and sesame seeds. Add the oil back to the saucepan and heat to 350-375F. Carefully pour the hot oil onto the chili flakes and stir.
- Season with soy sauce, sesame oil, and toss in the crispy garlic and shallots. Stir to combine and enjoy it on anything!
Notes
Nutrition
Nutrition information is automatically calculated, so should only be used as an approximation.
This Homemade Chili Crisp recipe was originally published in July 2024, and updated in November 2025.


This is, hands down, my fav chili crisp. I’ve tried several, Lao Gan Ma, Momofuku, Fly by Jing, and this is top notch! I use Amazing brand Szechuan flakes and chop the scallions and garlic in rings versus mincing which really helps with the crisp factor.
I made 4 mason jars per batch and usually give 2 to friends who then have other friends give it a try, so demand is high!
Thanks for sharing this CJ and I look forward to trying more of your recipes!
Avocado oil is expensive here and I recently read from Tim Ferriss that macadamia oil has better health properties than olive and avocado so I used macadamia oil. So damn good and tasted even better than avocado and it’s cheaper here. Everyone I gave it to loved it. Amazing that it’s so flavoursome and you’re not even infusing it with all those aromatics