Grilled Chicken Wings – Foolproof! (VIDEO)
This post may contain affiliate links. Please read our disclosure policy.
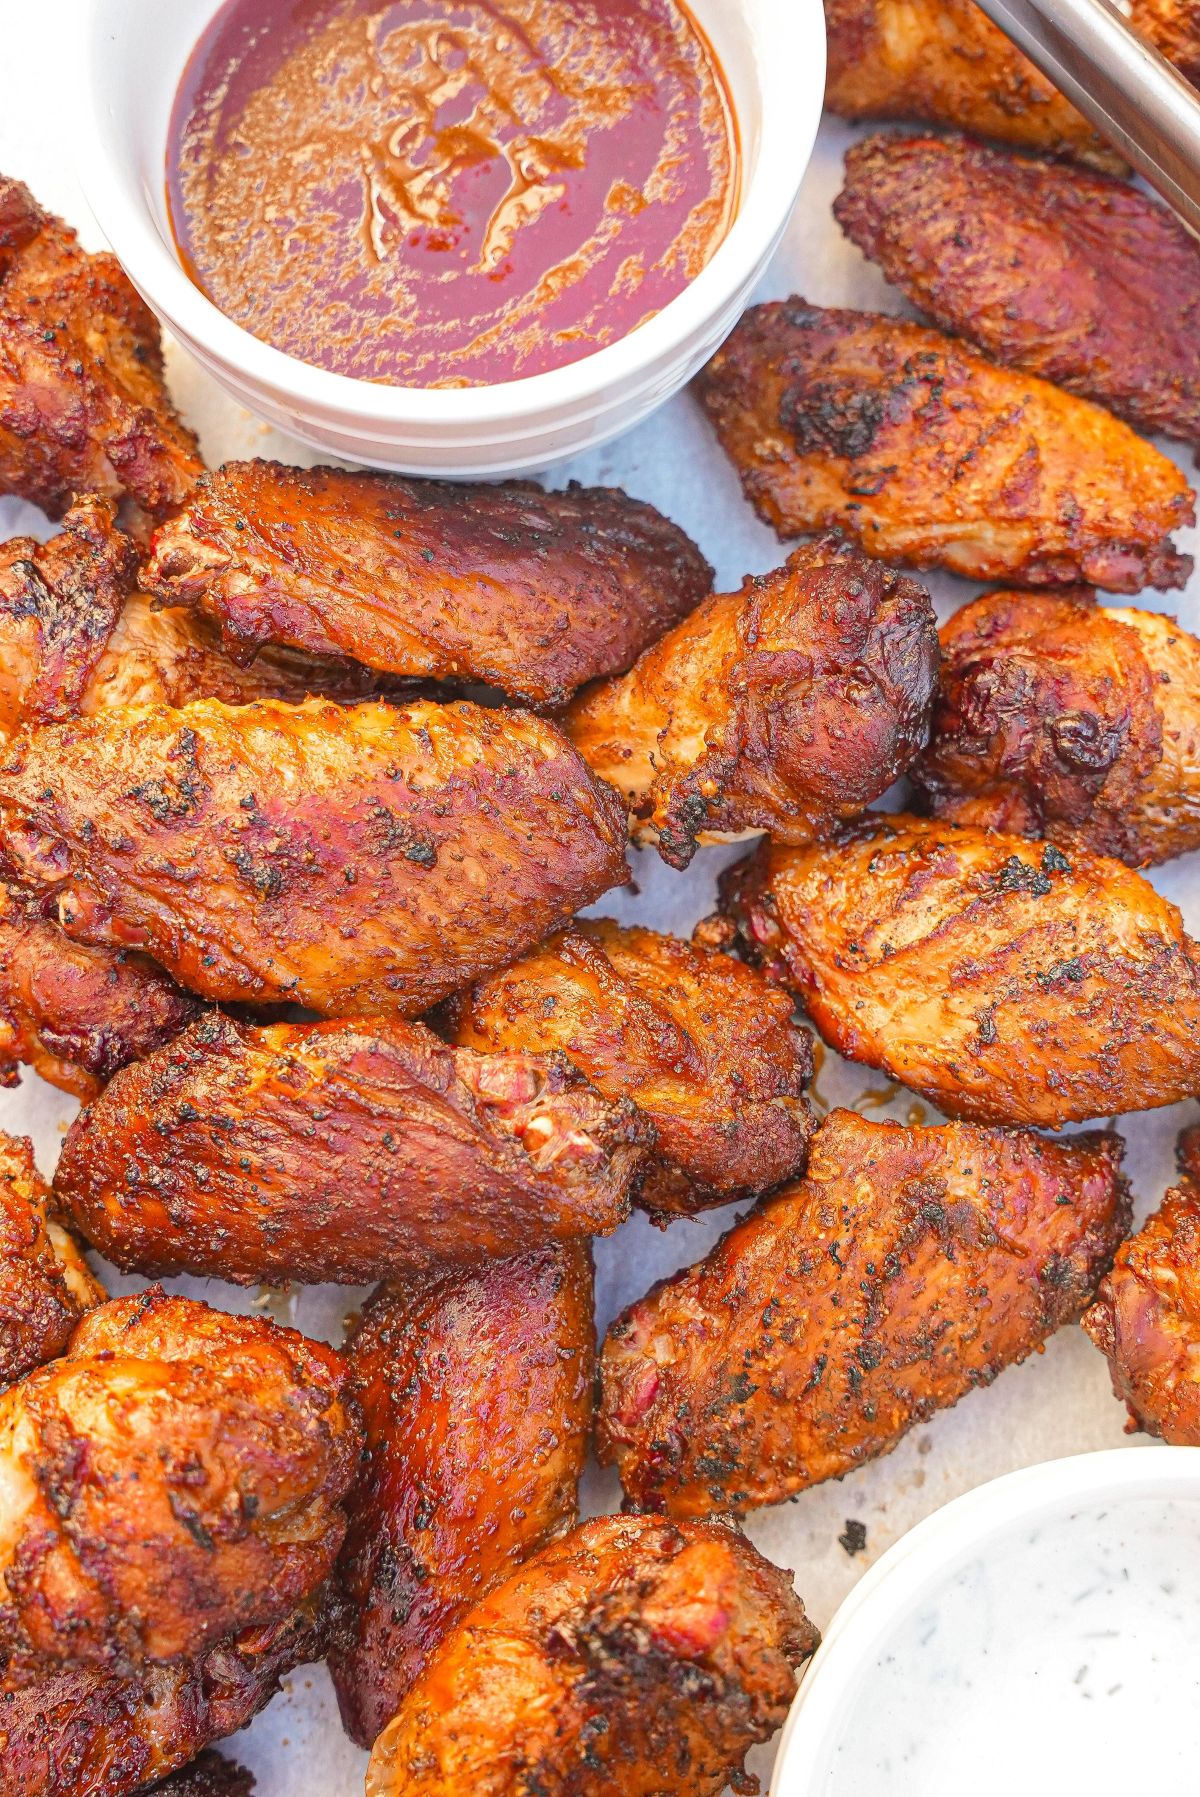
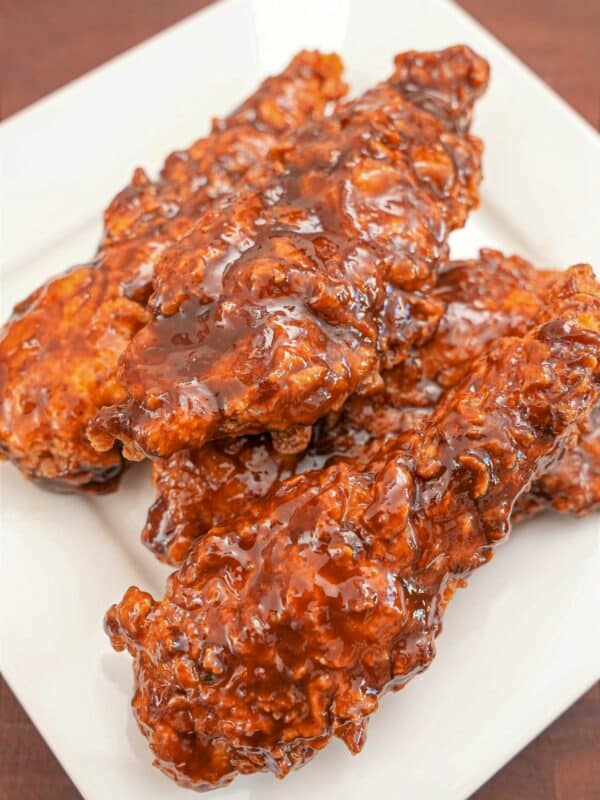
This foolproof method is the easiest way to grill Chicken Wings at home! The wings turn out super juicy, with smokey flavors and the crispiest skin!
Watch the Grilled Chicken Wings Recipe Video!
A Note from CJ

Easy Grilled Chicken Wings at home!
I love to grill at home, especially since it’s warm year round in Los Angeles – there’s nothing like cooking over charcoal! It’s so much easier than you think – I developed recipes like Grilled Chicken Thighs, Grilled Steak, Spicy Pork, and Korean Marinated Short Ribs to show how you can easily grill at home, esp with my key tips!
Brush these grilled wings with my homemade BBQ sauce, or serve alongside Homemade Ranch, Raising Cane’s Sauce, Chick-Fil-A Sauce, or Popeye’s Blackened Ranch!!
EASILY the best wings I have ever cooked on the grill!
Ingredient Tips
Refer to the recipe card for the full list of ingredients and measurements!
- chicken wings – you can use whole wings or those that have been cut into drums and wings. If using frozen wings, defrost before seasoning.
- Kosher Salt, Black Pepper, Garlic Powder, Onion Powder, Paprika, Cayenne Pepper, Brown Sugar – this combination of spices/seasonings gives the chicken wings great flavor on their own but are not too overwhelming so the wings can also be sauced. Adjust to your preference!
- aluminum free baking powder – Baking powder 1. draws moisture to the surface of the skin, so it can evaporate, leading to a crispier skin, and 2. it increases the pH levels of the skin by breaking down the proteins, which helps the skin turn crispy and evenly brown when grilled.
How to Grill Chicken Wings
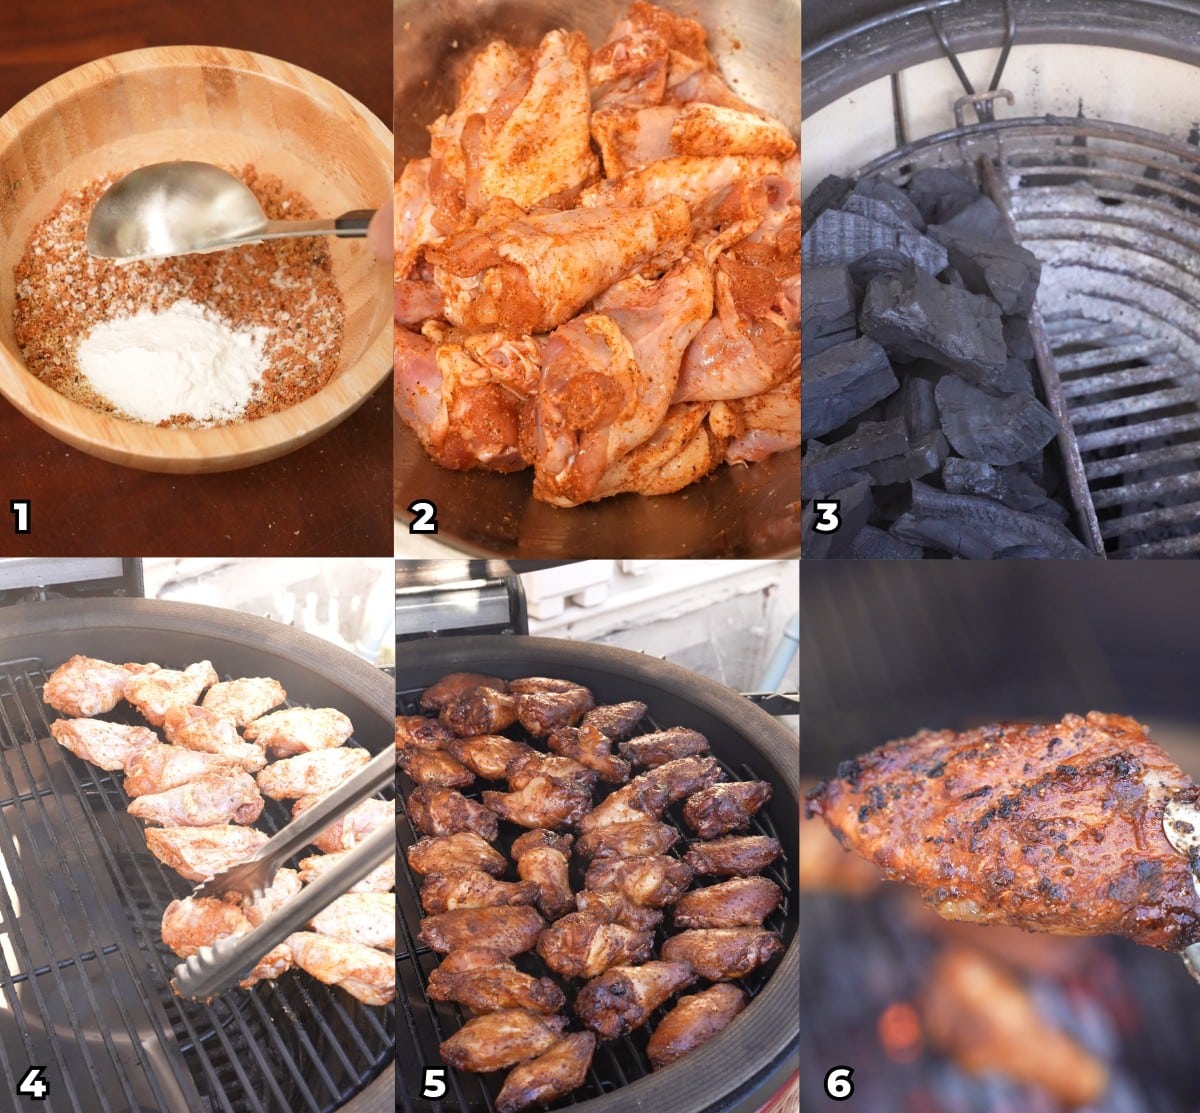
Season and Grill The Wings – Pat the chicken wings dry, then season them thoroughly with a mixture of salt, pepper, garlic powder, onion powder, paprika, cayenne, brown sugar, and baking powder. Mix well to ensure every wing is evenly coated. Prepare your grill by placing charcoal on one half to create direct and indirect heat zones, adding smoking wood if you want extra flavor. Heat the grill to 400°F and cook the wings on the indirect side for 45 minutes to 1 hour, covered, until they reach 165°F internally. Then uncover, open all vents, and move the wings over direct heat for 2–3 minutes to crisp and blister the skin.
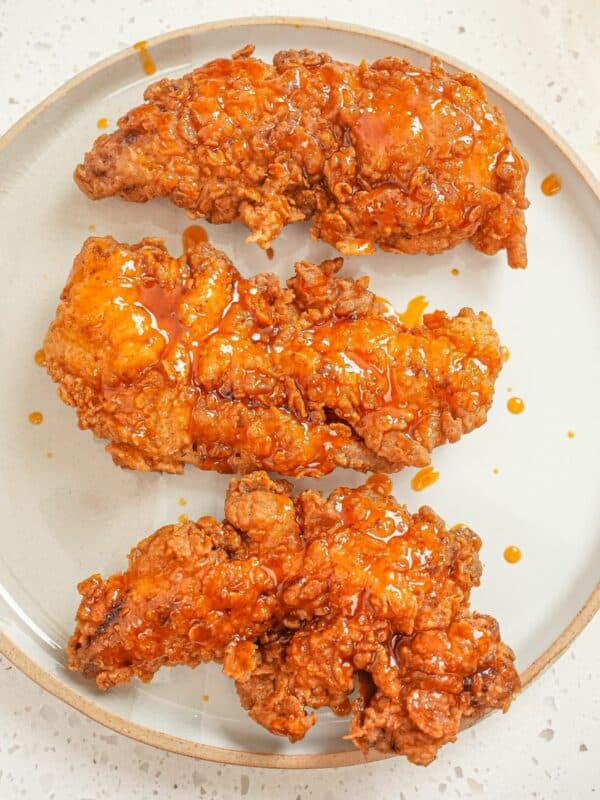
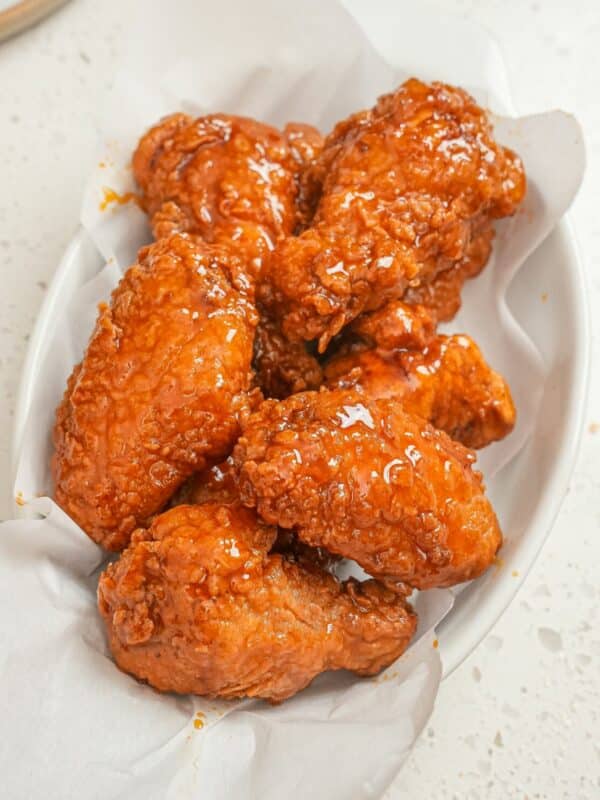
Sauce and Finish The Wings – Brush the crispy wings with your favorite barbecue sauce or hot sauce, then return them to the indirect side for 5 minutes to let the glaze thicken and set. Remove from the grill and enjoy immediately!
PRO TIPS
CJ’s Recipe & Storage Tips
Pat dry the chicken wings before seasoning so the spices stick better; dry wings will also crisp up better when grilled!
Create two zones of “direct” and “indirect” heat so you can choose the best temperature to grill your food. “Direct” heat is good for food that cooks quickly (like thin patties for burgers), while indirect heat is better for food that take longer (such as Grilled Chicken Wings) – keeping the wings over the “direct” heat could lead to them burning or drying out before they’re done cooking.
Storage & Reheating – While these wings are best made fresh, you can season them ahead of time and leave them to dry brine in the fridge for up to 24 hours. Store leftover Grilled Chicken Wings in an airtight container in the refrigerator for up to 3-4 days. You can reheat them in the air fryer at 350°F for 6-8 minutes until the skin is crispy!
If you tried this Grilled Chicken Wings Recipe or any other recipe on my website, please leave a 🌟 star rating and let me know how it went in the comments below!
Grilled Chicken Wings (SUPER CRISPY!)

Video
Equipment
Ingredients
- 3 lbs chicken wings, drums and flats separated
- 1 tablespoon Kosher Salt
- 1/2 tablespoon Black Pepper
- 1 teaspoon Garlic Powder
- 1 teaspoon Onion Powder
- 1 teaspoon Paprika
- ½ teaspoon Cayenne Pepper
- ½ teaspoon Brown Sugar
- 2 tablespoon aluminum free baking powder
- 2 chunks smoking wood, apple, cherry, pecan or oak wood (optional)
- 2 cups BBQ Sauce, use your favorite or my delicious homemade recipe!
Instructions
- Pat chicken wings dry with a paper towel, then place them in a large bowl. In a small bowl mix together the salt, pepper, garlic powder, onion powder, paprika, cayenne pepper, brown sugar, and baking powder. Add the seasonings to the wings and mix thoroughly until combined.
- Add charcoal to half of the grill to create a direct and indirect zone. Add smoking wood to the charcoal if desired. Heat the grill to 400°F and add the chicken wings to the indirect side (side without the charcoal).
- Cover the grill and cook for 45 minutes to 1 hour until the wings register 165°F.
- Uncover the grill and open all vents. Transfer the wings to the direct heat over the charcoals and grill for 2-3 minutes until the skin becomes crispy and blistered.
- Brush the wings with your favorite bbq sauce or hot sauce and then place them on the indirect side of the grill. Let sit for 5 minutes to allow the sauce to thicken on the wings. Remove from the grill and enjoy!
Notes
Nutrition
Nutrition information is automatically calculated, so should only be used as an approximation.
This Grilled Chicken Wings recipe was originally published in August 2024, and updated in December 2025.


I have a question.You said to separate drums and flats,but didn’t specify why.
Is it because the cooking times are different ?
Hi Jim – yes it’s becuase the cooking times will be longer if they are whole.
Hooooly smokes! This recipe is amazing!
Perfect spice and flavor. I sprayed a mixture of white vinegar and chicken bullion every 15 minutes and finished with Sweet Baby Rays..
Going to be a family staple for every week, game day and just because!
Thank you so much, Chase!
Best CRISPY bbq wings I’ve made to date!
I followed this recipe on a 3 burner gas BBQ with the middle burner on low the left burner on high (this keeps my grill at about 400 degrees) and I cooked my wings on the right side of the grill for a solid hour only turning them once halfway. The 2-3 minutes crisping step needs to be watched more closely on a gas grill (I did this with the grill open to make sure not to burn the wings).
EASILY the best wings I have ever cooked on the grill!
Such a compliment – thank you Terry!
Thank you 😋
You’re so welcome, Rose!
Some of the best home cooked wings I have ever made, thanks for ANOTHER 😉 great recipe.
Thanks so much, Lawrence! So happy to hear you’ve been loving the recipes 🙂