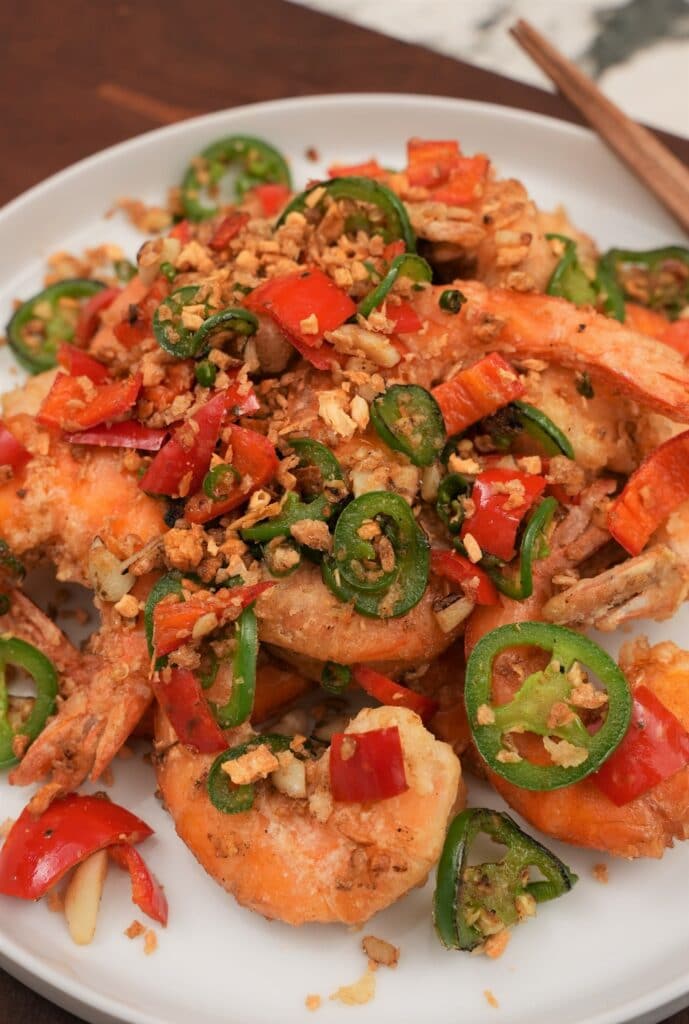
Chinese Salt and Pepper Shrimp – Restaurant Style! (VIDEO)
This post may contain affiliate links. Please read our disclosure policy.
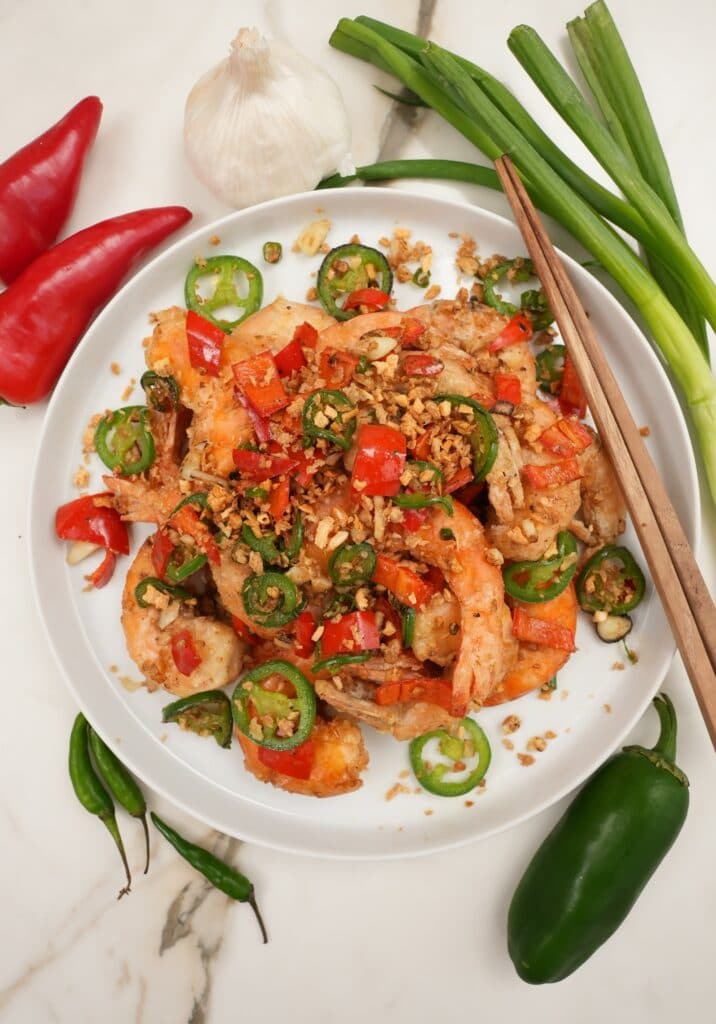
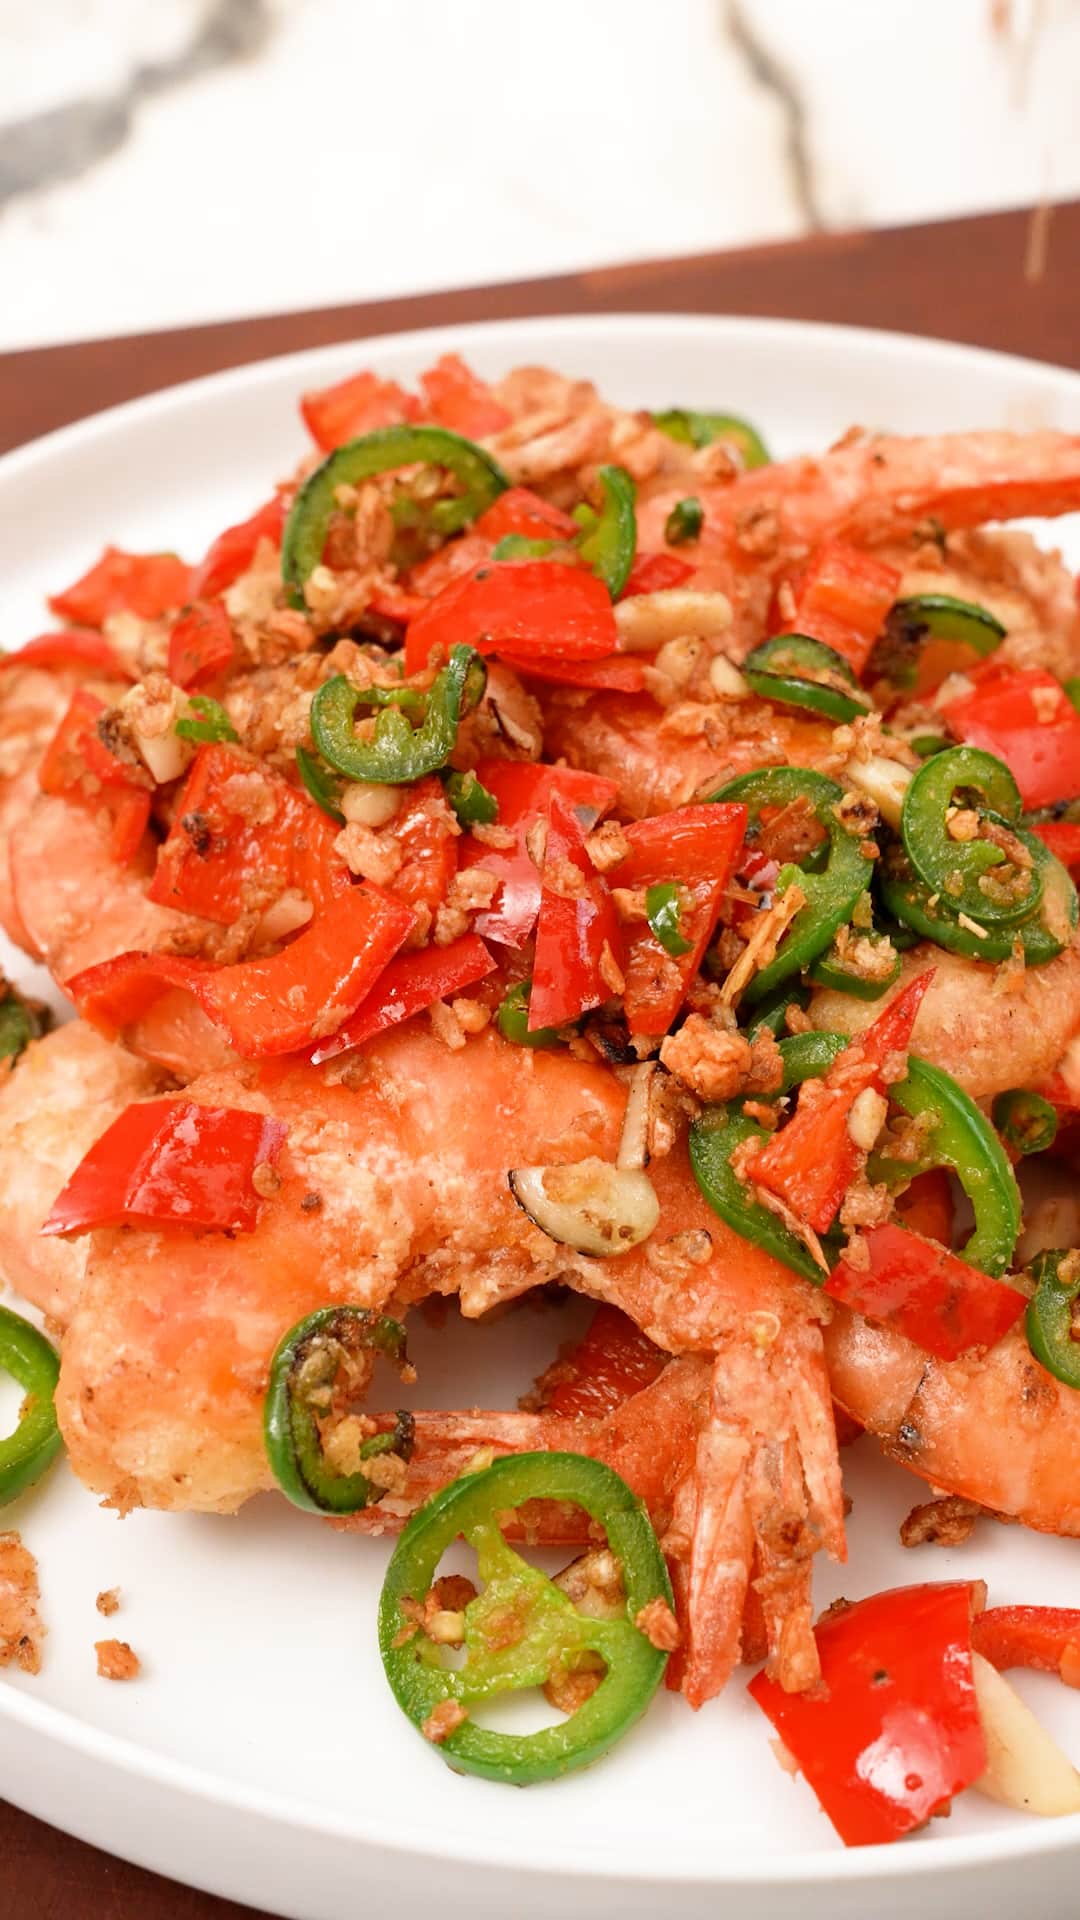
Chinese Salt and Pepper Shrimp is crispy, so flavorful, and super easy to make! This Chinese restaurant classic comes together in under 30 minutes and only needs 10 ingredients! These are a wonderful appetizer to go with Egg Drop Soup or Pork and Shrimp Wontons for a Chinese Takeout meal at home!
Watch the Recipe Video For Chinese Salt and Pepper Shrimp Below!
Do you love the classic Chinese Salt and Pepper flavors? You’re not the only one! It’s so beloved that there are multiple dishes that use the same seasoning – like Salt and Pepper Squid, Salt and Pepper Tofu, Salt and Pepper Chicken Wings!
Table of Contents
Ingredient Tips for Salt and Pepper Shrimp
- shrimp – see notes below on shrimp
- white pepper
- salt
- msg – As always, this is optional.
- jalapeno pepper
- fresno chili peppers
- Thai chili pepper – I like the heat that 1 Thai chili pepper adds to the dish. However, if you are sensitive to heat, I would recommend you only use half or remove the Thai chili pepper altogether. You can substitute with a milder pepper.
- Thai chili pepper is used in other recipes like Sweet Thai Chili Sauce, Pad Thai, and Thai Fried Rice!
- garlic
- ginger – I buy fried garlic from my local Chinese grocery, 99 Ranch. You can also make your own.
- cornstarch – cornstarch is commonly used in Chinese cooking as a dredge – it helps create a light but super crispy crust. It works better than other starches, like all-purpose flour, in dishes like Salt and Pepper Shrimp because it isn’t as heavy and doesn’t feel as oily when fried.
- neutral oil – My favorite neutral oil is avocado oil, but you can also use canola or vegetable oil. I do not recommend using sesame oil or olive oil, due to the low smoking point.
Do you love fried shrimp? Try some of my other fried shrimp recipes like: Panko Shrimp, Coconut Shrimp, Honey Walnut Shrimp, or Fried Shrimp Balls!
Key Tip
Shrimp Tips
Size
- I like to use U16-20 shrimp, which are on the larger side. This is the size I grew up eating at Chinese restaurants and I think this size also holds up best with the cornstarch dredge. Technically, there is no wrong choice – use the size shrimp you prefer or have on hand.
Shells and Tails
- I grew up and still enjoy eating Salt and Pepper Shrimp with the shells and tails on. When the shrimp is battered and fried with the shells on, the shells become super crispy and crunchy – the shrimp shells also have the most flavor! (My grandma would always tell me they’re a good source of calcium, too.)
- If you prefer to remove the shells, that is OK – just do so before dredging or cooking.
- I recommend keeping the tails, as it makes it easier to hold on to the shrimp when eating. However, you can remove the tails as well, if you prefer.
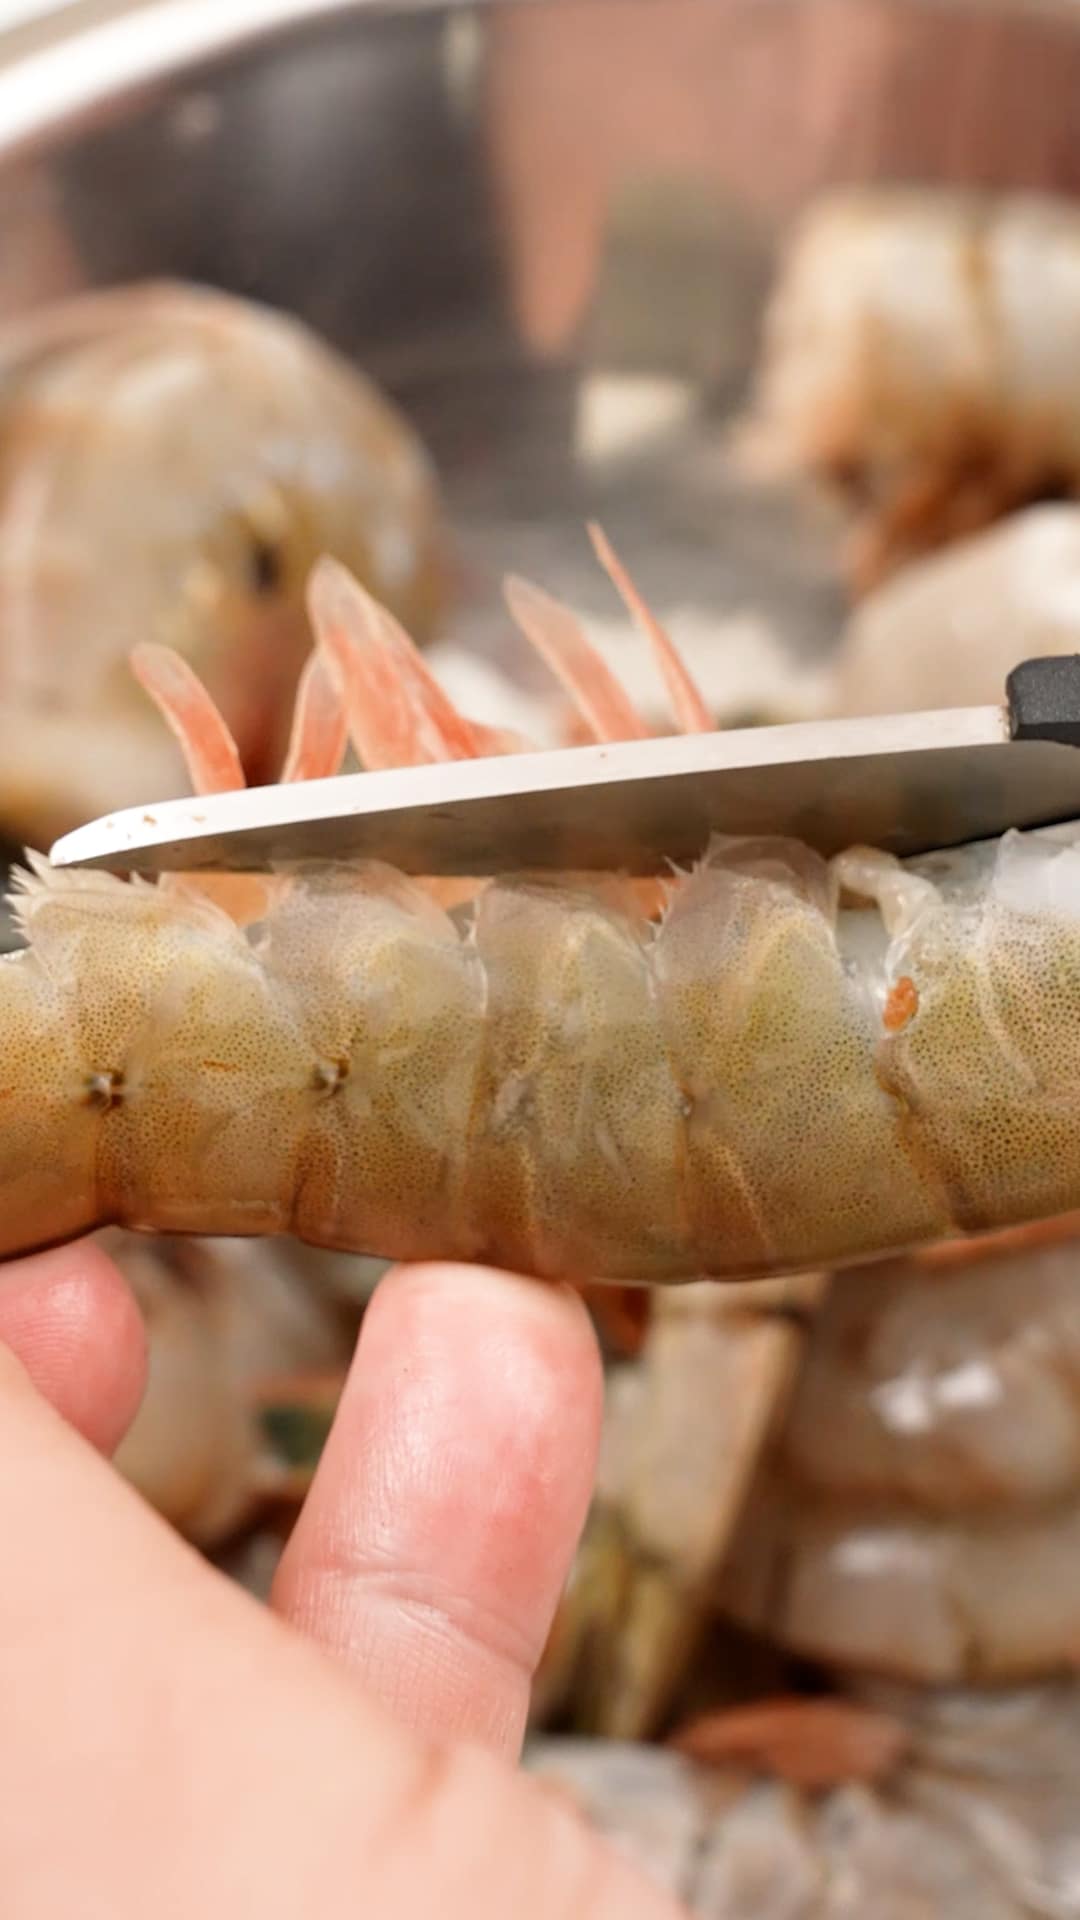
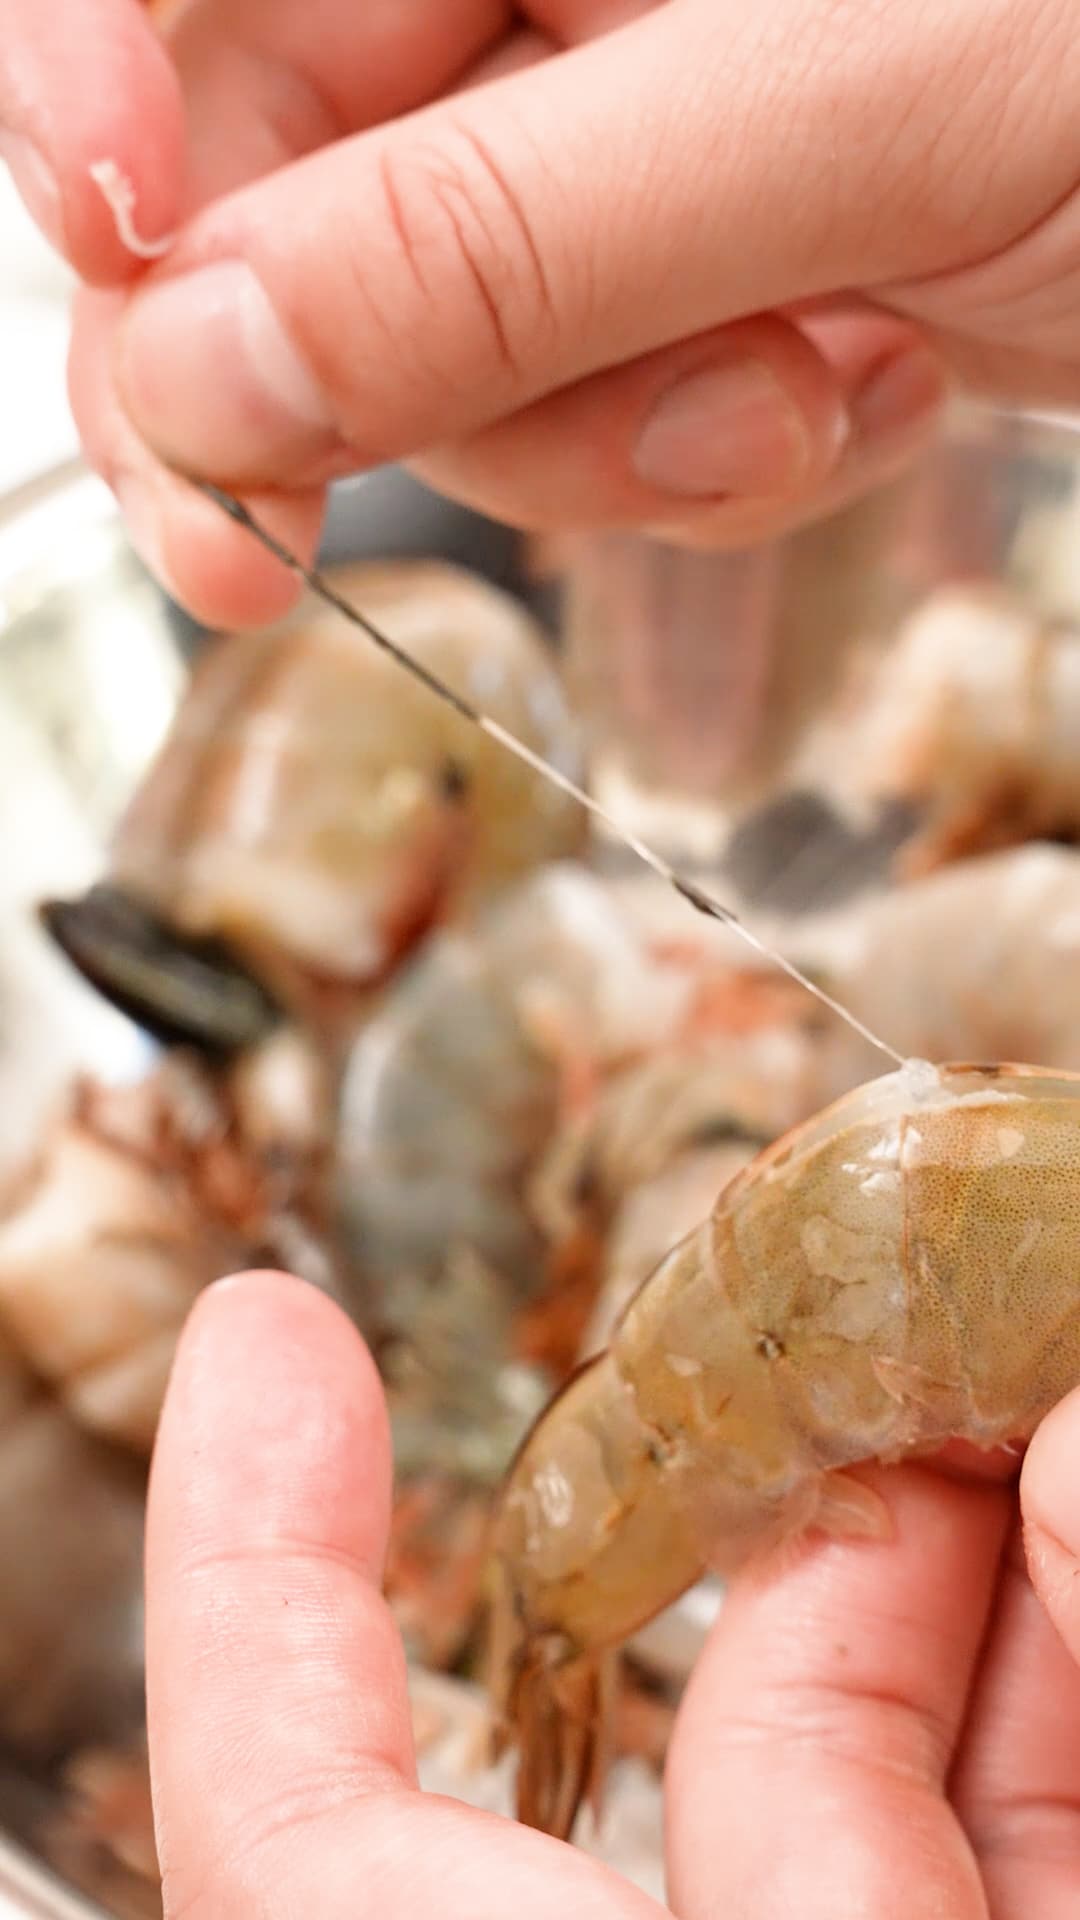
- If the shrimp is not deveined, I recommend deveining them – take a pair of clean kitchen scissors and cut through the shell around the top of the shrimp and devein.
Recipe Instructions for Salt and Pepper Shrimp
1. Prepare the Shrimp
Devein the shrimp, if they are already not deveined. Cut through the shell around the top of the shrimp with clean kitchen scissors and devein.
If you are going to remove the shell or the tails, do so now.
2. Prepare Vegetables and Spices
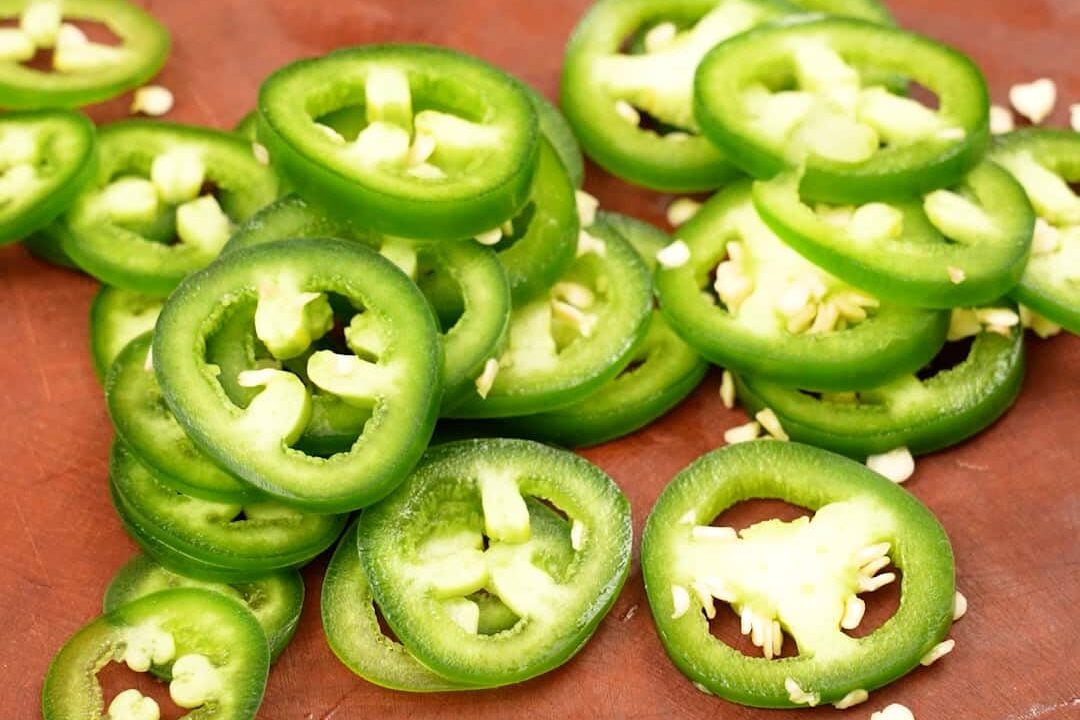
Chop garlic and fresh peppers and place in a small bowl.
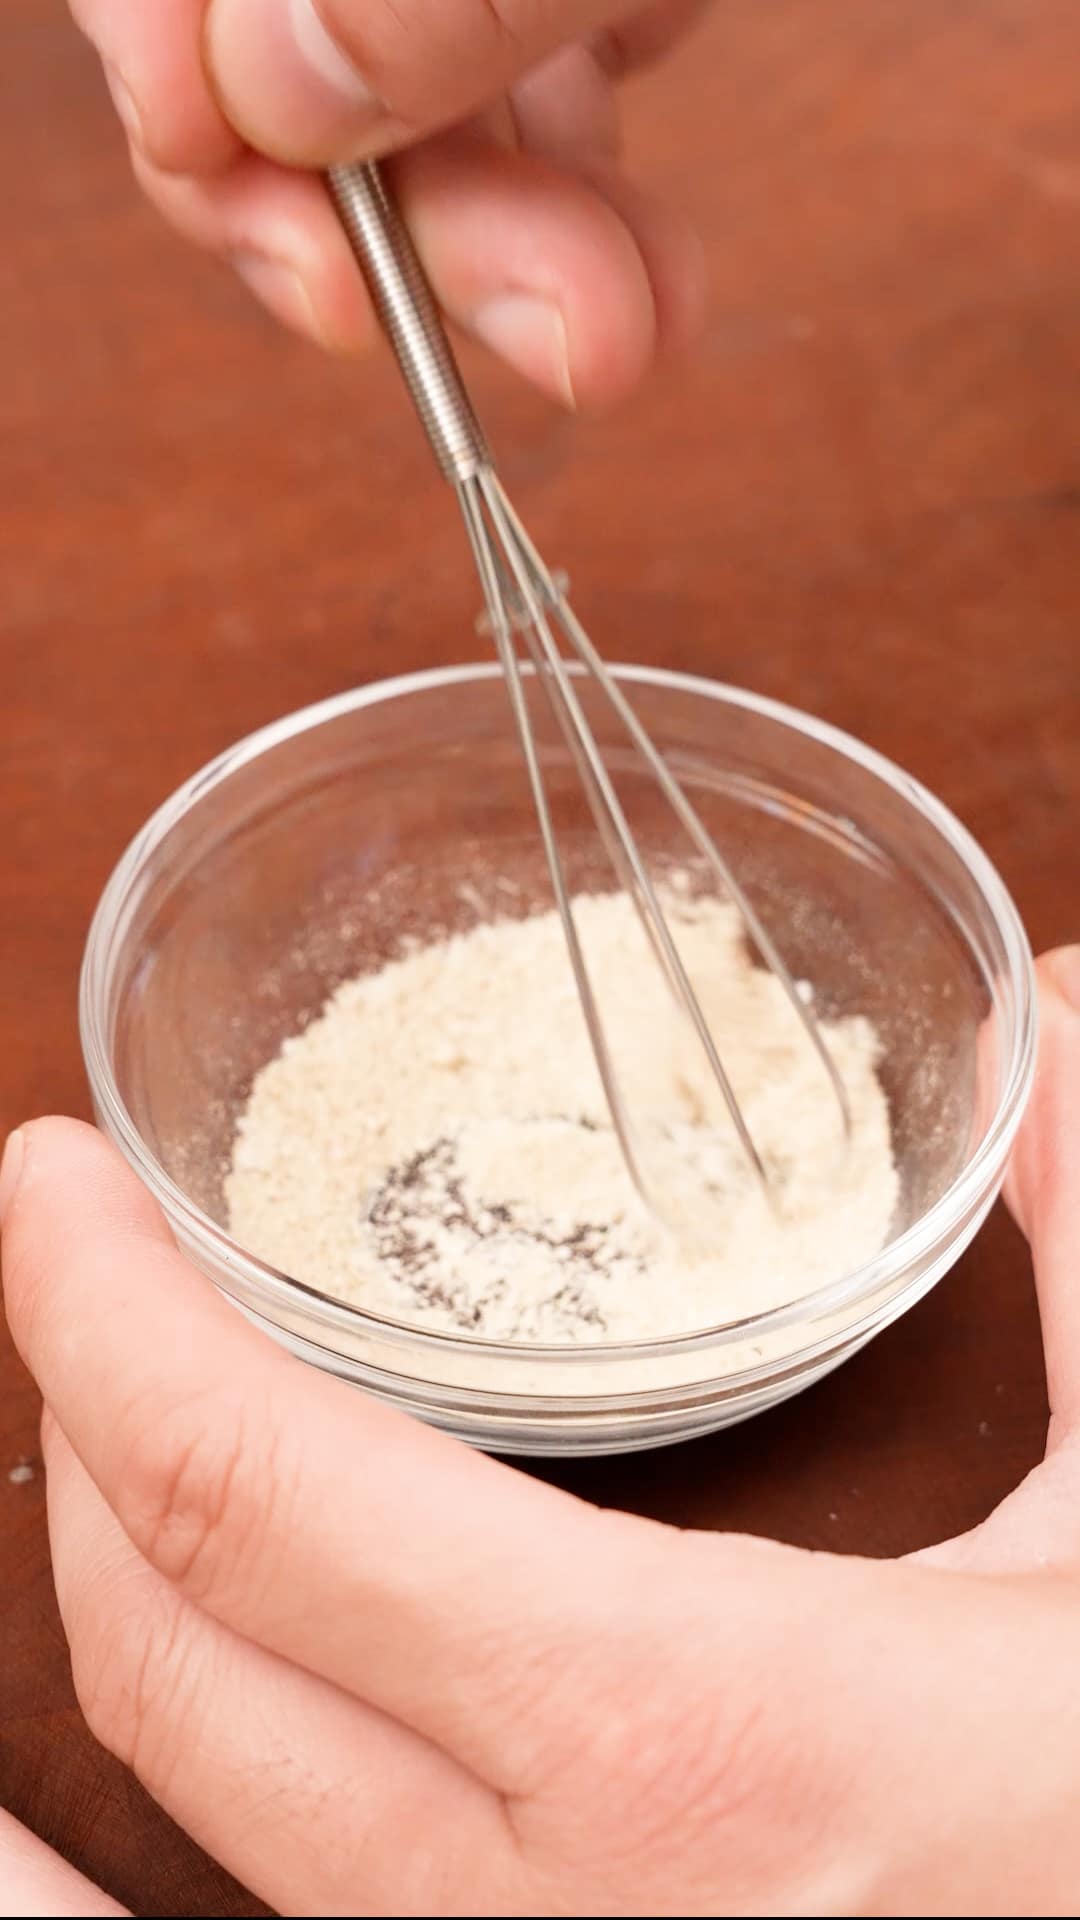
In another small bowl, mix together white pepper, salt and msg to make your spicy salt.
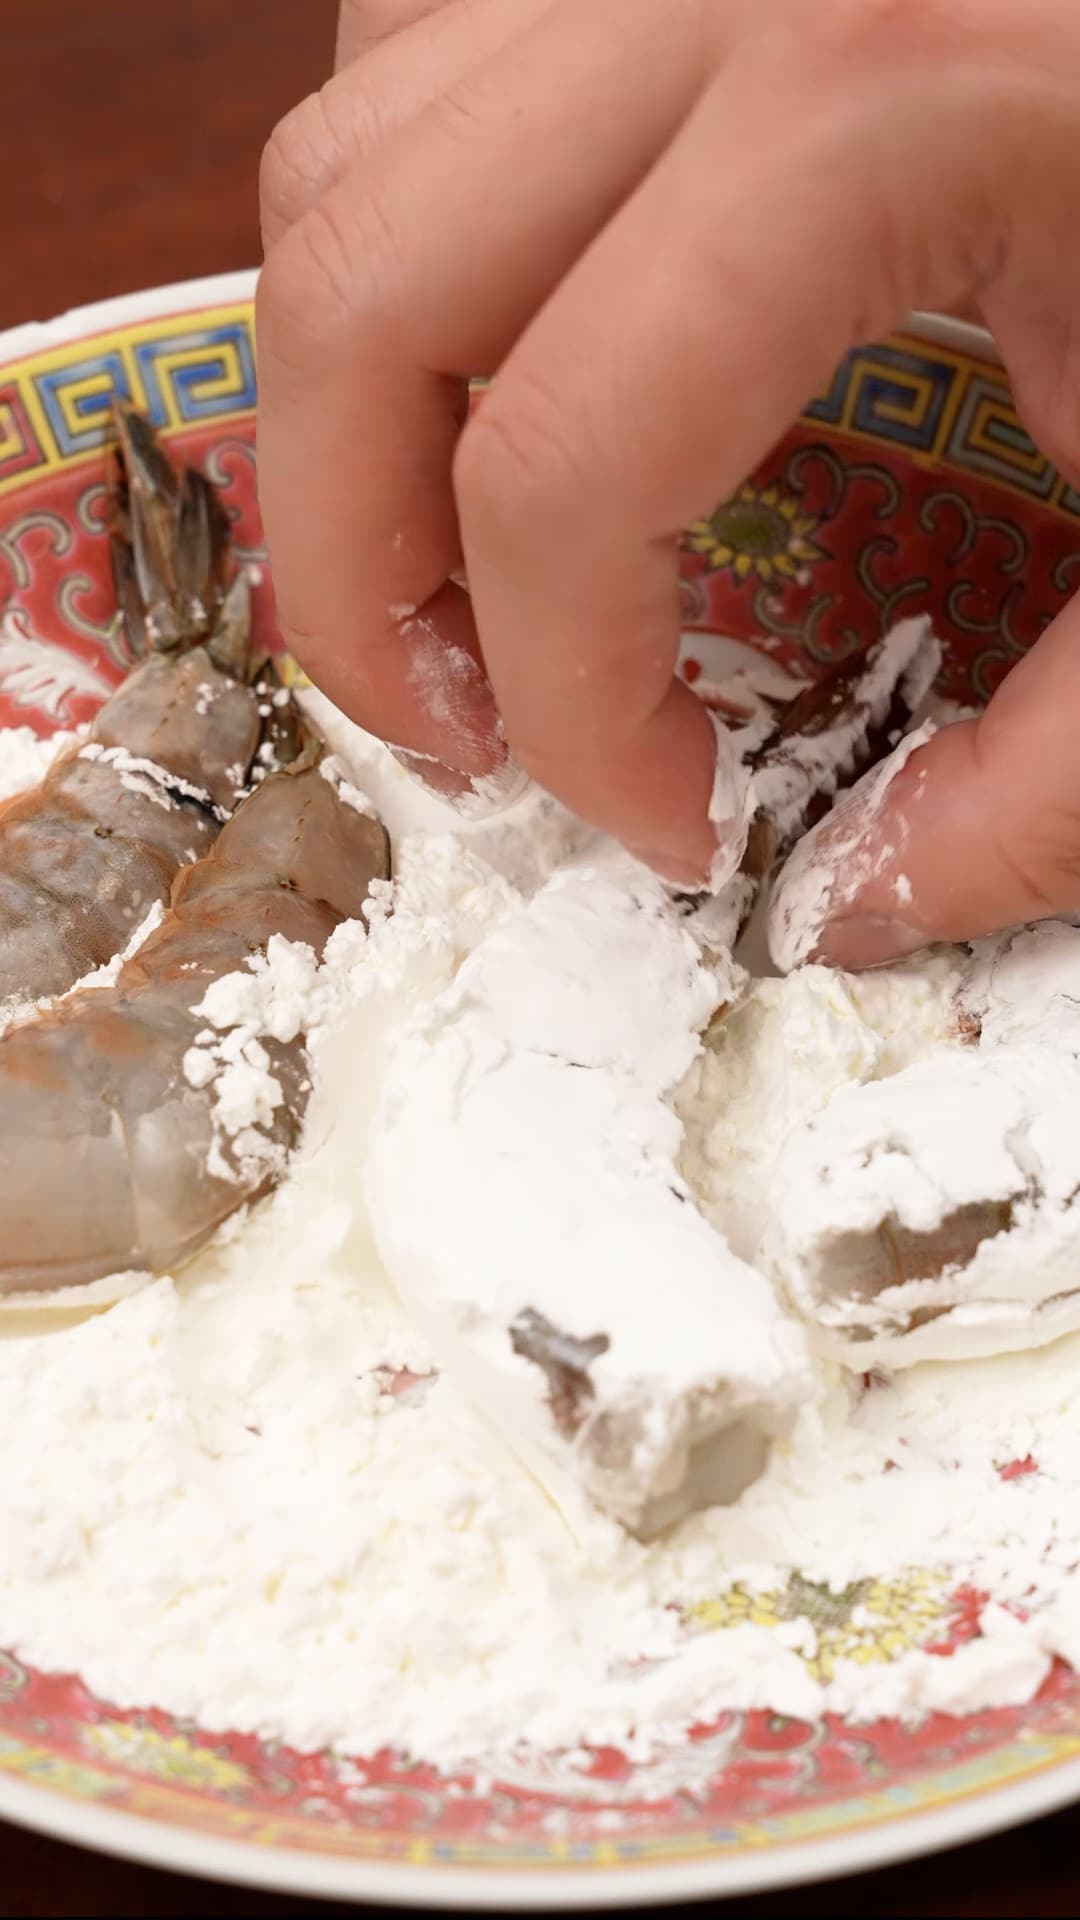
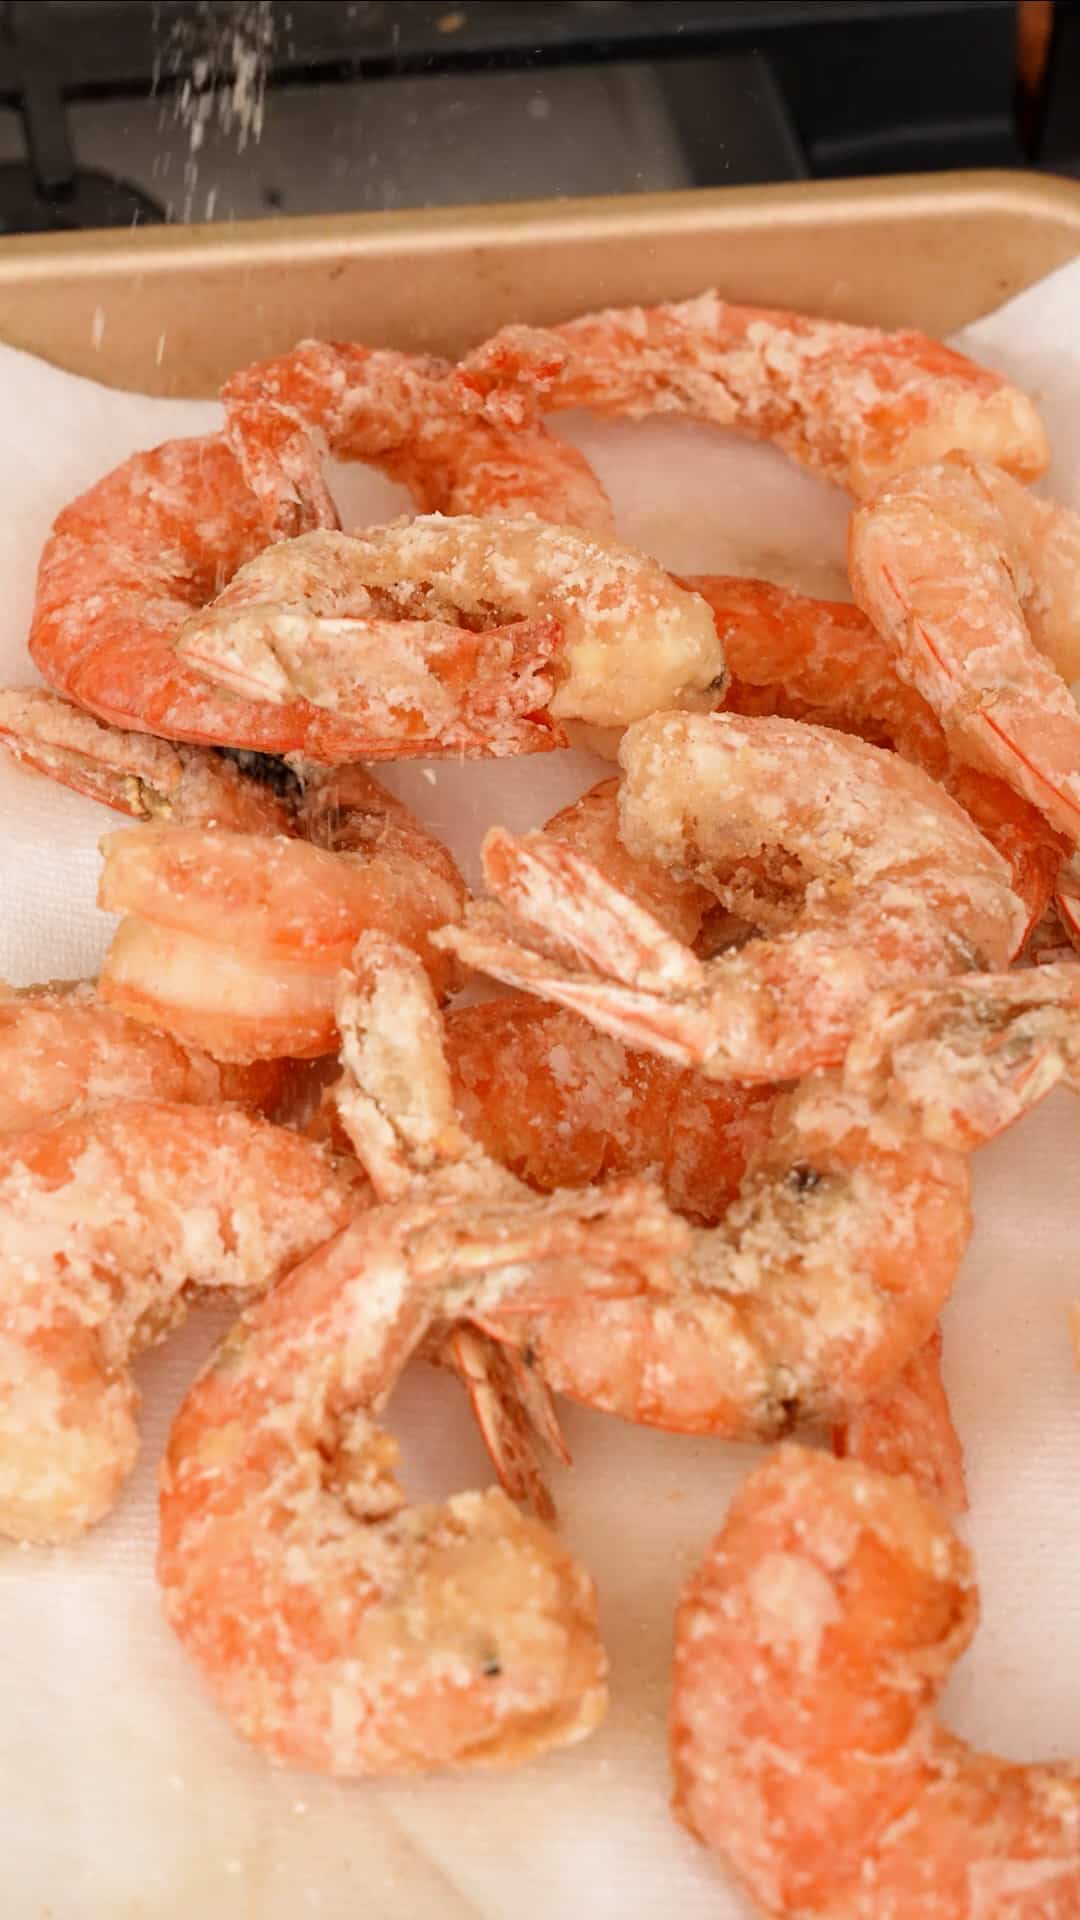
3. Dredge the Shrimp
In a shallow bowl or plate, add cornstarch Dredge shrimp in cornstarch and make sure there are no bald spots.
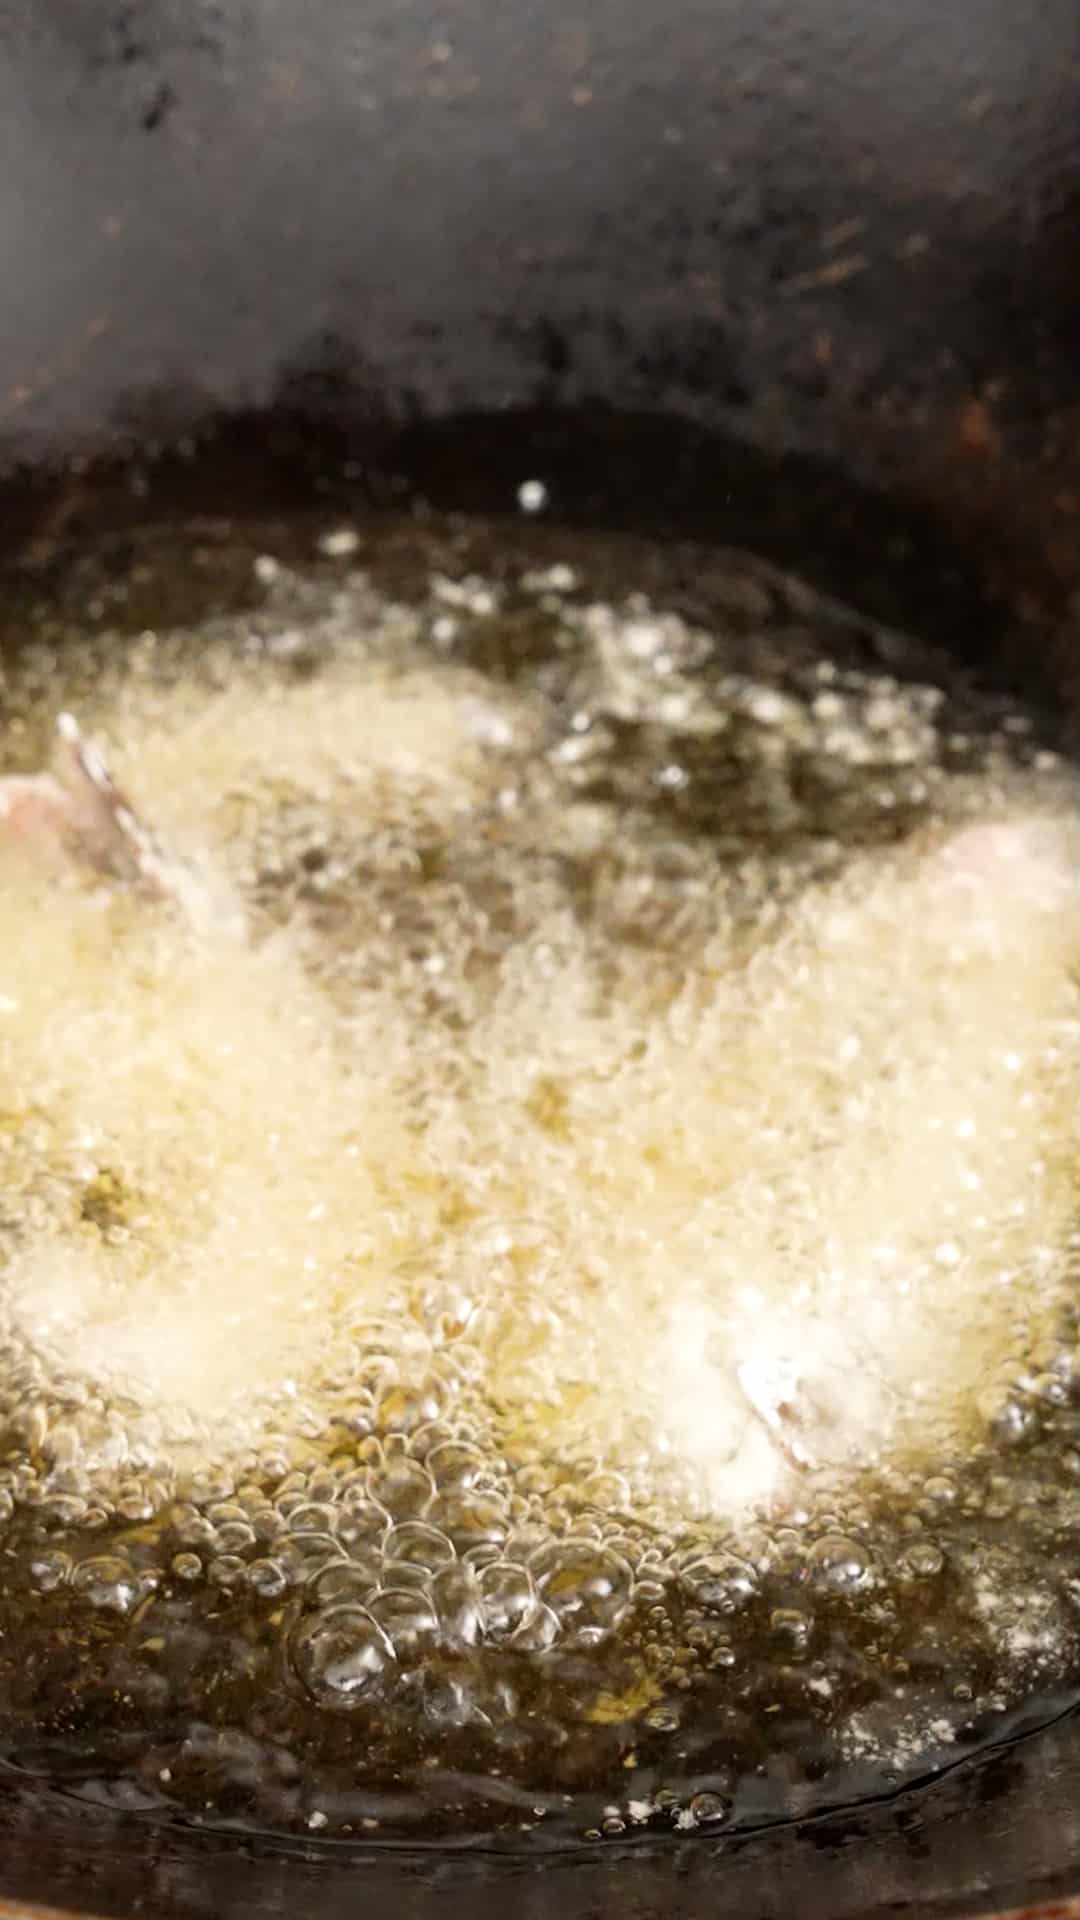
4. Fry the Shrimp
In a heavy bottomed pot or dutch oven, add 2 cups of neutral oil and heat to 375F.
Take the dredged shrimp and fry in batches for 2 minutes, or until golden brown and the shell is crispy.
Set on a paper towel to drain and immediately season with a few pinches of spicy salt.
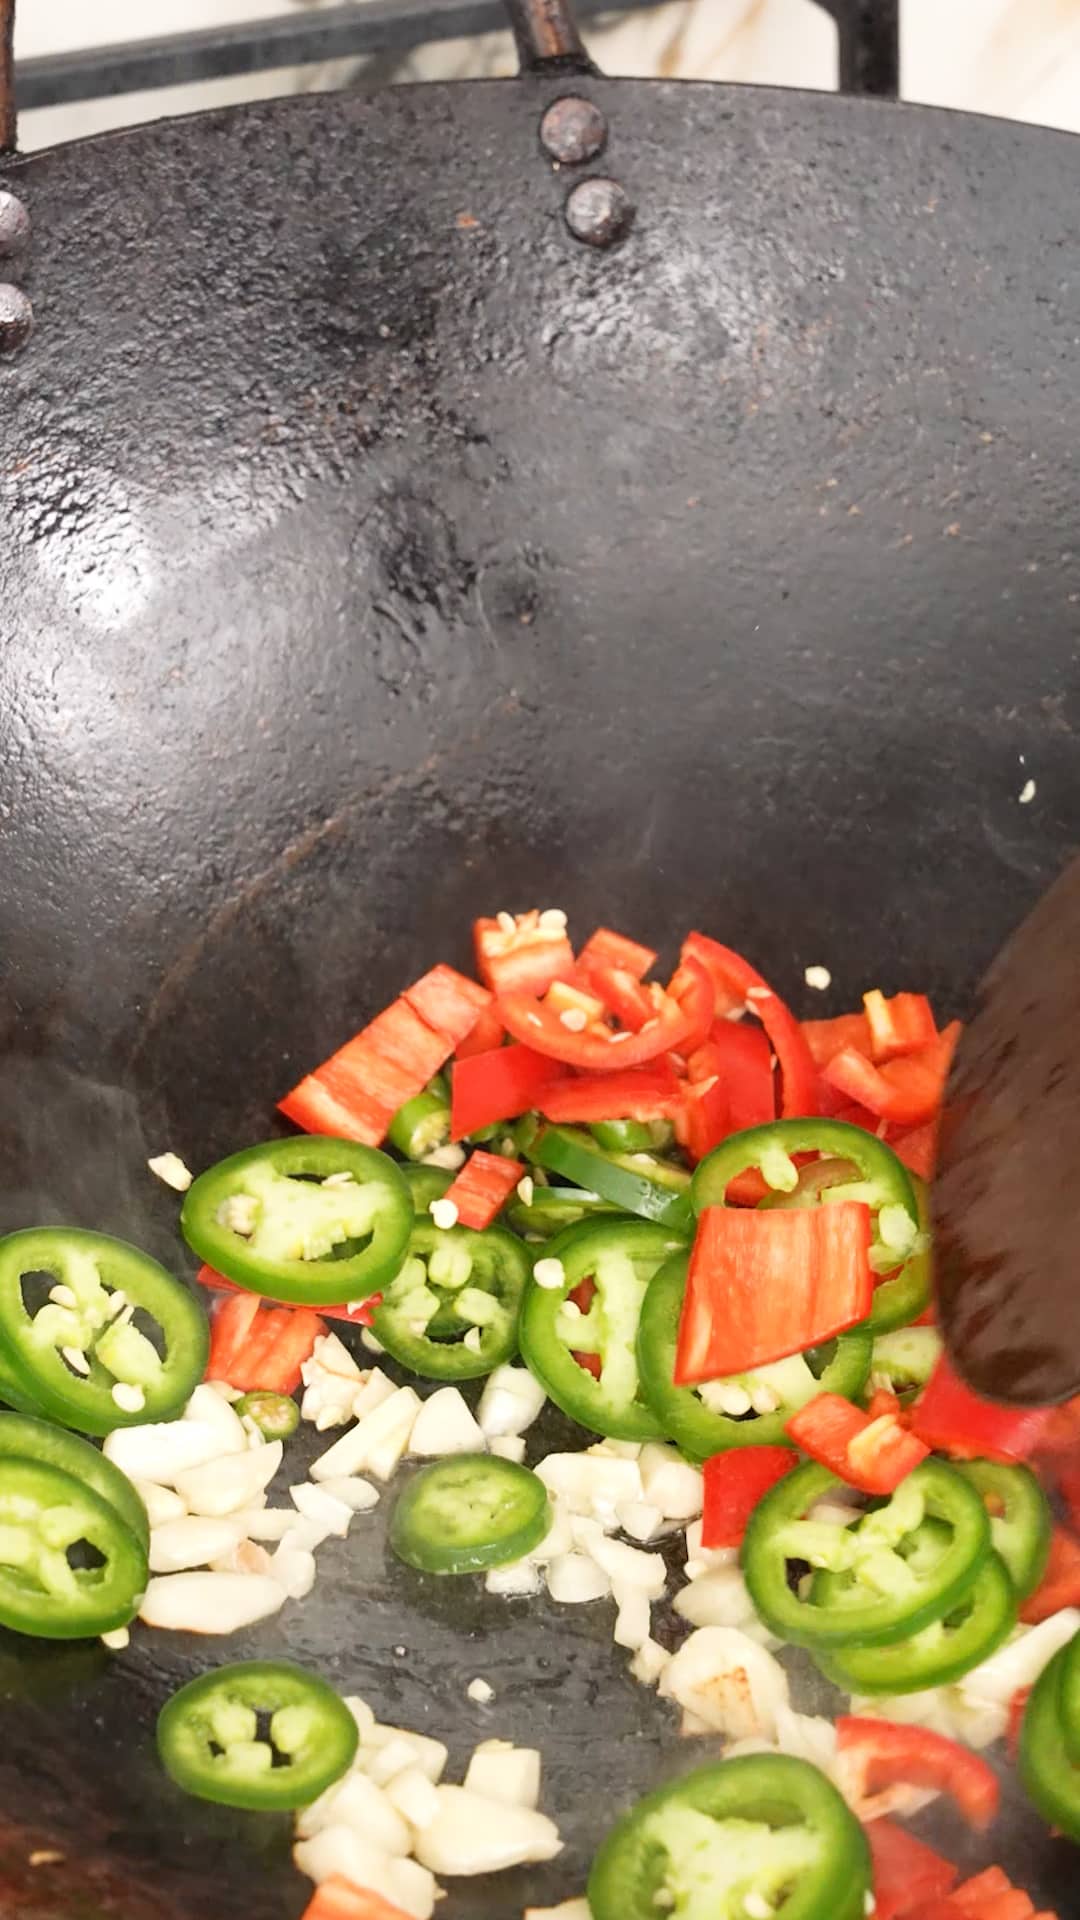
5. Stir-Fry the Shrimp to Finish
In a wok or pan, heat 1/2 tbsp of oil over high heat, then fry garlic and peppers for 1 minute.
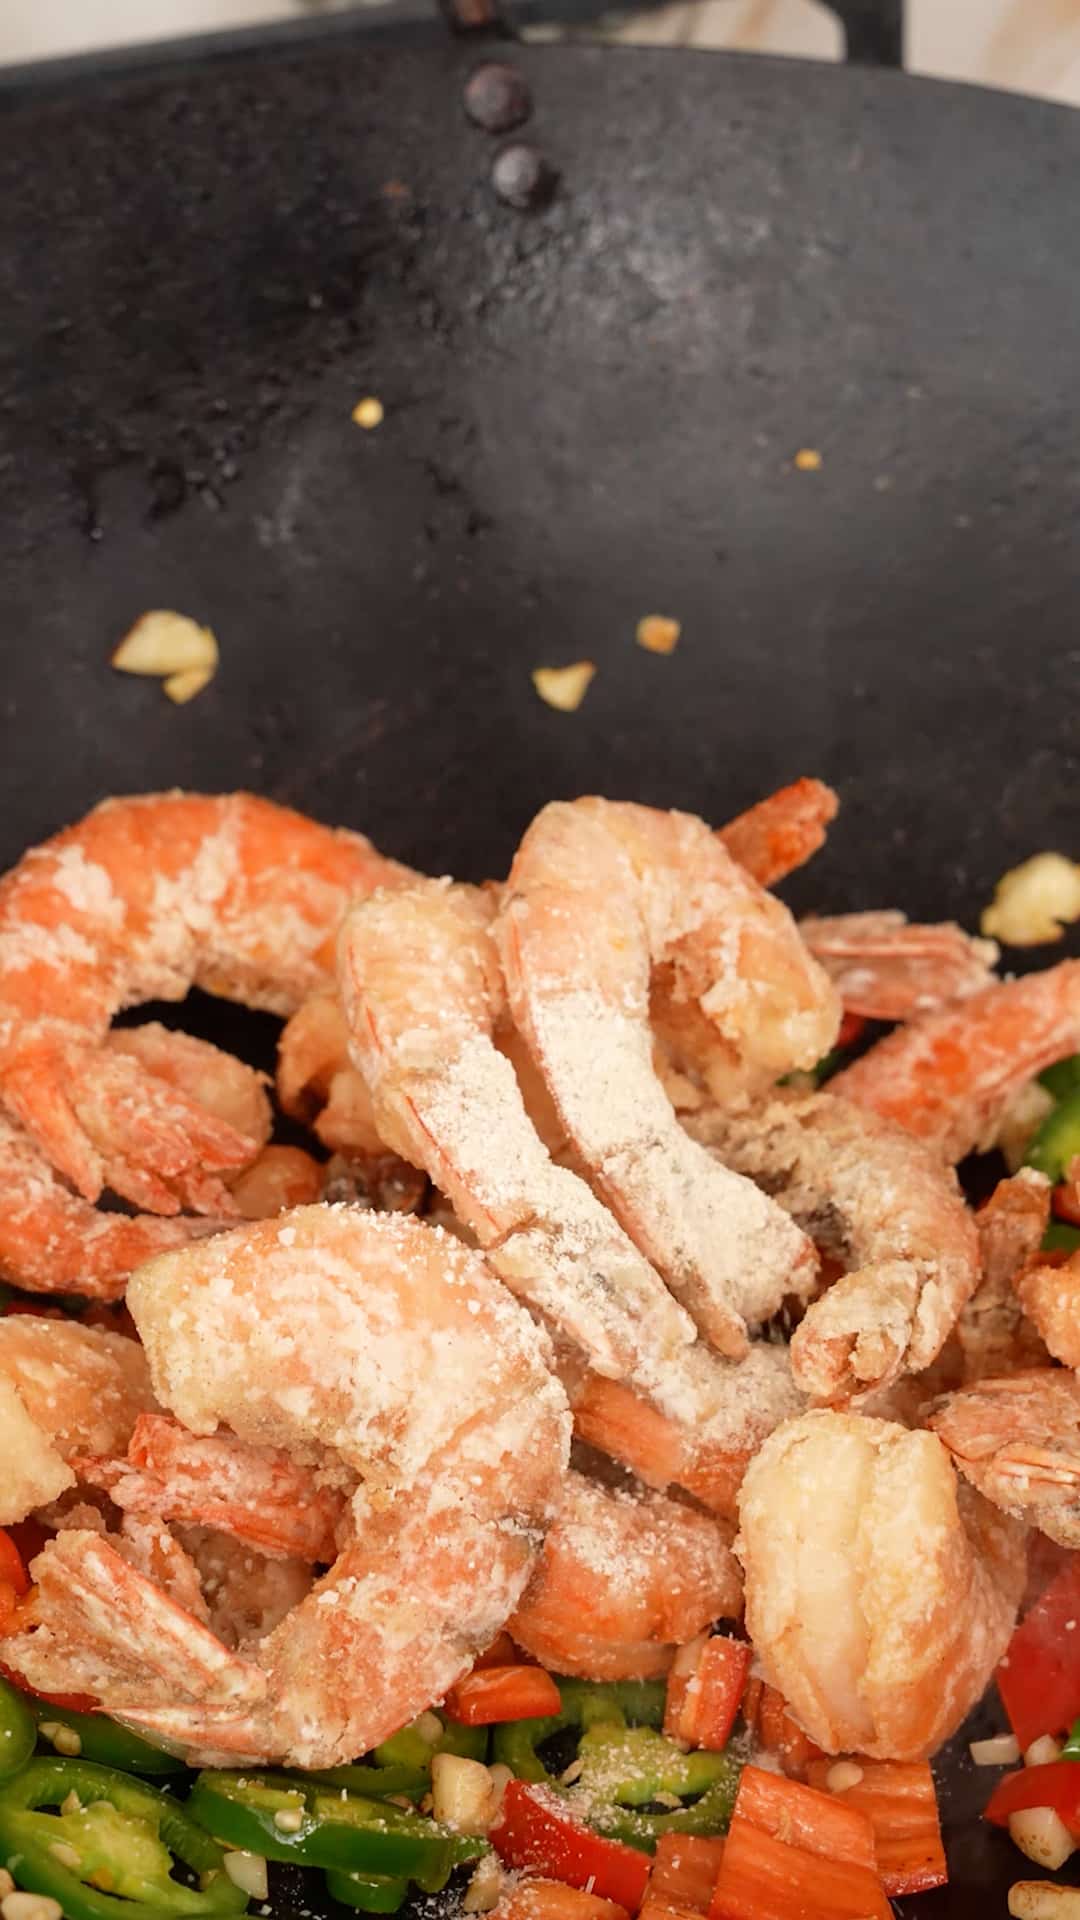
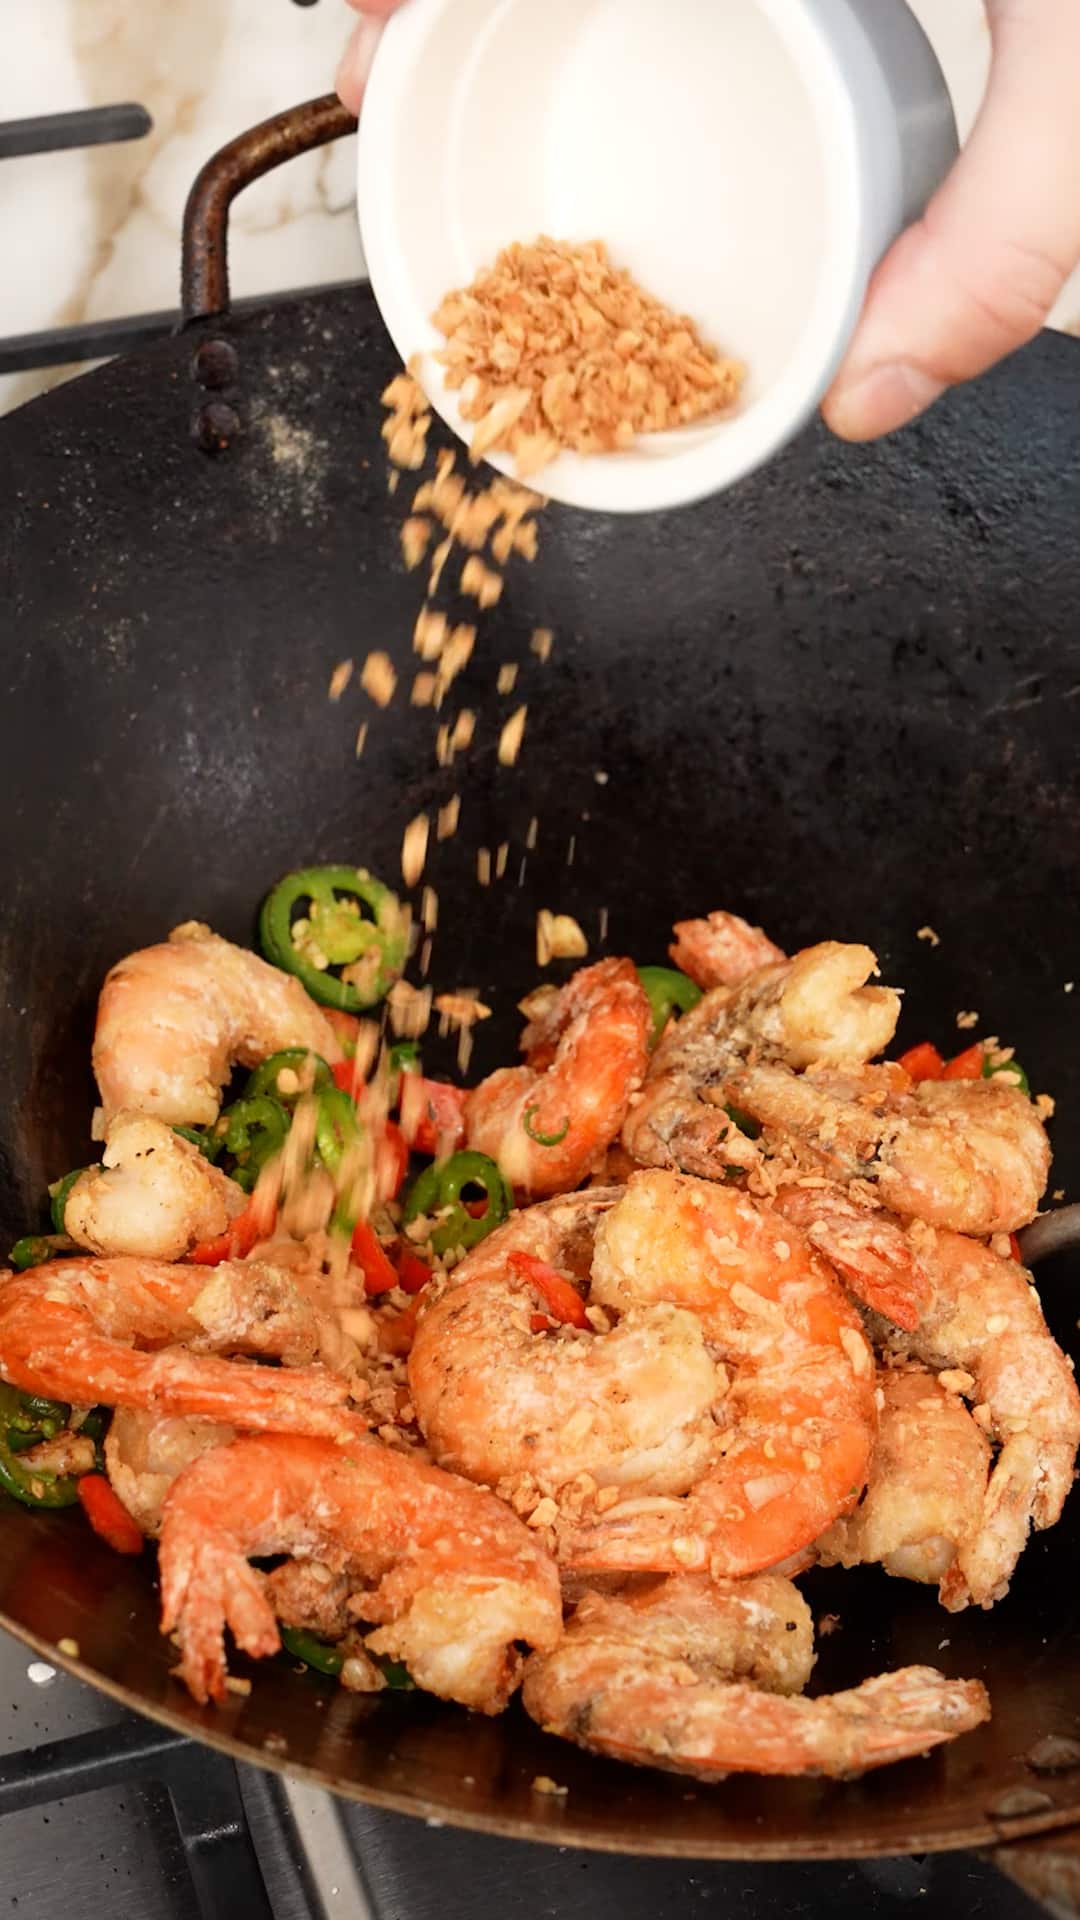
Add back your shrimp and the remaining spicy salt and stir fry for another minute. Add fried garlic and optional sliced peppers for garnish and enjoy your Salt and Pepper Shrimp!
Key Tip
Expert Tips for Salt and Pepper Shrimp
Shrimp Tips
- I like to use U16-20 shrimp for Salt and Pepper Shrimp, which are on the larger side. You can use the size shrimp you prefer or have on hand.
- I eat the shells and keep the tails on; you can remove the shells and/or the tails, if you prefer. I recommend keeping the tails because it makes it easier to hold on to the shrimp while eating
- If the shrimp is not deveined, take a pair of clean kitchen scissors and cut through the shell around the top of the shrimp to devein.
Chili Peppers Tips
- Make sure to wash your hands well after handling the jalapeno, fresno, and Thai chili peppers – the Capsaicin inside the peppers can irritate your skin. Do NOT touch your eyes!
- If you are sensitive to spice, use half or remove the Thai chili pepper completely. You can substitute with a milder pepper (more jalapeno, fresno, or use green bell peppers.)
Watch the Oil Temperature!
- Do not let your frying oil drop below 350-385F when frying! I highly recommend you use a thermometer to keep an eye on the temperature. If you see it dropping below 350F, fry your squid in batches.
- Frying at a low temperature will result in too much moisture and your Salt and Pepper Shrimp will end up soggy!
Spider Strainer
- I like to use a spider strainer when frying Salt and Pepper Shrimp – I’m able to quickly scoop and drain the fried squid before any of the pieces overcook or burn.
Can’t get enough of recipes with shrimp? Here are some of my favorite noodle and rice dishes that use shrimp as the main protein –
- For rice, make the classic Shrimp Fried Rice or the super popular Din Tai Fung Fried Rice
- For pasta, one of my most popular recipes on the website is for Shrimp Scampi Pasta
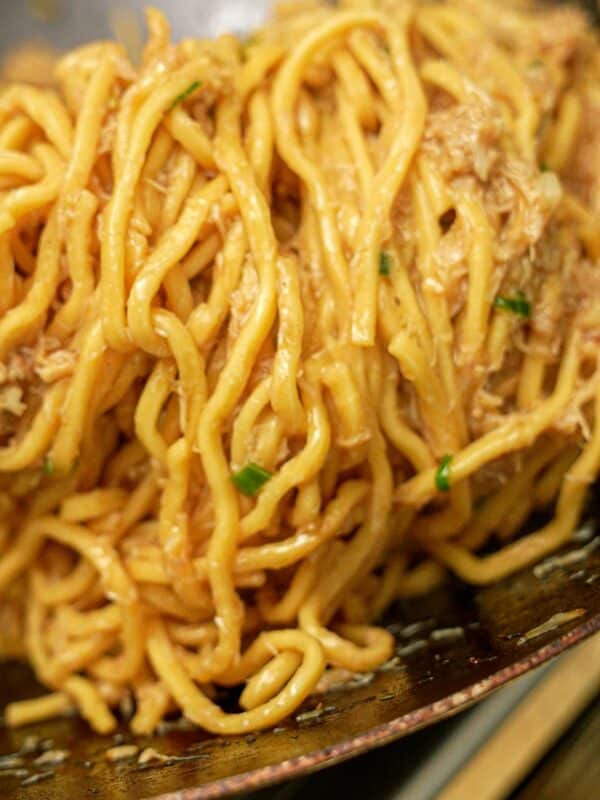
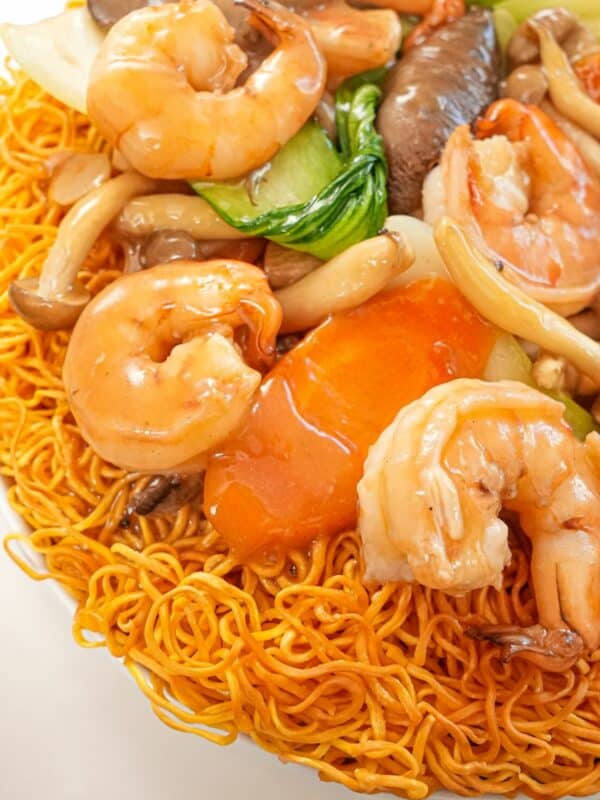
- For Asian noodles, you can’t go wrong with Shrimp Lo Mein, Garlic Shrimp Noodles, Hong Kong Style Chow Mein, or Pad Thai!
Storage and Reheating
Store any leftover Salt and Pepper Shrimp in an airtight container in the refrigerator for up to 3-4 days. Refrigerating will change the crispy texture of the Salt and Pepper Shrimp.
I like to use the air fryer to reheat any leftovers and regain some of the crispiness. Reheat them at 375°F for 6-8 minutes until crispy and hot!
If you tried this Salt and Pepper Shrimp or any other recipe on my website, please leave a 🌟 star rating and let me know how it went in the comments below!
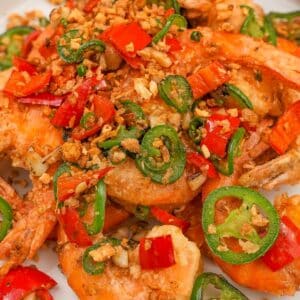
Salt and Pepper Shrimp (VIDEO)
Video
Equipment
Ingredients
- 1/2 lb shrimp, U16-20; Shell on and de-veined
- 1/2 cup cornstarch
- 2 cups neutral oil, I used avocado oil
Spicy Salt
- 1/2 tsp white pepper
- 1/4 tsp salt
- 1/4 tsp msg
Aromatics and Peppers
- 1 tbsp neutral oil
- 1 jalapeno, sliced
- 2 fresno chilis, sliced
- 1 thai chili pepper, sliced, optional
- 5 cloves garlic, minced
- 2 tbsp fried garlic, minced
Instructions
- To prep the shrimp, cut off the legs with kitchen shears. Cut through the shell along the top of the shrimp and devein (if not already done so).
- In another small bowl, mix white pepper, salt and msg to make the spicy salt.
- Dredge shrimp in cornstarch until lightly coated. In a large pot or wok, heat the neutral oil to 375F.
- Fry half of the shrimp in the oil for 2 minutes until golden brown and shell is crisp. Remove and drain on a paper towel and immediately season with a few pinches of spicy salt.
- Heat 1 tbsp of oil over high heat, then add the garlic, jalapeno, fresno chilis, and thai chili pepper, if using. Stir the garlic and aromatics for 1 minute until fragrant. Add back the shrimp and the remaining spicy salt and stir fry for another minute until combined. Add fried garlic for garnish and enjoy!
Notes
- shrimp – I used raw U16-20 (large) shrimp with the shells and tails on (deveined- use kitchen scissors to cut through the shell around the top of the shrimp to devein). You can use the size shrimp you prefer or have on hand. This dish traditionally uses shrimp with the shells on – when the shrimp is battered and fried with the shells on, the shells become super crispy and crunchy (the shells have the most flavor!) If you prefer to remove the shells, that is OK – just do so before dredging or cooking. Keep the tails, as it makes the shrimp easier to hold on to when eating.
- msg – I use msg in moderation as an optional flavor enhancer.
- peppers – there are 3 kinds of peppers used in this recipe: jalapeno, fresno, and Thai. Jalapeno and fresno peppers are not spicy (in my opinion) and mostly for flavor. The Thai peppers are spicy – if you are sensitive to heat, I would recommend you only use half or remove the Thai chili pepper altogether. Make sure to wash your hands well after handling the jalapeno, fresno, and Thai chili peppers – the Capsaicin inside the peppers can irritate your skin. Do NOT touch your eyes!
Nutrition
Nutrition information is automatically calculated, so should only be used as an approximation.


Love this dish at restaurants and can’t wait to make it myself
So good and easy to follow
I love this recipe! I love food with a kick so I add a bit more Thai chillies. Also if you have leftovers, airfry them the next day and they will crisp back up!