This post may contain affiliate links. Please read our disclosure policy.
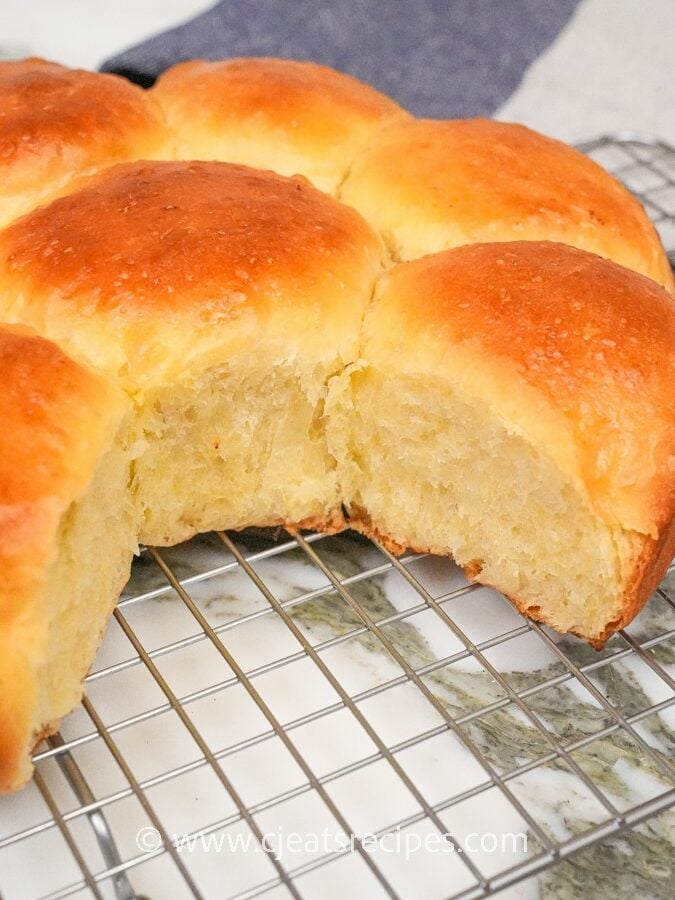
My homemade Milk Bread recipe is a fool-proof method to make the fluffiest, softest, and melt-in-your-mouth delicious Milk Bread! It’s perfectly chewy and super moist – perfect as dinner rolls or for any recipes that call for bread!
Watch the Milk Bread Recipe Video Below!
Table of Contents
- Watch the Milk Bread Recipe Video Below!
- What is Milk Bread?
- The Secret to the BEST Milk Bread
- What Ingredients do I need for Milk Bread?
- Milk Bread: Step-By-Step Recipe Instructions
- Use a kitchen scale to measure dry ingredients
- Use a kitchen scale to divide dough into equal pieces
- What Should I Make with Milk Bread?
- Expert Tips for Making The BEST Milk Bread at Home!
- Frequently Asked Questions
- Milk Bread (Extra Fluffy and Foolproof!) Recipe
What is Milk Bread?
Milk Bread is an Asian style bread, popular in Japan (where it’s called Shokupan) or China, where it’s used as the base for many popular pastries, like Pineapple Buns, Hot Dog Buns, or Char Siu Bao (Chinese BBQ Pork Buns)! It’s also what inspired Hawaiian Rolls (or Hawaiian Sweet Bread). Growing up (and to this day), I loved Milk Bread because it’s softer, fluffier, and richer than other breads.
The Secret to the BEST Milk Bread
The secret to the fluffiest, softest, and buttery Milk Bread is something called “Tangzhong” – “Tangzhong” is a traditional Chinese method that uses a roux that is made with flour and a liquid (usually water). My version of “Tangzhong” is actually what makes this Milk Bread recipe extra moist and soft – rather than using only water, I use a combination of water and whole milk!
If you don’t want to use whole milk, you can substitute with another cow’s milk OR use water. However, I highly recommend using whole milk, as it adds a richness that makes these the best Milk Bread you’ll ever have!
What Ingredients do I need for Milk Bread?
Milk Bread does not require any special or hard to get ingredients; most of them are probably already in your pantry!
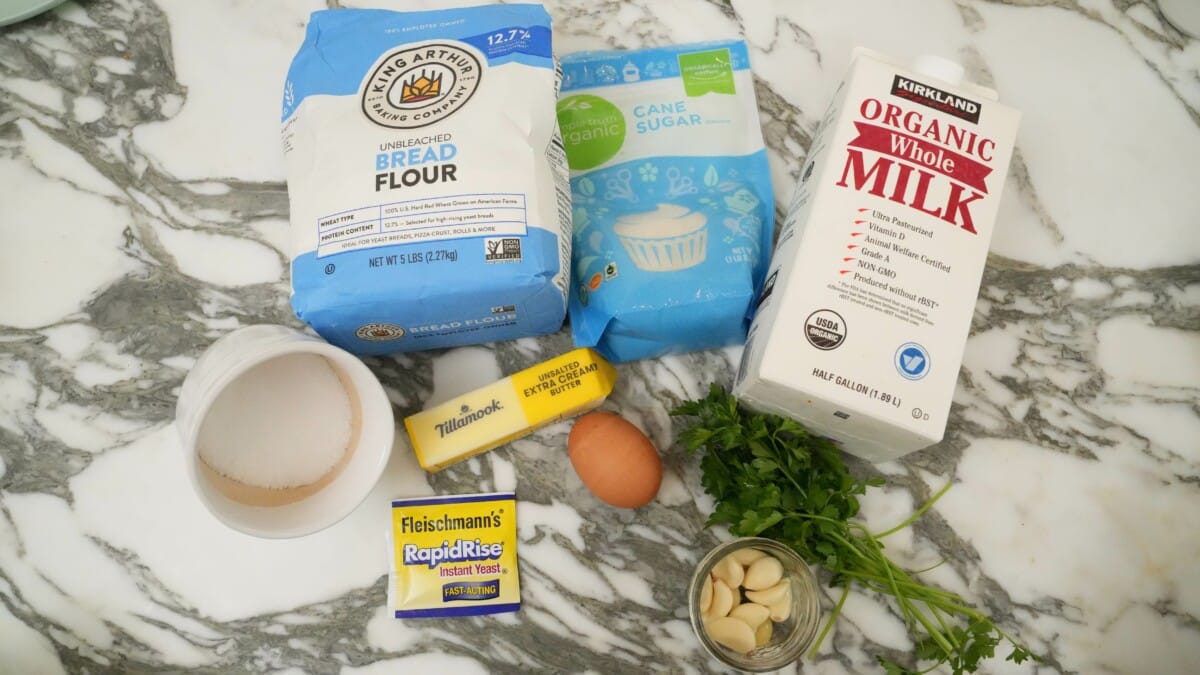
Tangzhong
See above for notes on why my version of Tangzhong is my secret to the best Milk Bread!
NOTE: I highly recommend using gram measurements when provided – when baking, it’s crucial you are as exact as possible to ensure the best results!
- 2 tablespoons or 28g water
- 3 tablespoons or 43g whole milk – If you don’t have whole milk, you can substitute with another cow’s milk OR use water in lieu.
- 2 tablespoons or 14g flour
Dough
- 3 cups or 375g Bread Flour + more if needed (see note)
- 3 tablespoons granulated sugar
- 1 tablespoon instant yeast or 7g
- 1/2 cup whole milk, room temperature – it’s crucial you bring all refrigerated ingredients to room temperature for your Milk Bread to be successful!
- 1 large egg
- 5 tablespoons unsalted butter, melted and cooled to room temperature
- 1 teaspoon kosher salt
Egg Wash
- 2 tbsp water
Garlic Butter
- 8 tbsp unsalted butter, room temperature
- 4 cloves garlic, minced
- 1 tbsp parsley, minced
Refer to the recipe card for the full list of ingredients and measurements!
Milk Bread: Step-By-Step Recipe Instructions
1. Make the Tangzhong
Combine the three ingredients for Tangzhong (water, whole milk, and flour) in a small sauce pan and whisk until there are no lumps. I highly recommend weighing your ingredients for the best, most consistent results.
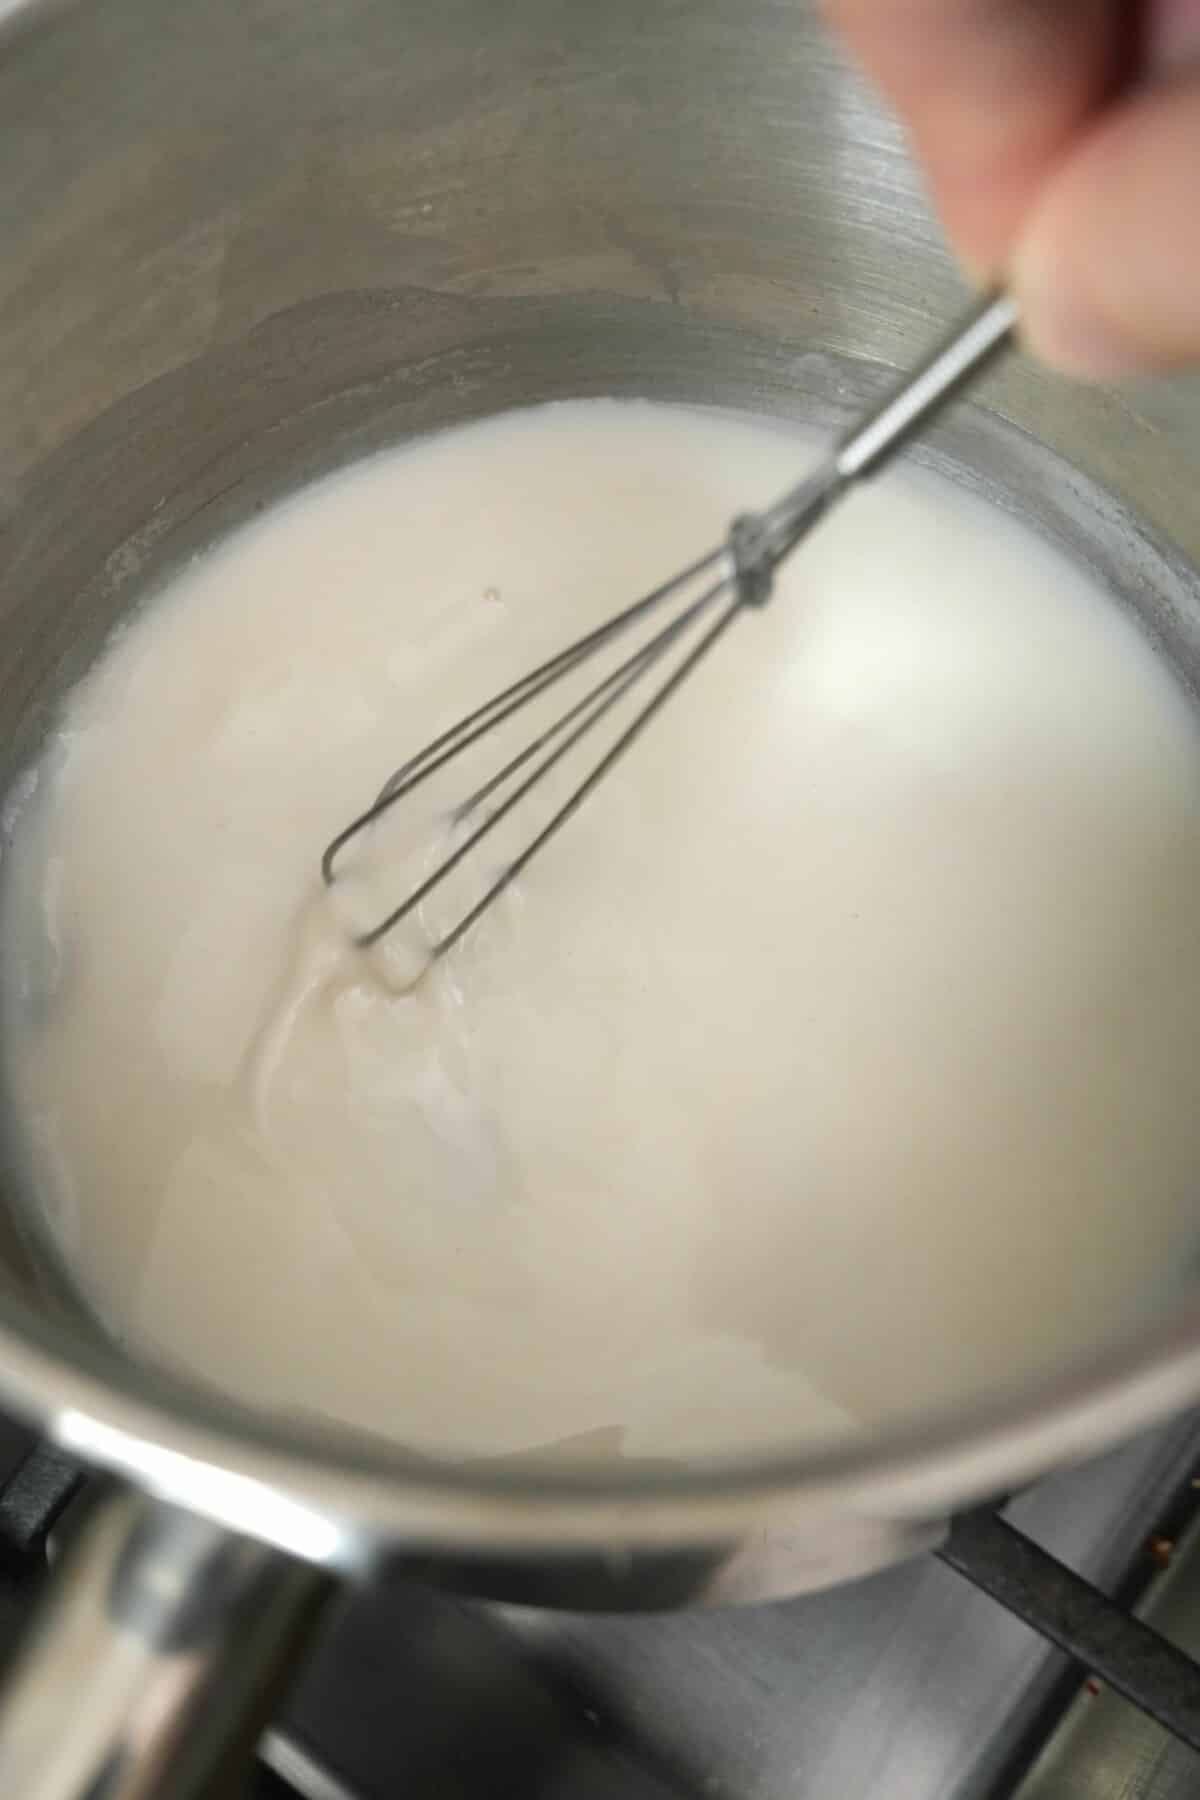
Place the saucepan on the stove; over low heat, whisk consistently for 3-5 minutes until the Tangzhong thickens. The whisk should leave lines on the bottom of the saucepan.
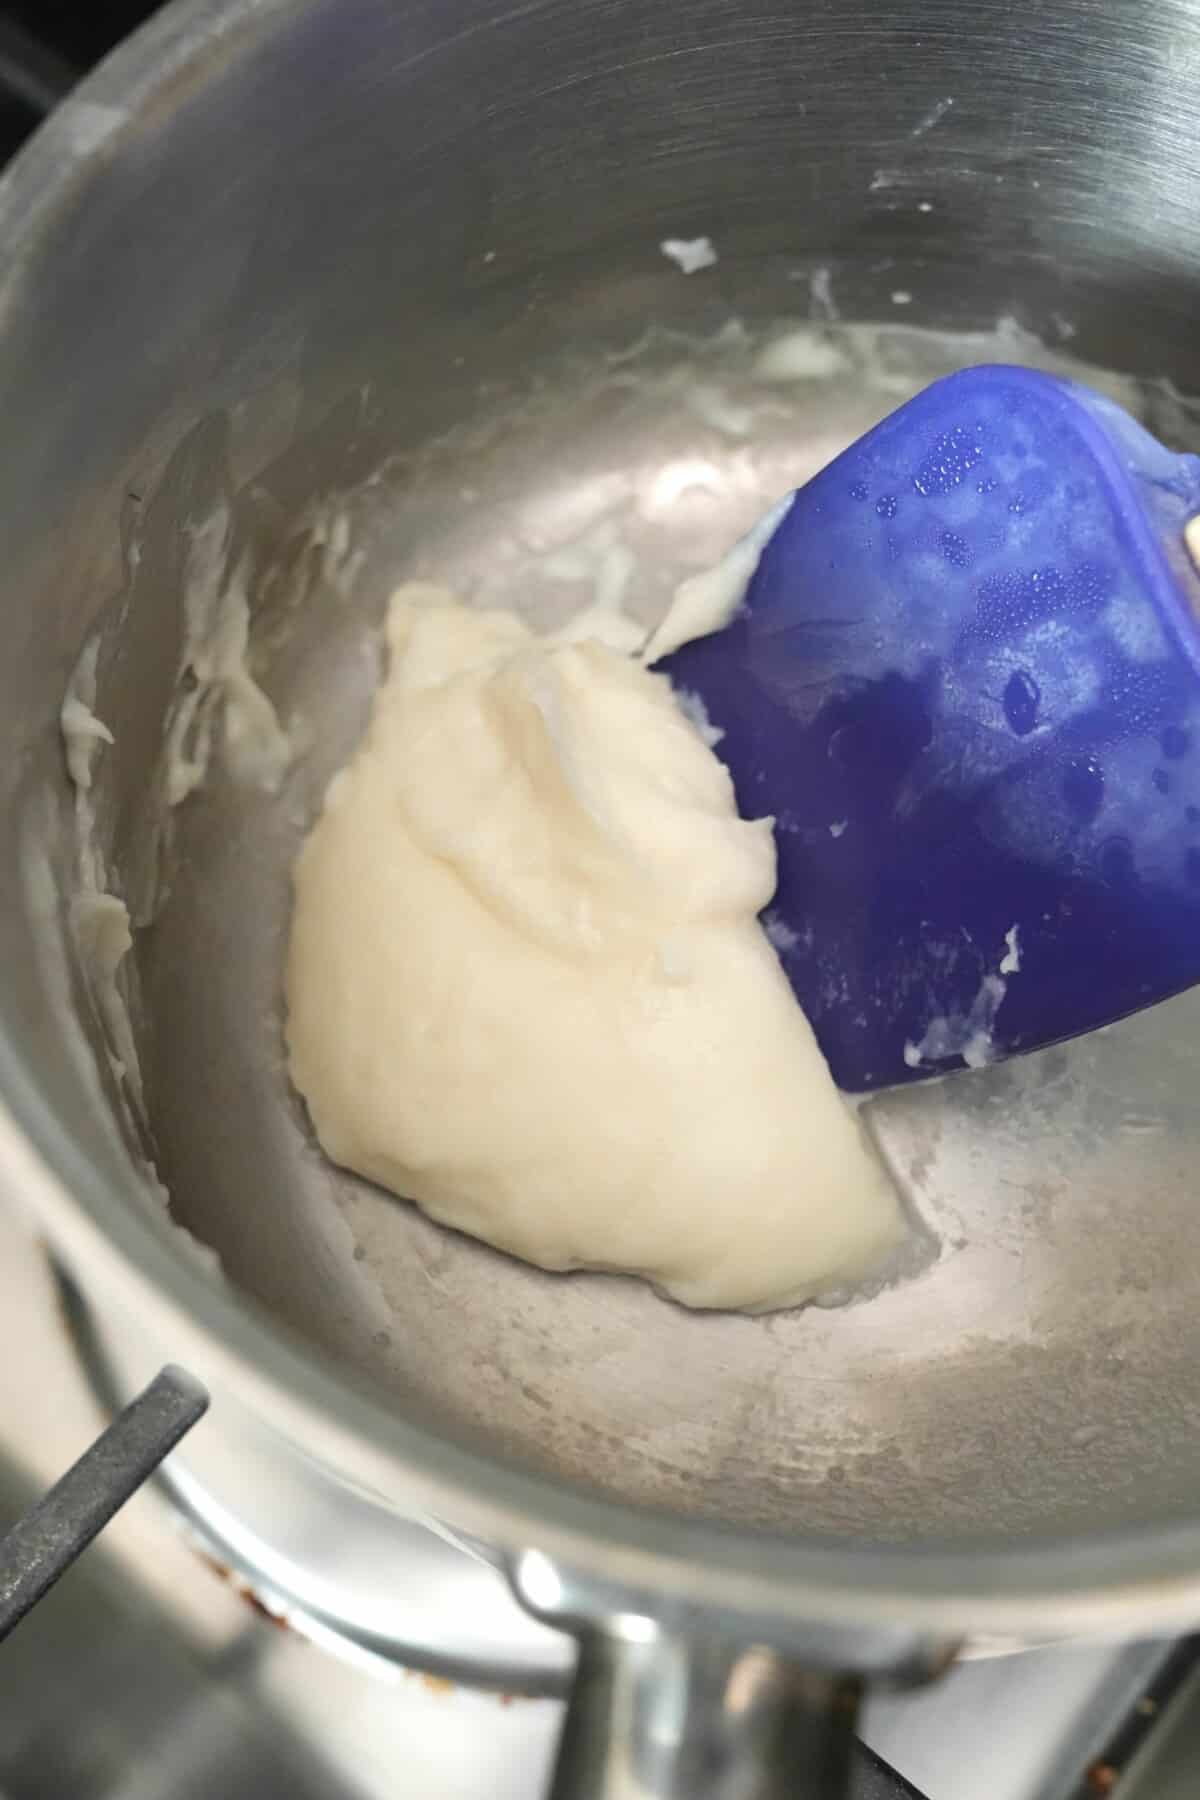
Transfer the cooked Tangzhong to a small mixing bowl or measuring cup; let cool to room temperature before using.
2. Combine the Dough
Once the Tangzhong is cooled, combine with the dough ingredients (listed in the recipe card). Mix well and begin kneading until a smooth, elastic dough forms. You can do this step by hand, mixer, or bread machine – I prefer using a stand mixer, but you can easily do this by hand.
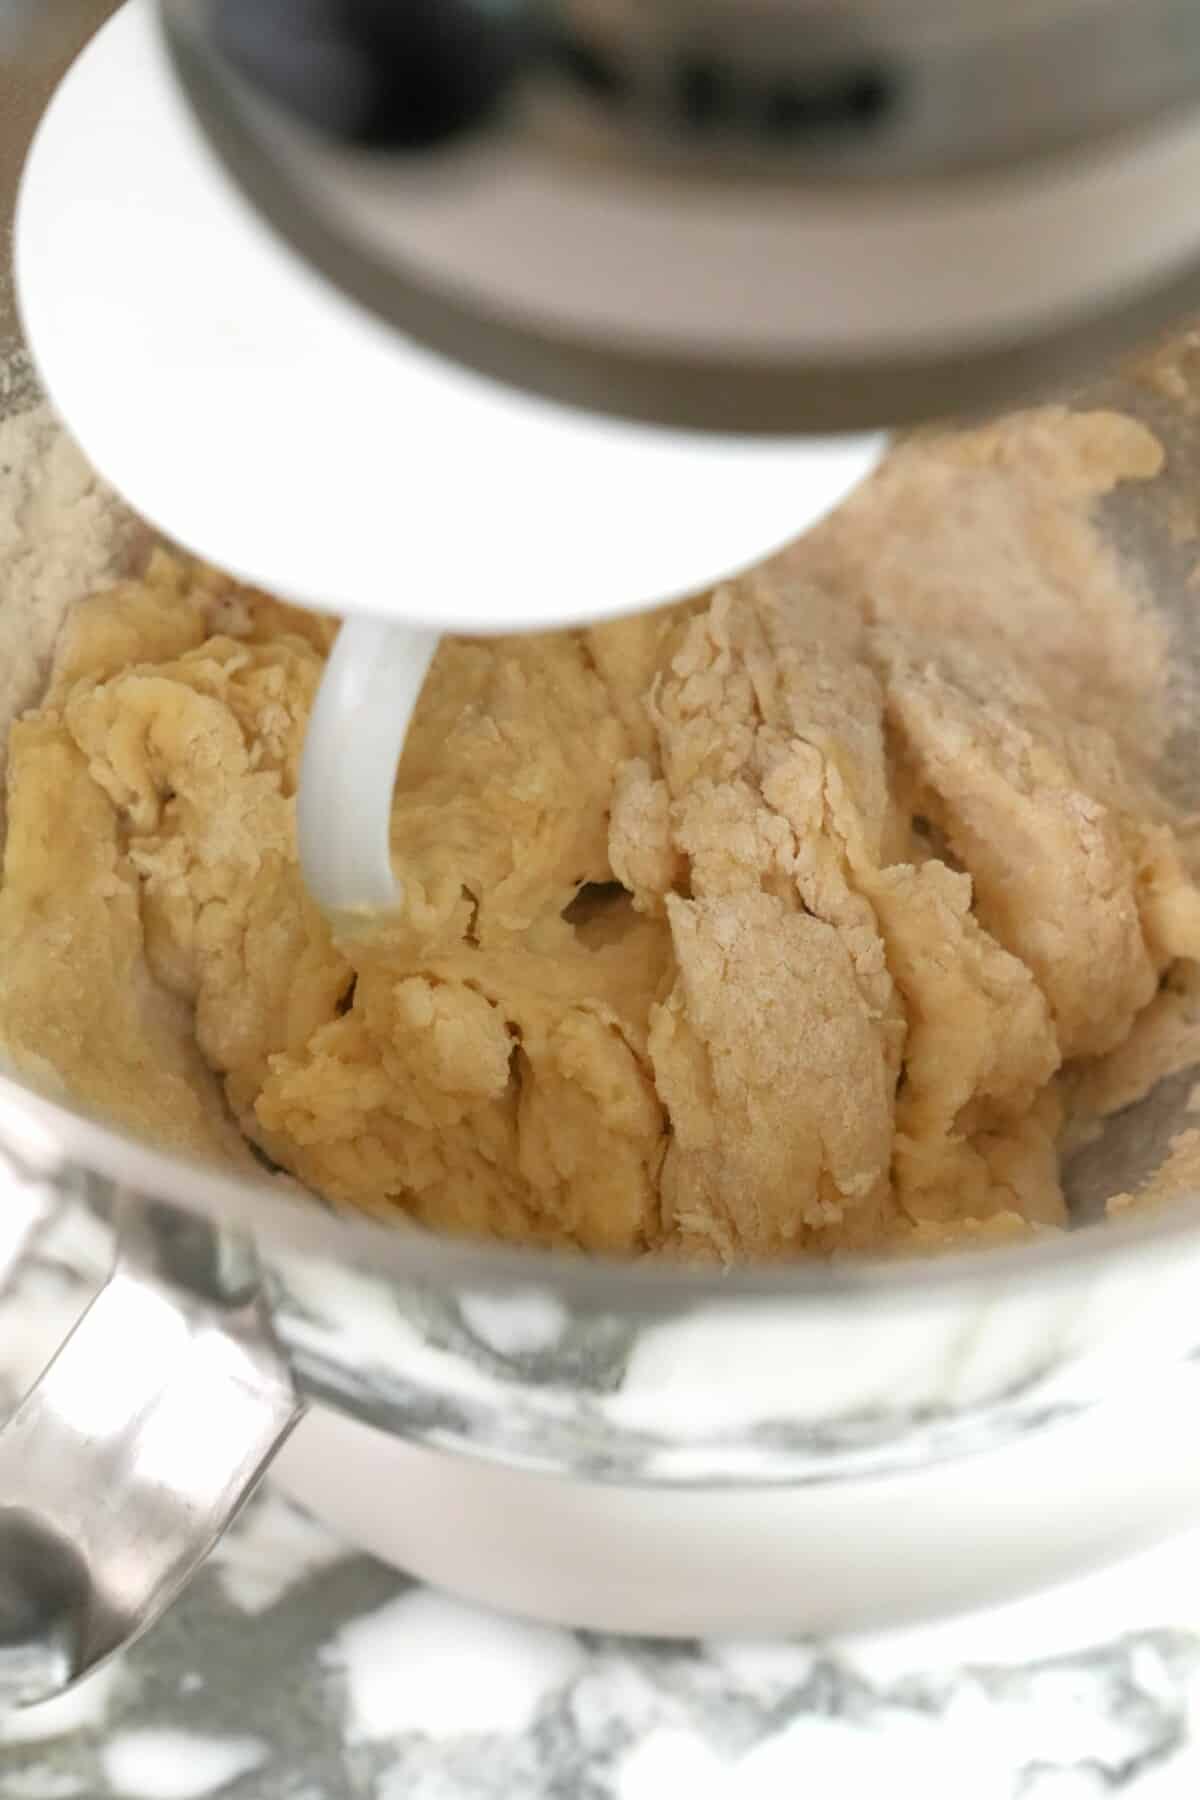
If you find that the dough is too sticky during the kneading process, you can add flour 1-2 tbsp at a time and incorporate until the dough is smooth and elastic. Do not add too much flour or you will find the bread becomes too dense.
Key Tip
Use a kitchen scale to measure dry ingredients
I highly recommend using a digital kitchen scale to measure out ingredients to the gram for any baking recipe. This is a more exact way of measurement versus measuring by cups, which may be inconsistent in size or the method in which you scoop the ingredients!
3. Shape the Dough and Let Proof
Once the dough is smooth and elastic, shape it into a ball.
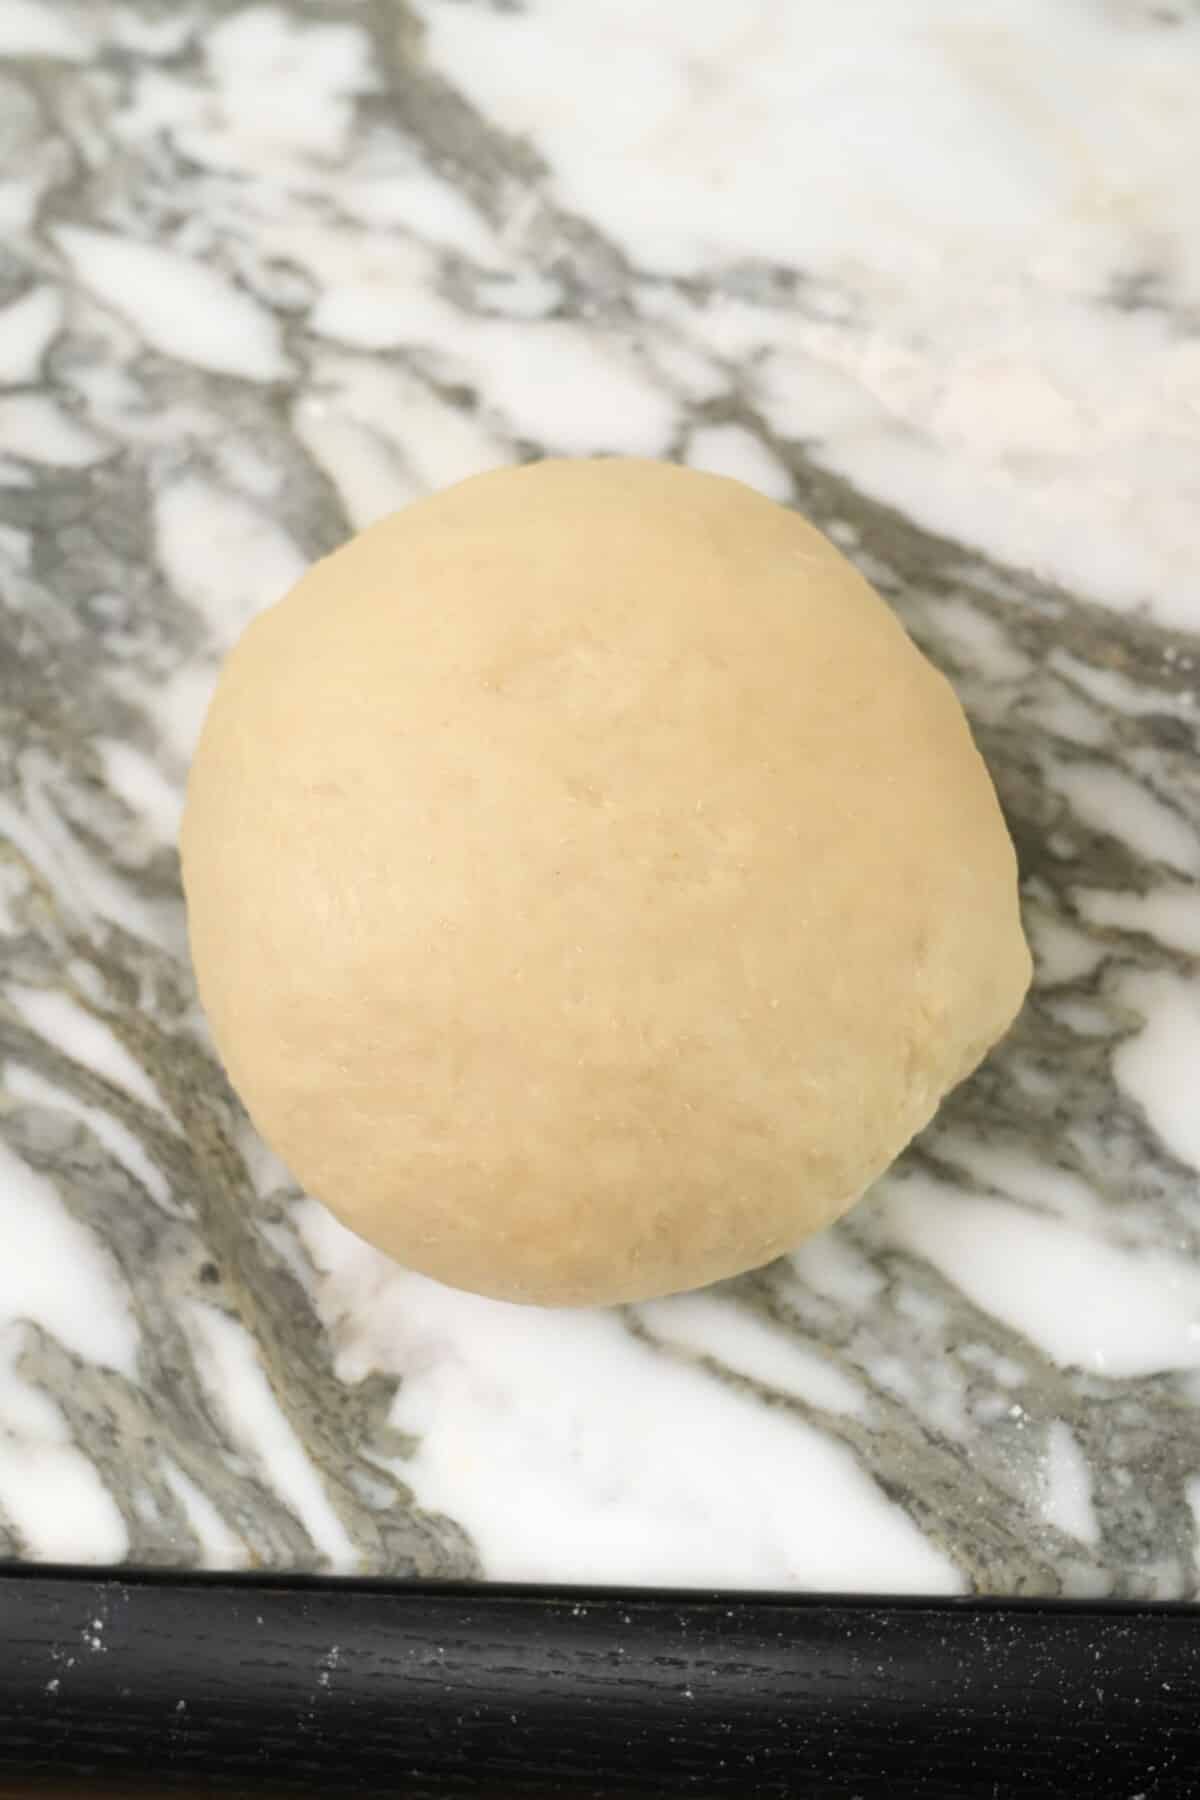
Take a large bowl and grease it lightly with oil or melted butter (to prevent sticking). Place the ball in the lightly greased bowl and cover to rest in a warm place for 60-90 minutes.
The dough should be noticeably puffier but not necessarily doubled in bulk.
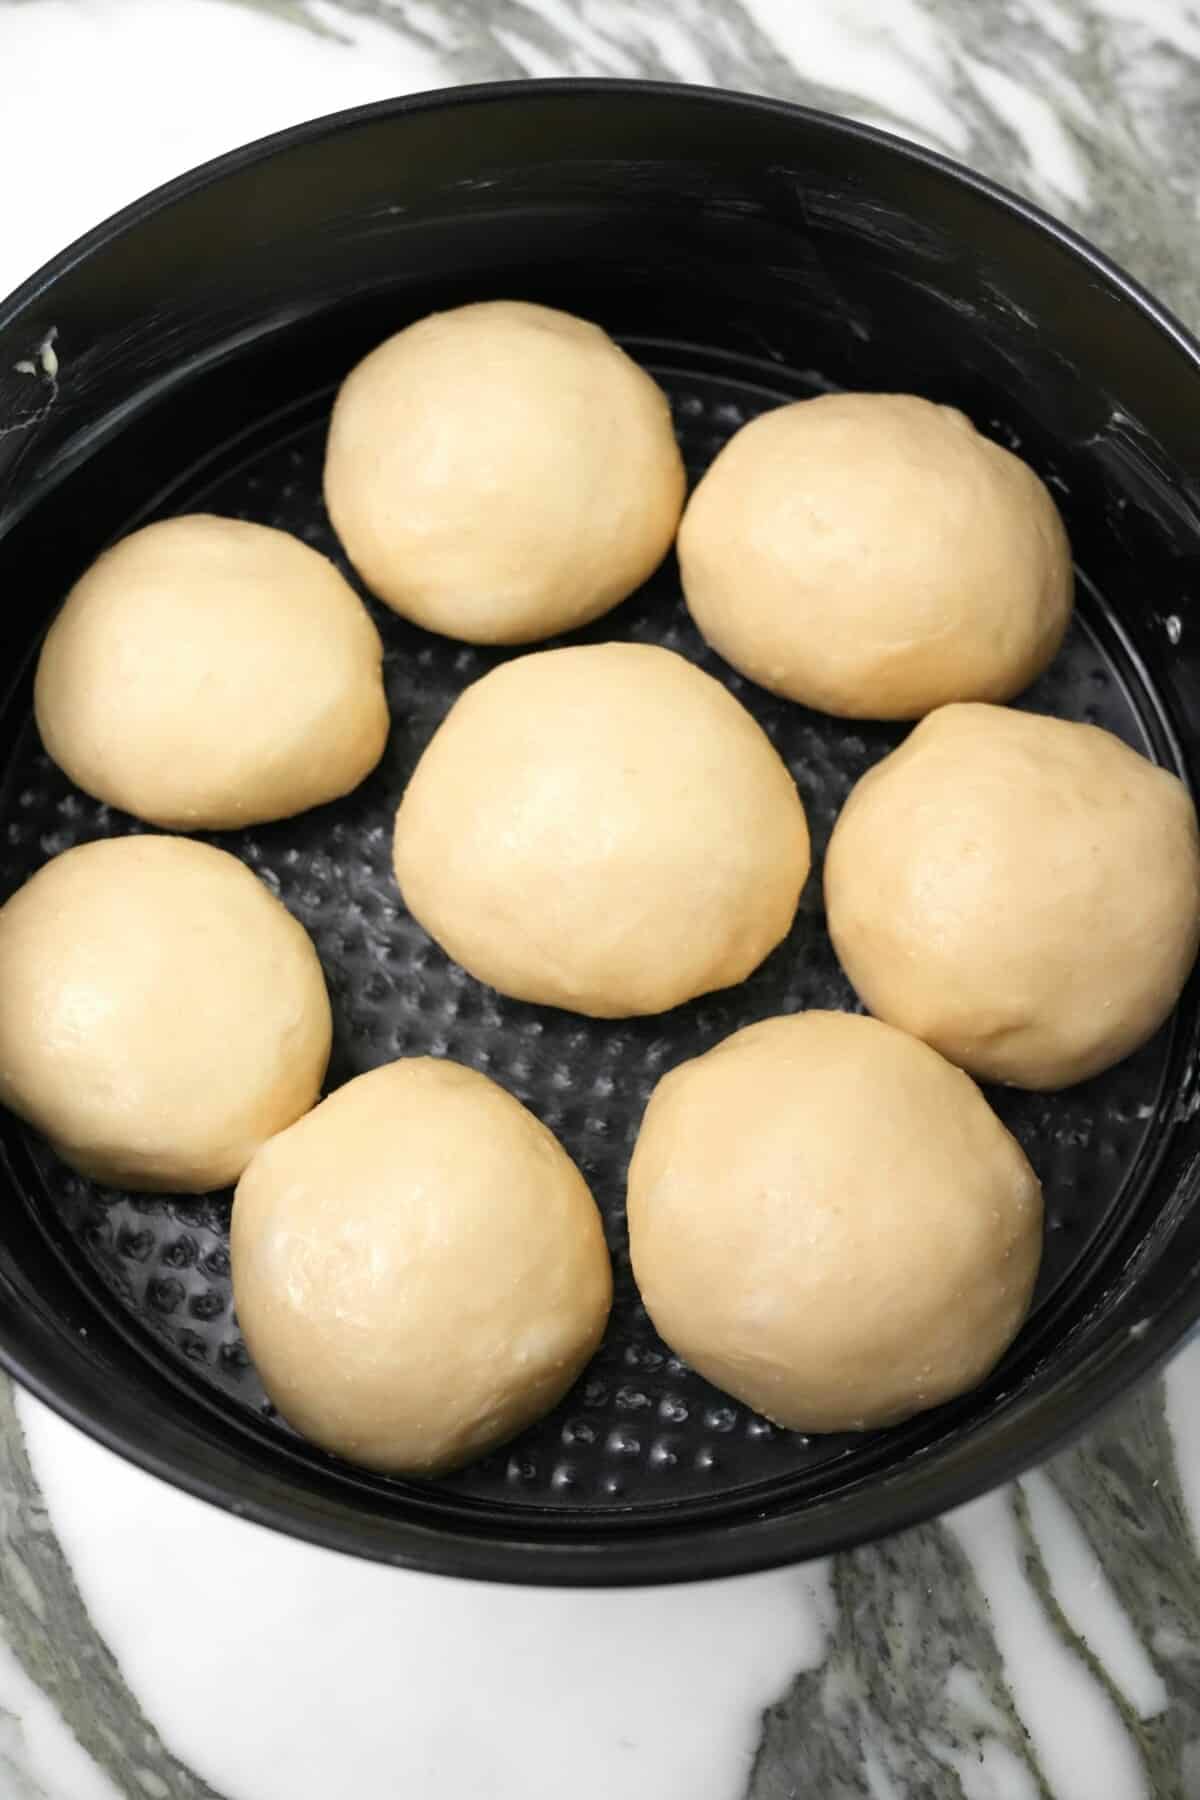
4. Deflate the Dough and Divide into Rolls
After resting the dough, remove and deflate the dough with your hand.
To make large rolls: Divide the dough into 8 equal pieces.
To make medium-sized rolls: Divide the dough into 10 equal pieces.
Shape each piece into a smooth ball.
My Pro Tip
Use a kitchen scale to divide dough into equal pieces
Again, a kitchen scale is super handy here to accurately measure even sized rolls. Simply take the total weight of the dough ball in step 3. Divide that weight by the number of rolls you want to make, then aim to divide each dough ball to weigh the same.
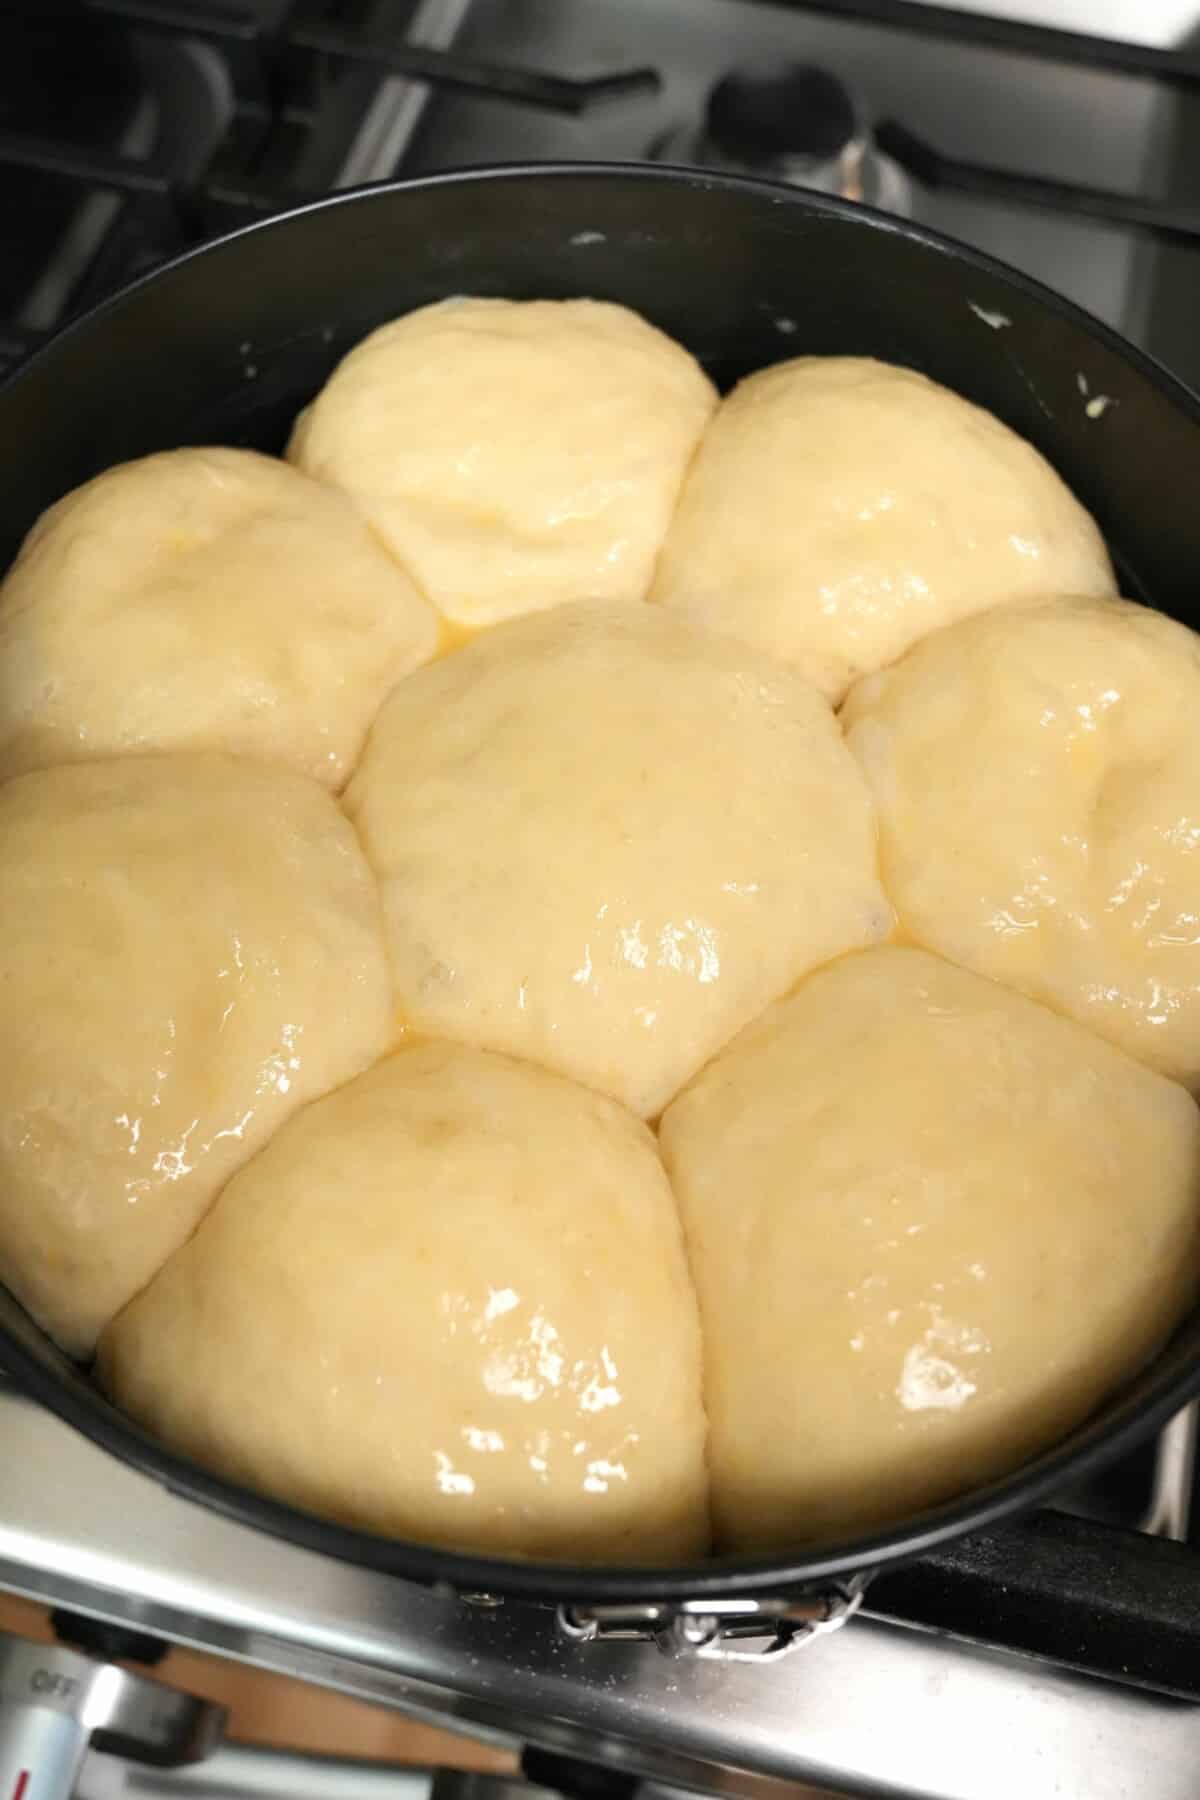
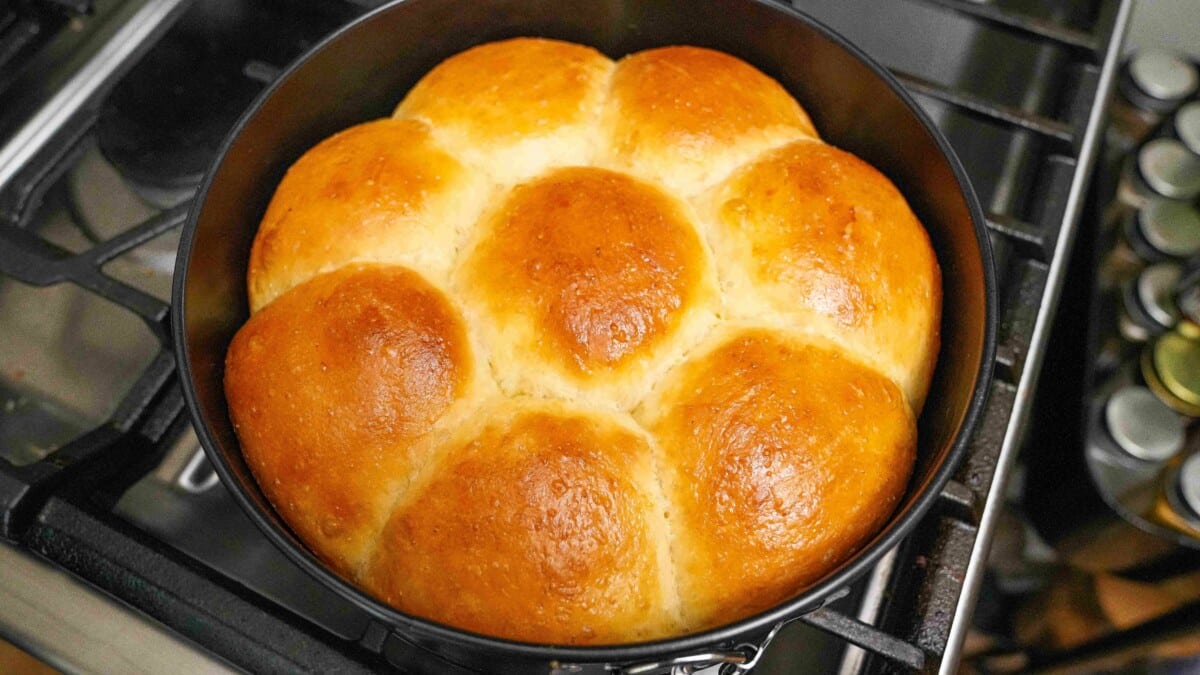
5. Place Rolls into a Cake Pan
Take a cake pan and grease it with melted butter. Place the rolls into the buttered cake pan, ensuring there is even space in between the rolls.
Cover the pan, and let the rolls rest for 1 hour or until doubled in size. If they have not doubled in size, let rest for another 30 minutes or so. This is an important step to make the rolls soft and fluffy!
6. Brush with Egg Wash and Bake
Preheat the oven to 350°F.
Brush the rolls with milk or egg wash (1 large egg beaten with 1 tablespoon cold water).
Once the oven is heated, place the cake pan in the oven and bake for 25 to 30 minutes, until golden brown on top; a digital thermometer inserted into the center of the middle roll should read at least 190°F.
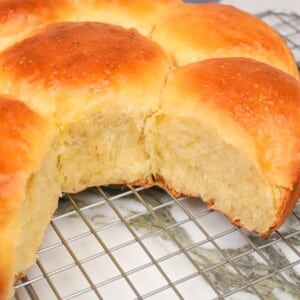
7. Let the Rolls Cool
Remove the rolls from the oven. Allow them to cool in the pan for 10 minutes, then transfer them to a rack to cool completely.
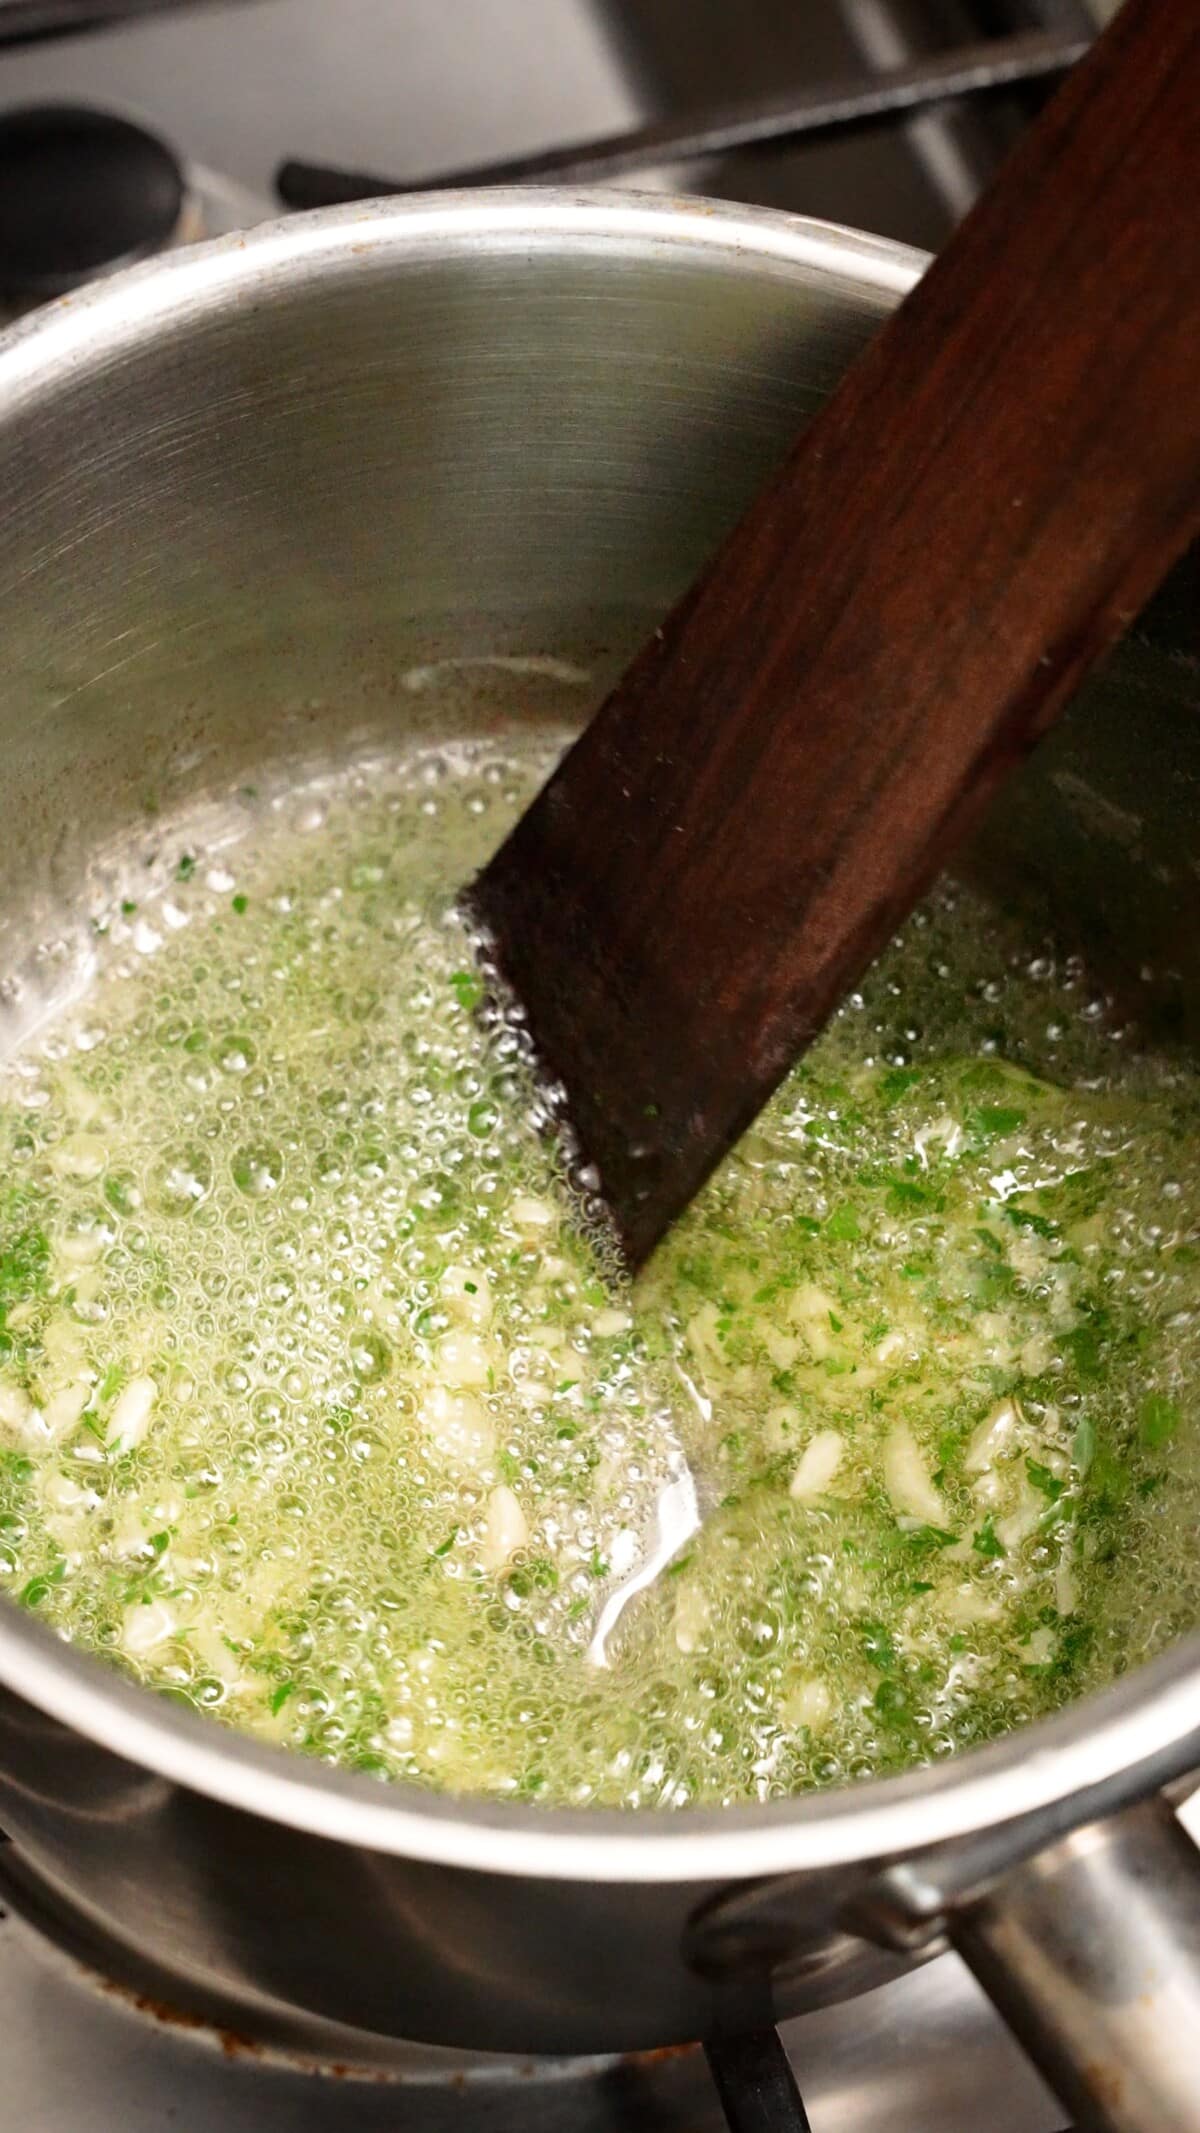
8. Make the Garlic Butter
For the Garlic Butter, melt the butter in a small saucepan over medium heat until just sizzling. Add the chopped garlic and sauté for 1 minute until the garlic is softened. Turn off the heat, then add chopped parsley and mix to combine. Brush immediately over the warm rolls.
What Should I Make with Milk Bread?
Make my Garlic Herb Compound Butter that goes perfectly with Milk Bread rolls for a special occasion, holiday dinner, or even just a simple weeknight meal!
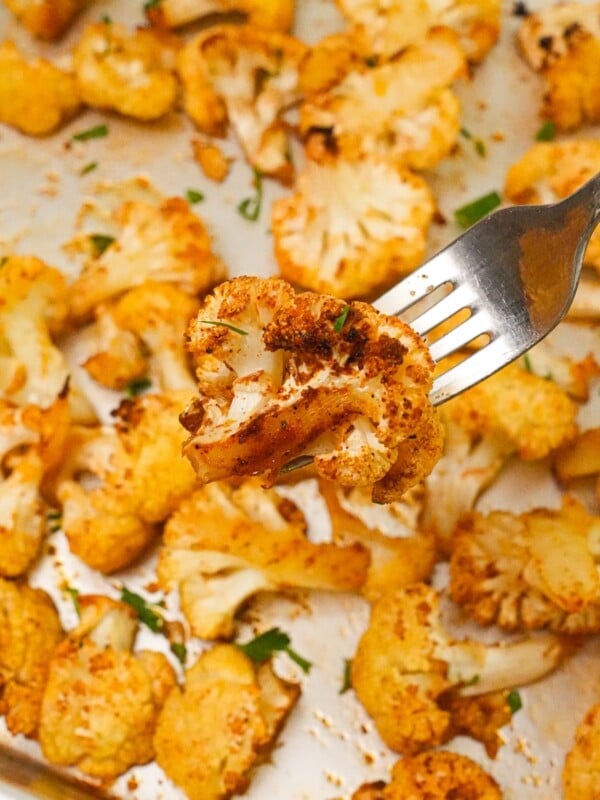
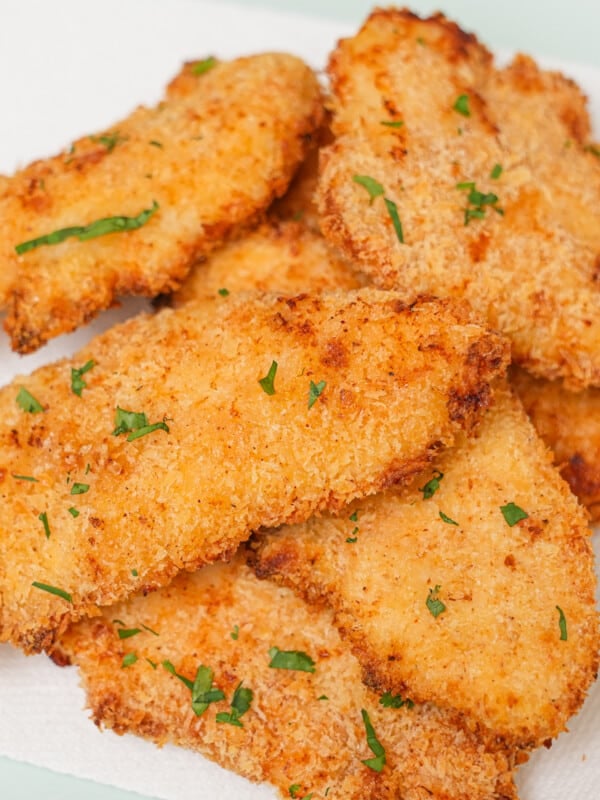
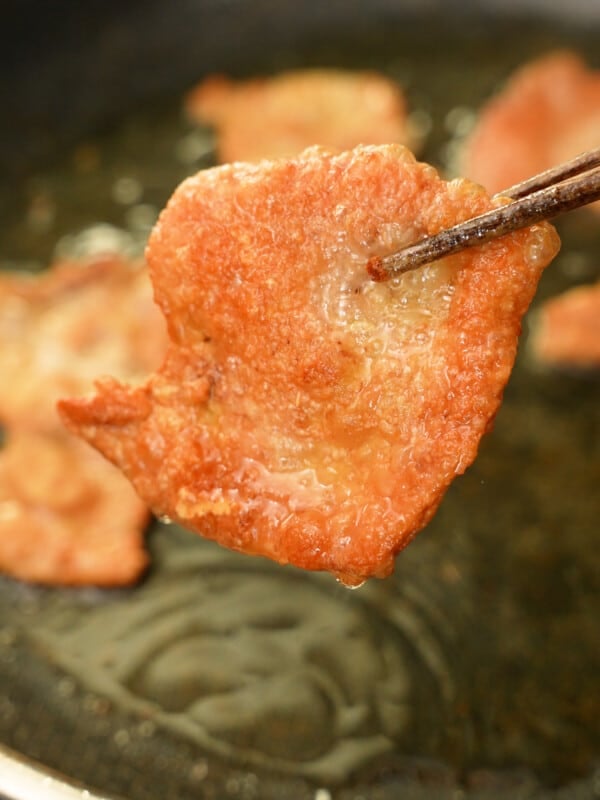
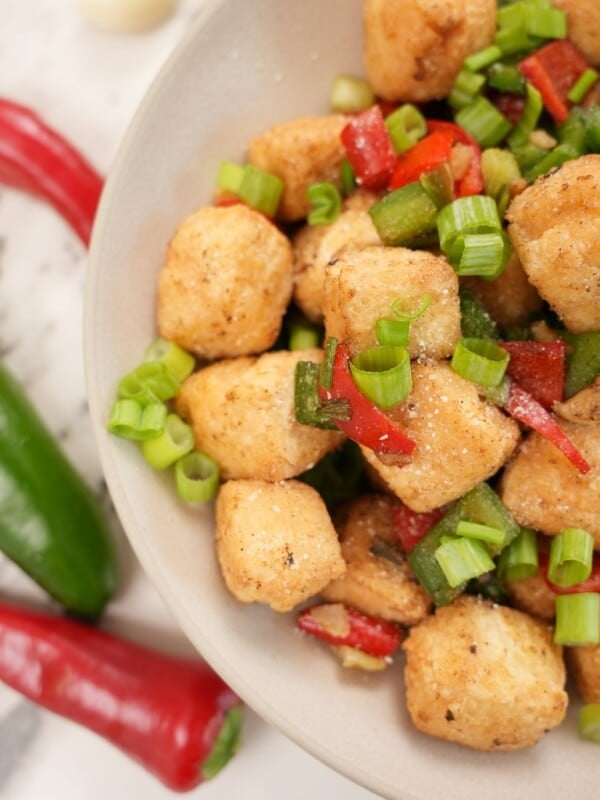
One fun way I love using the Milk Bread rolls is for making sliders – I like to slice them in half and place a piece of Pork Katsu or Chicken Katsu in the center and drizzle Homemade Tonkatsu Sauce on top! They’re my easy take on katsu-sandos! If you don’t want to deep fry, you can make Air Fryer Chicken Katsu or use Chicken Teriyaki. If you’re feeling like shrimp, use Panko Shrimp instead!
Milk Bread rolls are great to accompany classic dinners like Meatloaf, Air Fryer Chicken Thighs, the perfect Steak with Peppercorn Sauce, Fried Chicken, or Chicken Parmesan!
PRO TIPS
Expert Tips for Making The BEST Milk Bread at Home!
- Bring all of your refrigerated ingredients to room temperature for your Milk Bread to be successful!
- For any baking recipe, I highly recommend using a scale to measure out the dry ingredients in grams. This eliminates any risks of miscalculation – being as exact as possible will ensure you get the best results with your Milk Bread!
Frequently Asked Questions
Q: How do I make loaves with this Milk Bread recipe?
- If making loaves, after step 3, divide the dough into 3 pieces. Take each piece and create a rectangle, folding the ends onto each other and flatting them. Repeat this process again, then place the dough in the loaf pan and let rise for 1 hour. Continue with step 6.
Q: My Milk Bread dough is too sticky – what do I do?
- If the dough is too sticky during the kneading process, add flour 1-2 tbsp at a time and incorporate until the dough is smooth and elastic.
- Do not add too much flour or you will find the bread becomes dense.
Q: My Milk Bread came out too dense – what did I do wrong?
- You may have added too much flour when kneading (see question above) OR the dough may not have proofed long enough.
- The dough should roughly double in size after the first proofing; after shaping the dough into rolls or a loaf, a second proofing is needed to create the signature soft and fluffy texture.
Q: Can I make the Milk Bread dough in advance?
- I do not recommend making it in advance.
Q: How long can I store my Milk Bread?
- You can store your Milk Bread in an airtight container for 2-3 days (although they won’t last that long because they’re so delicious!) in the refrigerator. I’ve tried storing them on the counter and found that they last better in the refrigerator.
- You can freeze your baked Milk Bread in freezer bags for up to a month. When you’re ready to eat the, rethaw your Milk Bread in the microwave for 30 seconds.
If you tried this Milk Bread Recipe or any other recipe on my website, please leave a 🌟 star rating and let me know how it went in the comments below!
Milk Bread (Extra Fluffy and Foolproof!)
Equipment
Ingredients
Tangzhong
- 2 tablespoons water, 28g
- 3 tablespoons whole milk, 43g
- 2 tablespoons Flour, 14g
Dough
- 3 cups Bread Flour + more if needed (see note), 375g
- 3 tablespoons granulated sugar
- 1 tablespoon instant yeast, 7g
- 1/2 cup whole milk, room temperature
- 1 large egg
- 5 tablespoons unsalted butter, melted and cooled to room temperature
- 1 teaspoon kosher salt
Garlic Butter
- 8 tbsp unsalted butter, melted
- 4 cloves garlic, minced
- 1 tbsp parsley, minced
Instructions
- To make the tangzhong: Combine all of the ingredients in a small saucepan, and whisk until no lumps remain.
- Place the saucepan over medium low heat, and cook the mixture, whisking constantly, until thick and the whisk leaves lines on the bottom of the pan, about 3 to 5 minutes.
- Transfer the tangzhong to a small mixing bowl or measuring cup and let it cool to room temperature.
- To make the dough: Combine the tangzhong with the remaining dough ingredients, then mix and knead — by hand, mixer, or bread machine — until a smooth, elastic dough forms.
- Shape the dough into a ball, and let it rest in a lightly greased covered bowl for 60 to 90 minutes, until puffy but not necessarily doubled in size.
- Gently deflate the dough with your hands, divide it into 8 equal pieces (for large rolls) or 10 equal pieces (for medium-sized rolls), and shape each piece into a ball.
- Place the rolls into a buttered cake pan with even space in between the rolls. Cover the pan, and let the rolls rest in a warm place for 1 hour or until doubled in size.
- Preheat the oven to 350°F. Brush the rolls with milk or egg wash (1 large egg beaten with 1 tablespoon cold water), and bake for 25 to 30 minutes, until golden brown on top; a digital thermometer inserted into the center of the middle roll should read at least 190°F.
- Remove the rolls from the oven. Allow them to cool in the pan for 10 minutes, then transfer them to a rack to cool completely.
- For the Garlic Butter, melt the butter in a small saucepan over medium heat until just sizzling. Add the chopped garlic and saute for 1 minute until the garlic is softened. Turn off the heat, then add chopped parsley and mix to combine. Brush immediately over the warm rolls.
Notes
- To make a loaf: After the dough’s initial rise, divide it into four equal pieces. Flatten each piece into a rectangle, then fold the short ends in towards one another like a letter. Flatten the folded pieces into rectangles again and, starting with a short end, roll them each into a log. Place the logs in a row of four — seam side down and side by side — in a lightly greased 9″ x 5″ loaf pan. Cover the loaf and allow it to rest/rise for 40 to 50 minutes, until puffy. Brush the loaf with milk or egg wash and bake at 350°F for about 30 minutes, until golden brown on top and a digital thermometer inserted into the center of the loaf reads at least 190°F. Remove the loaf from the oven, and cool it on a rack
- If the dough is too sticky during the kneading process (this may depend on where you live and elevation). Add bread flour 1-2 tbsp at a time until the dough is smooth and elastic.
Nutrition
Nutrition information is automatically calculated, so should only be used as an approximation.