Crispy Honey Garlic Chicken in 20 Minutes!(VIDEO)
This post may contain affiliate links. Please read our disclosure policy.
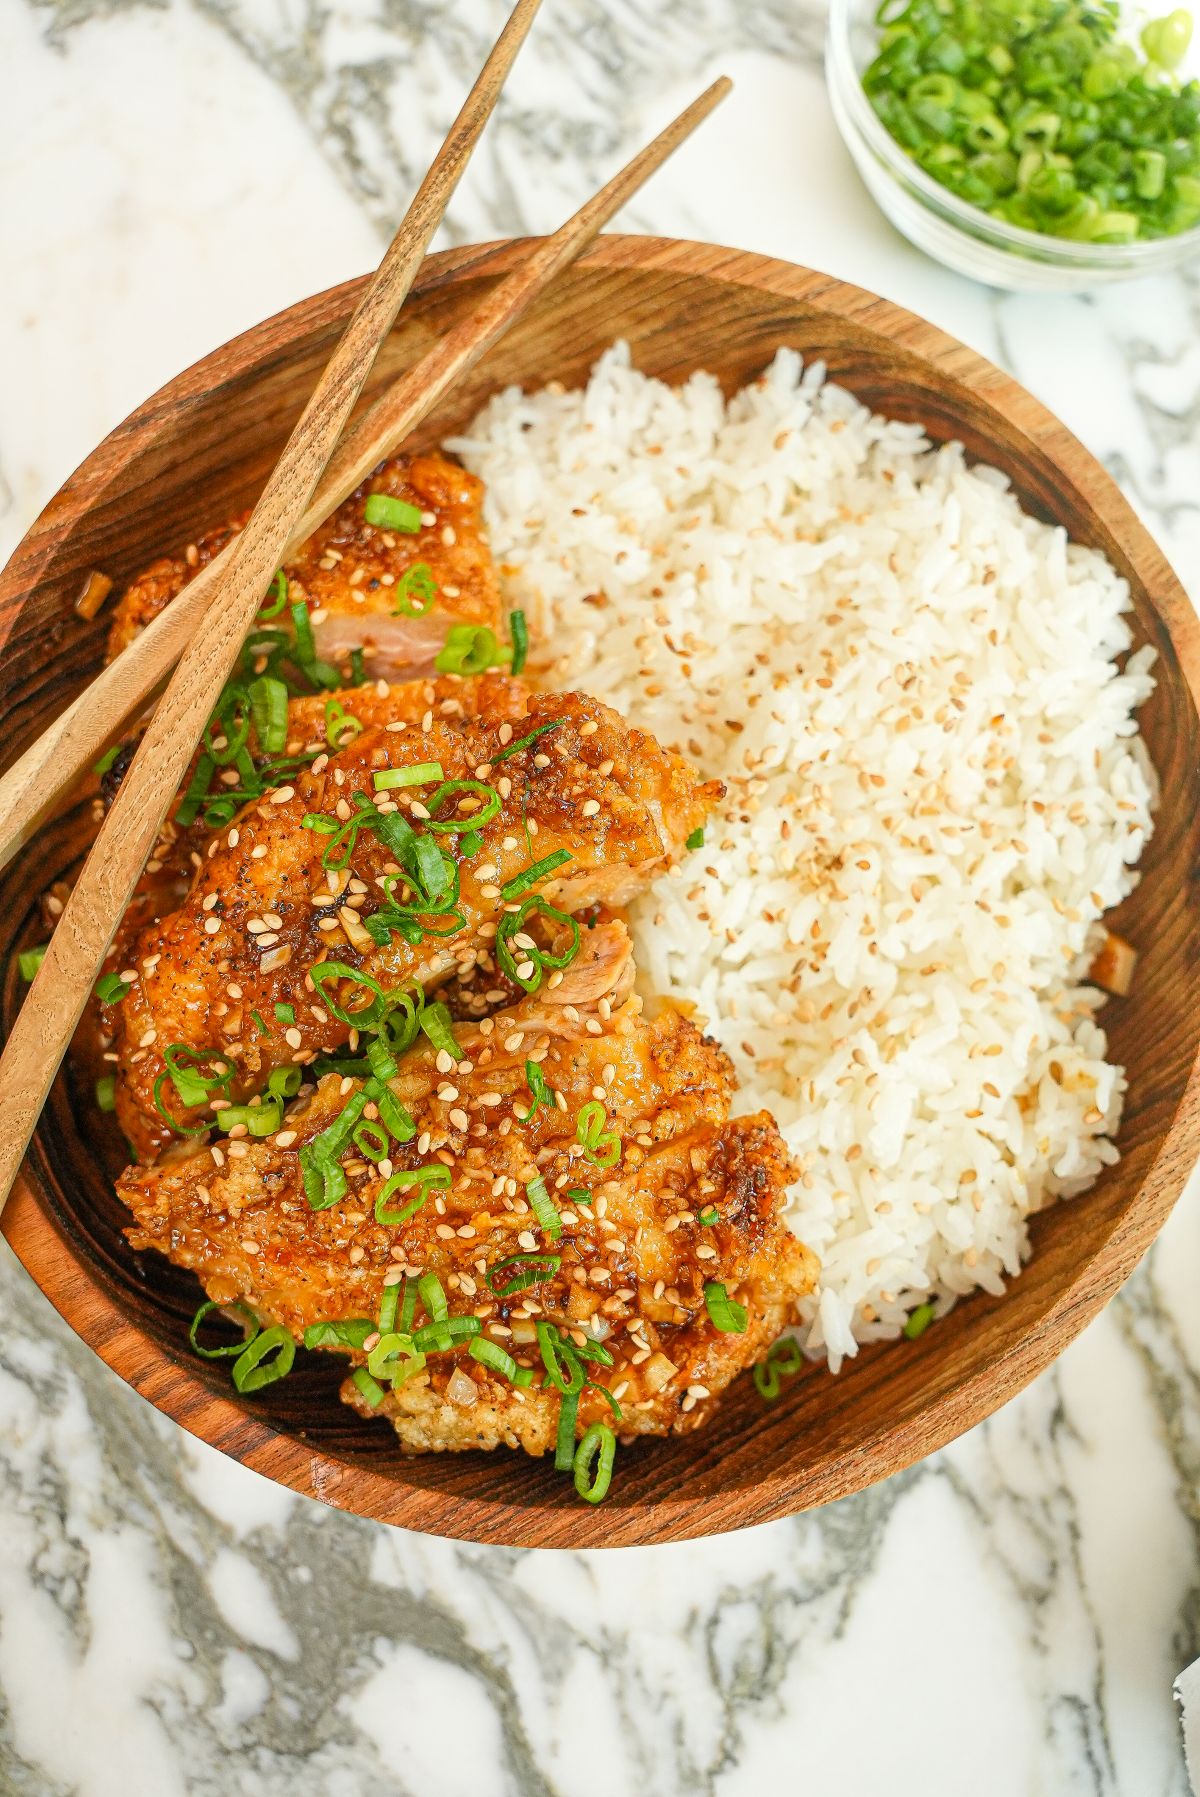
Crispy Honey Garlic Chicken is coated in a sweet and sticky honey garlic sauce that is SO delicious and perfect for an easy one-pan meal in just 20 minutes!
Watch the Honey Garlic Chicken Recipe Video!
A Note from CJ
Honey Garlic Chicken is my go-to easy meal!

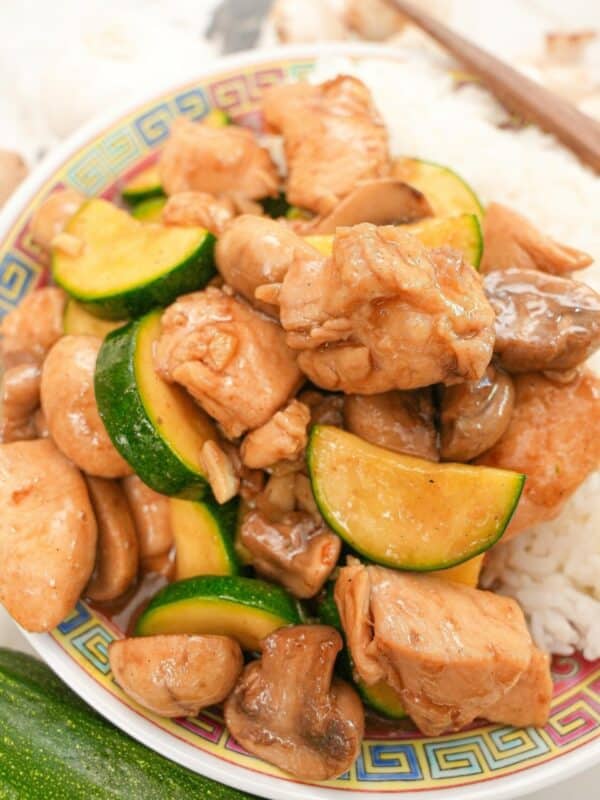
Taking boring chicken thighs and turn it into a delicious easy dinner with my Honey Garlic Chicken! I am obsessed with the sweet and sticky sauce – it’s perfect with a simple Egg Fried Rice or Soy Sauce Pan Fried Noodles and vegetables like Garlic Bok Choy, Sesame Snap Peas , or Smashed Cucumber Salad!
If you liked this easy one-pan Honey Garlic Chicken, you should also try my one-pan Chicken Teriyaki!
This chicken is so good!! My boyfriend was shocked that I was able to make it so crispy and thought it was better than a restaurant!!
Ingredient Tips
Refer to the recipe card for the full list of ingredients and measurements!
- chicken thighs – I used boneless, skin-on chicken thighs – the skin is essential for the crispy crust! If you don’t care about the crispy crust, you can use skinless chicken. You can also use chicken breasts instead but keep in mind that chicken breasts will take longer to cook. I recommend butterflying them or pounding them thinner with a meat tenderizer to a 1/2″ thickness before coating them in cornstarch.
- cornstarch – you can also use potato starch.
- sambal chili paste – this is the perfect amount of heat (not overwhelming but complementary to the flavors) – adjust to your taste! If you don’t have sambal chili paste, you can also use sriracha.
How to Make Honey Garlic Chicken
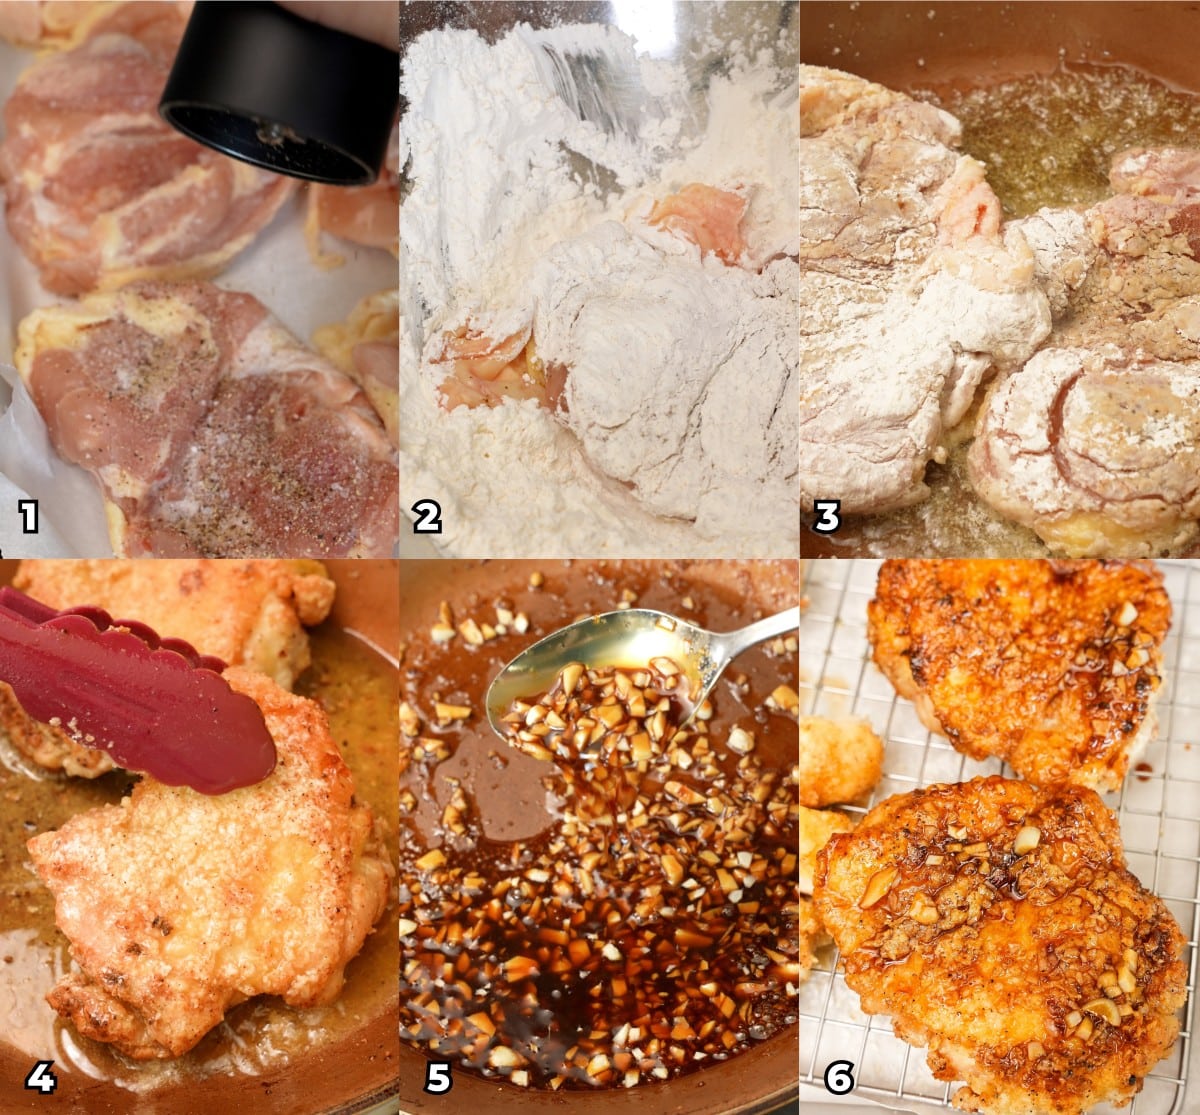
Season the Chicken and Coat in Cornstarch – Season the skin side of the chicken with 1/4 teaspoon each of salt and pepper. Turn the chicken over and season the meat side with another 1/4 teaspoon salt, pepper and 1/2 teaspoon of garlic powder. In a bowl, add the cornstarch along with the remaining salt and black pepper and mix well. Coat the chicken with a thin layer of cornstarch on both sides, dusting off any excess.
Pan Fry the Chicken – In a pan, drizzle in the avocado oil and turn the heat to medium-high. Once the pan is hot, add in the chicken, skin side facing down. Pan-fry the chicken for 3 minutes on each side or until crispy and golden brown, flipping as needed. Remove and set aside.
Make the Sauce and Add Back Chicken – Wipe out any excess oil in the pan. Add garlic, honey, chili paste, brown sugar, and soy sauce. Mix to combine and cook over medium high heat until bubbling and thickened. Add back the chicken and coat in the glaze, or brush it on. Serve with freshly steamed rice and enjoy!
PRO TIPS
CJ’s Recipe & Storage Tips
Rest chicken on a wire rack especially if you are cooking the chicken in batches. This will help the fat drain while the chicken rests and preserve the crispy skin (vs. turning soggy)
I usually coat the chicken in the sticky honey garlic glaze but if you want the skin to stay super crispy for longer, I recommend brushing the glaze on instead.
Store any leftover Honey Garlic Chicken in an airtight container for up to 3-4 days in the refrigerator. The skin will no longer be crispy but the chicken coated in the sticky honey garlic glaze will still taste delicious!
Reheat in the air fryer or oven. If using the air fryer, reheat at 350°F for 6-8 minutes until the chicken is warmed through and crispy. In the oven, place on a sheet tray and bake in a 375°F oven for 12-15 minutes until heated through and crispy.
If you tried this Honey Garlic Chicken or any other recipe on my website, please leave a 🌟 star rating and let me know how it went in the comments below!
Honey Garlic Chicken (SUPER CRISPY!)

Ingredients
- 4 pieces chicken thigh, boneless, skin-on
- 1 teaspoon kosher salt, divided
- 1/2 teaspoon black pepper, divided
- 1/2 teaspoon garlic powder, 2 g
- 1/2 cup cornstarch, 4 g or potato starch
- 3 tablespoons avocado oil, 45 ml
Easy Honey Garlic Glaze
- 10 cloves garlic minced
- 2 tablespoons honey, 30 ml
- 1/2 tablespoon sambal chili paste, 7 ml or to taste
- 2 tablespoons brown sugar, 26 g
- 3 tablespoons soy sauce, 45 ml
- 1 tablespoon water
Instructions
- Season the skin side of the chicken with 1/4 teaspoon each of salt and pepper. Turn the chicken over and season the meat side with another 1/4 teaspoon salt, pepper and 1/2 teaspoon of garlic powder.
- In a bowl, add the cornstarch along with the remaining salt and black pepper and mix well. Coat the chicken with a thin layer of cornstarch on both sides, dusting off any excess.
- In a pan, drizzle in the avocado oil and turn the heat to medium-high. Once the pan is hot, add in the chicken, skin side facing down.
- Pan-fry the chicken for 3 minutes on each side or until crispy and golden brown, flipping as needed. Remove and set aside.
- Wipe out any excess oil in the pan. Add garlic, honey, chili paste, brown sugar, and soy sauce. Mix to combine and cook over medium high heat until bubbling and thickened.
- Add back the chicken and coat in the glaze, or brush it on. Serve with freshly steamed rice and enjoy!
Video
Notes
- You should check that the skin is golden brown to your preference.
- The internal temperature should be slightly below 165F. I recommend removing the chicken before it hits 165F because the chicken will continue to cook as it rests and will eventually hit the desired temperature of 165F.
Nutrition
Nutrition information is automatically calculated, so should only be used as an approximation.
This Honey Garlic Chicken recipe was originally published in December 2023, and updated in February 2026.


It was good!
Love this!
❤️❤️❤️perfect chicken 😆