Kimchi Fried Rice in 20 Minutes! (VIDEO)
This post may contain affiliate links. Please read our disclosure policy.
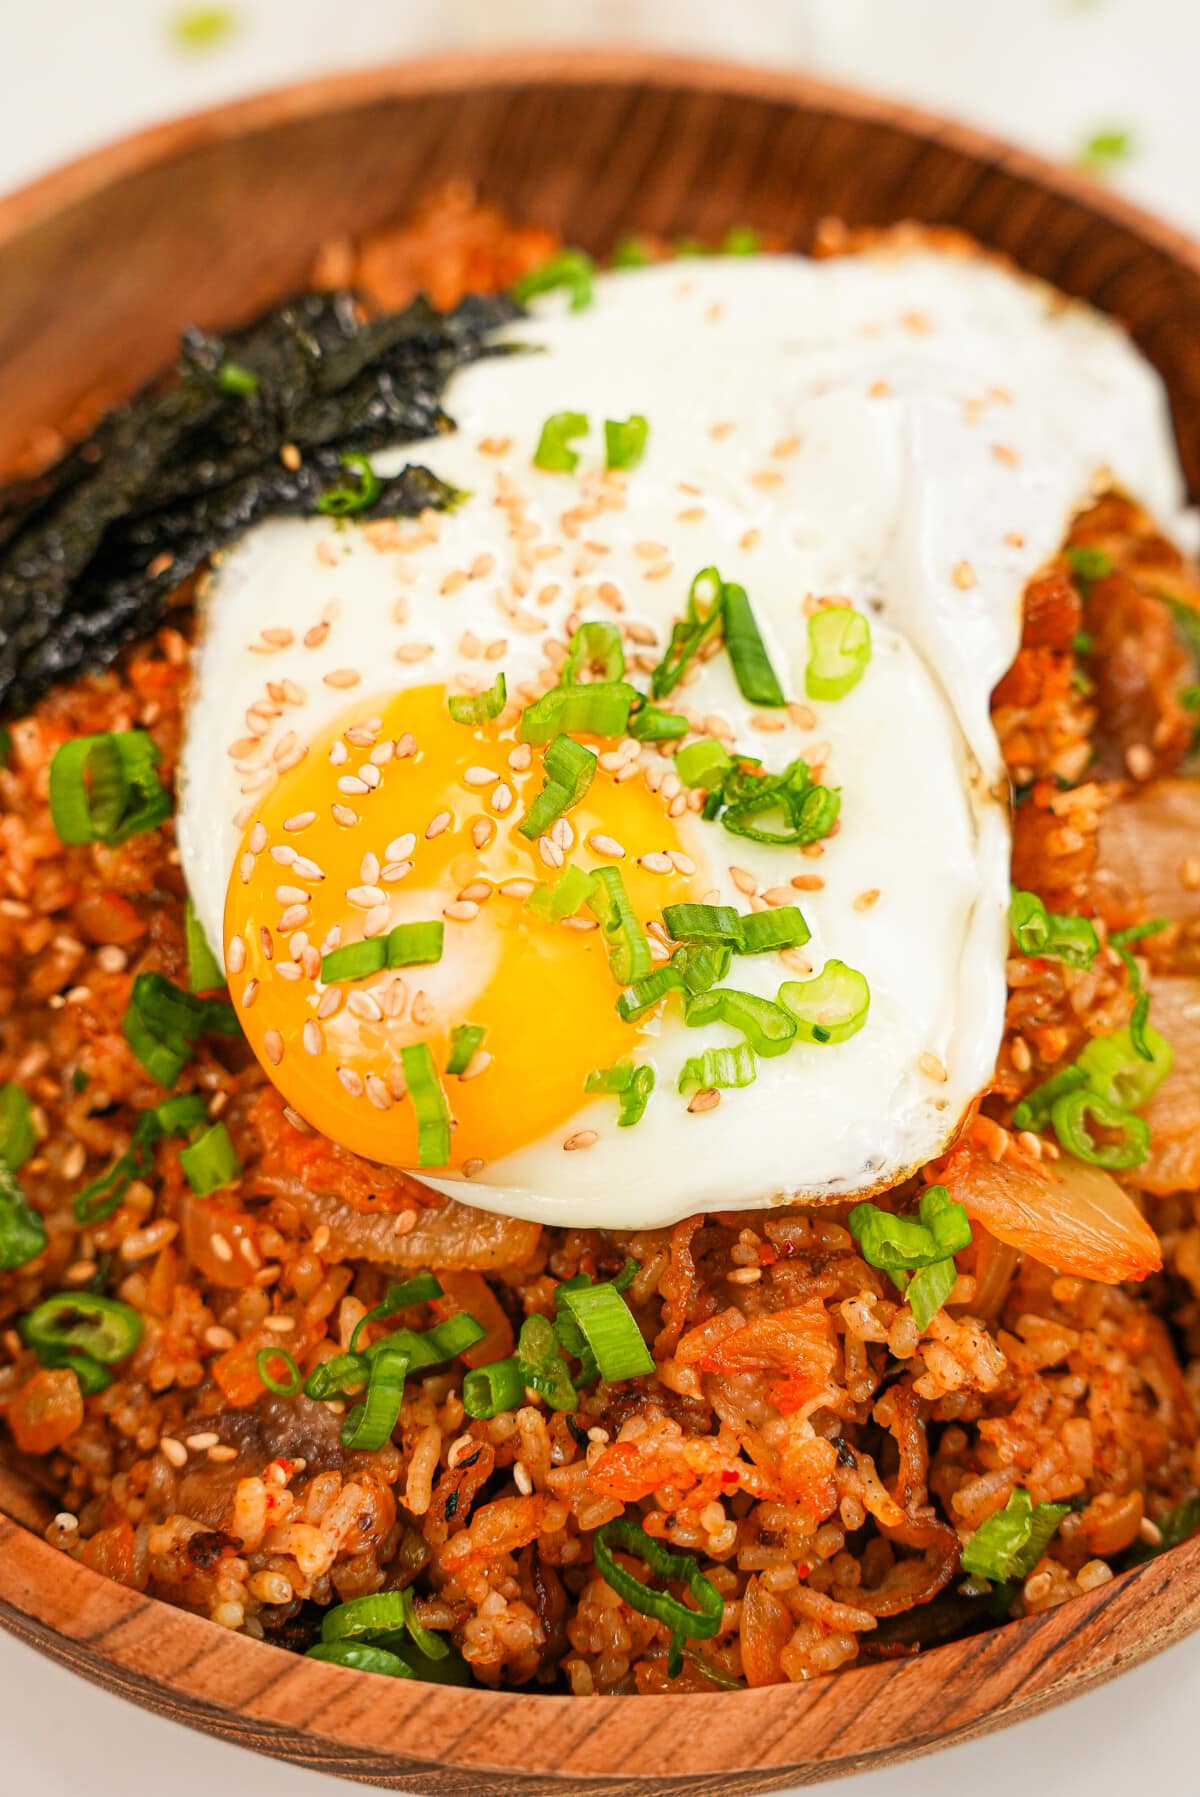
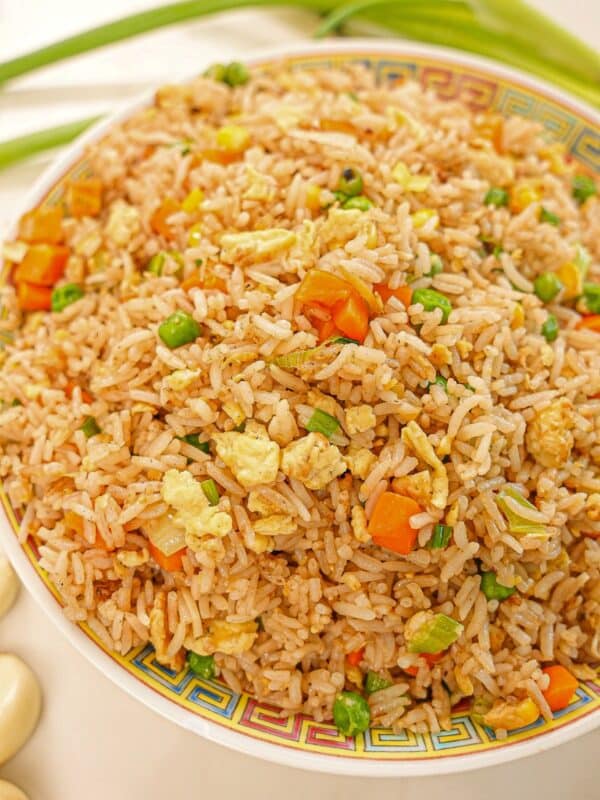
This 20 minute Kimchi Fried Rice recipe is my wife’s childhood favorite and one we make at home to this day! It comes together so quickly and is delicious on its own, topped with a fried egg, or alongside other Korean favorites. Keep reading for my key tips on making the best Kimchi Fried Rice at home!
Watch the Kimchi Fried Recipe Video!
Table of Contents
Ingredient Tips
Refer to the recipe card for the full list of ingredients and measurements!
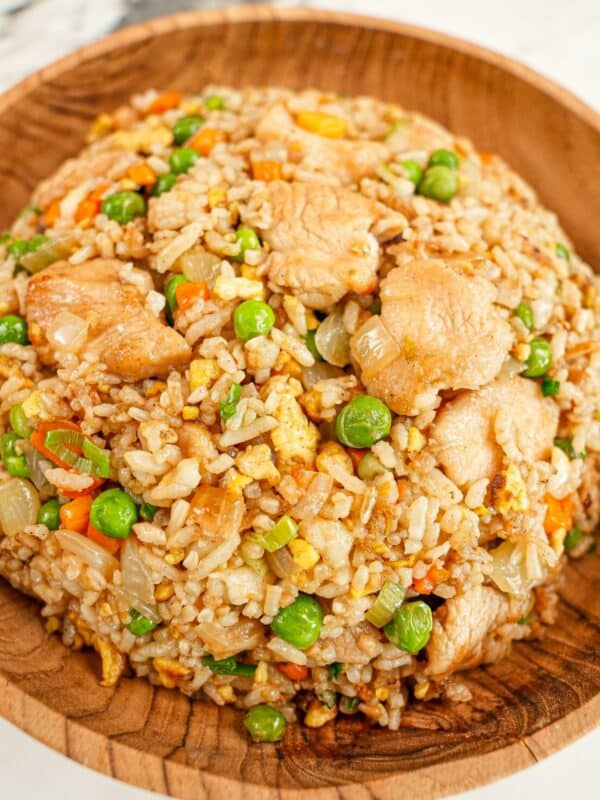
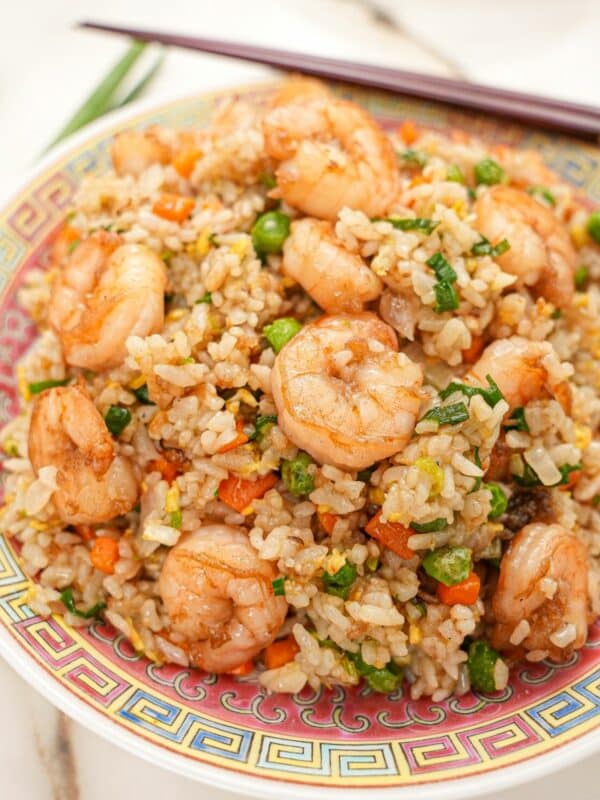
- rice – I prefer long grain white rice for Kimchi Fried Rice (and fried rice in general!) due to the lower moisture content but you can substitute with another white rice, if needed. Do not use freshly steamed rice! The rice should be dried out in the fridge overnight to reduce moisture in the rice. Too much moisture in the rice will make your fried rice soggy and mushy! If you love fried rice, make my Chicken Fried Rice or Shrimp Fried Rice!
- pork belly thinly sliced – I buy pre-sliced pork belly at my local Korean grocery (H Mart). Ask your butcher to slice it for you. If you want to slice it at home, I recommend you freeze the pork belly for 10 minutes before slicing. It’ll make the slicing a lot easier.
- You can also substitute with pork shoulder/butt. I’ve also used bacon, spam, or Chinese sausage (lap cheong).
- kimchi – Kimchi is a fermented cabbage that is a staple in Korean cuisine. If possible, I recommend buying your kimchi from a Korean market. They will have the largest and best selection.
- Traditionally, you should make Kimchi Fried Rice with “old” kimchi – aged kimchi is more fermented, which makes the kimchi softer, more sour, and there is more Kimchi “juice”.
- kimchi juice – This is the secret to a GREAT Kimchi Fried Rice! The kimchi juice is packed with flavor – it adds a depth of flavor that you won’t get if you just use kimchi. Use a spoon to get some juice out of your kimchi container. The older your kimchi is, the more juice you’ll be able to get.
- gochujang – Gochujang is a Korean pepper paste that is spicy, sweet, with a hint of umami. It has a STRONG flavor, so you only need a little to go a long way. I would adjust this to your spice preference – if you are new to the flavor or don’t enjoy spice as much, I would even start with 1/2 of what the recipe calls for!
- msg – I like to use MSG in moderation as a flavor enhancer but this is always optional.
- optional garnishes – roasted sesame seeds, seaweed, fried egg, sunny side up
Recipe Instructions
1. Prepare Your Kimchi Fried Rice Ingredients
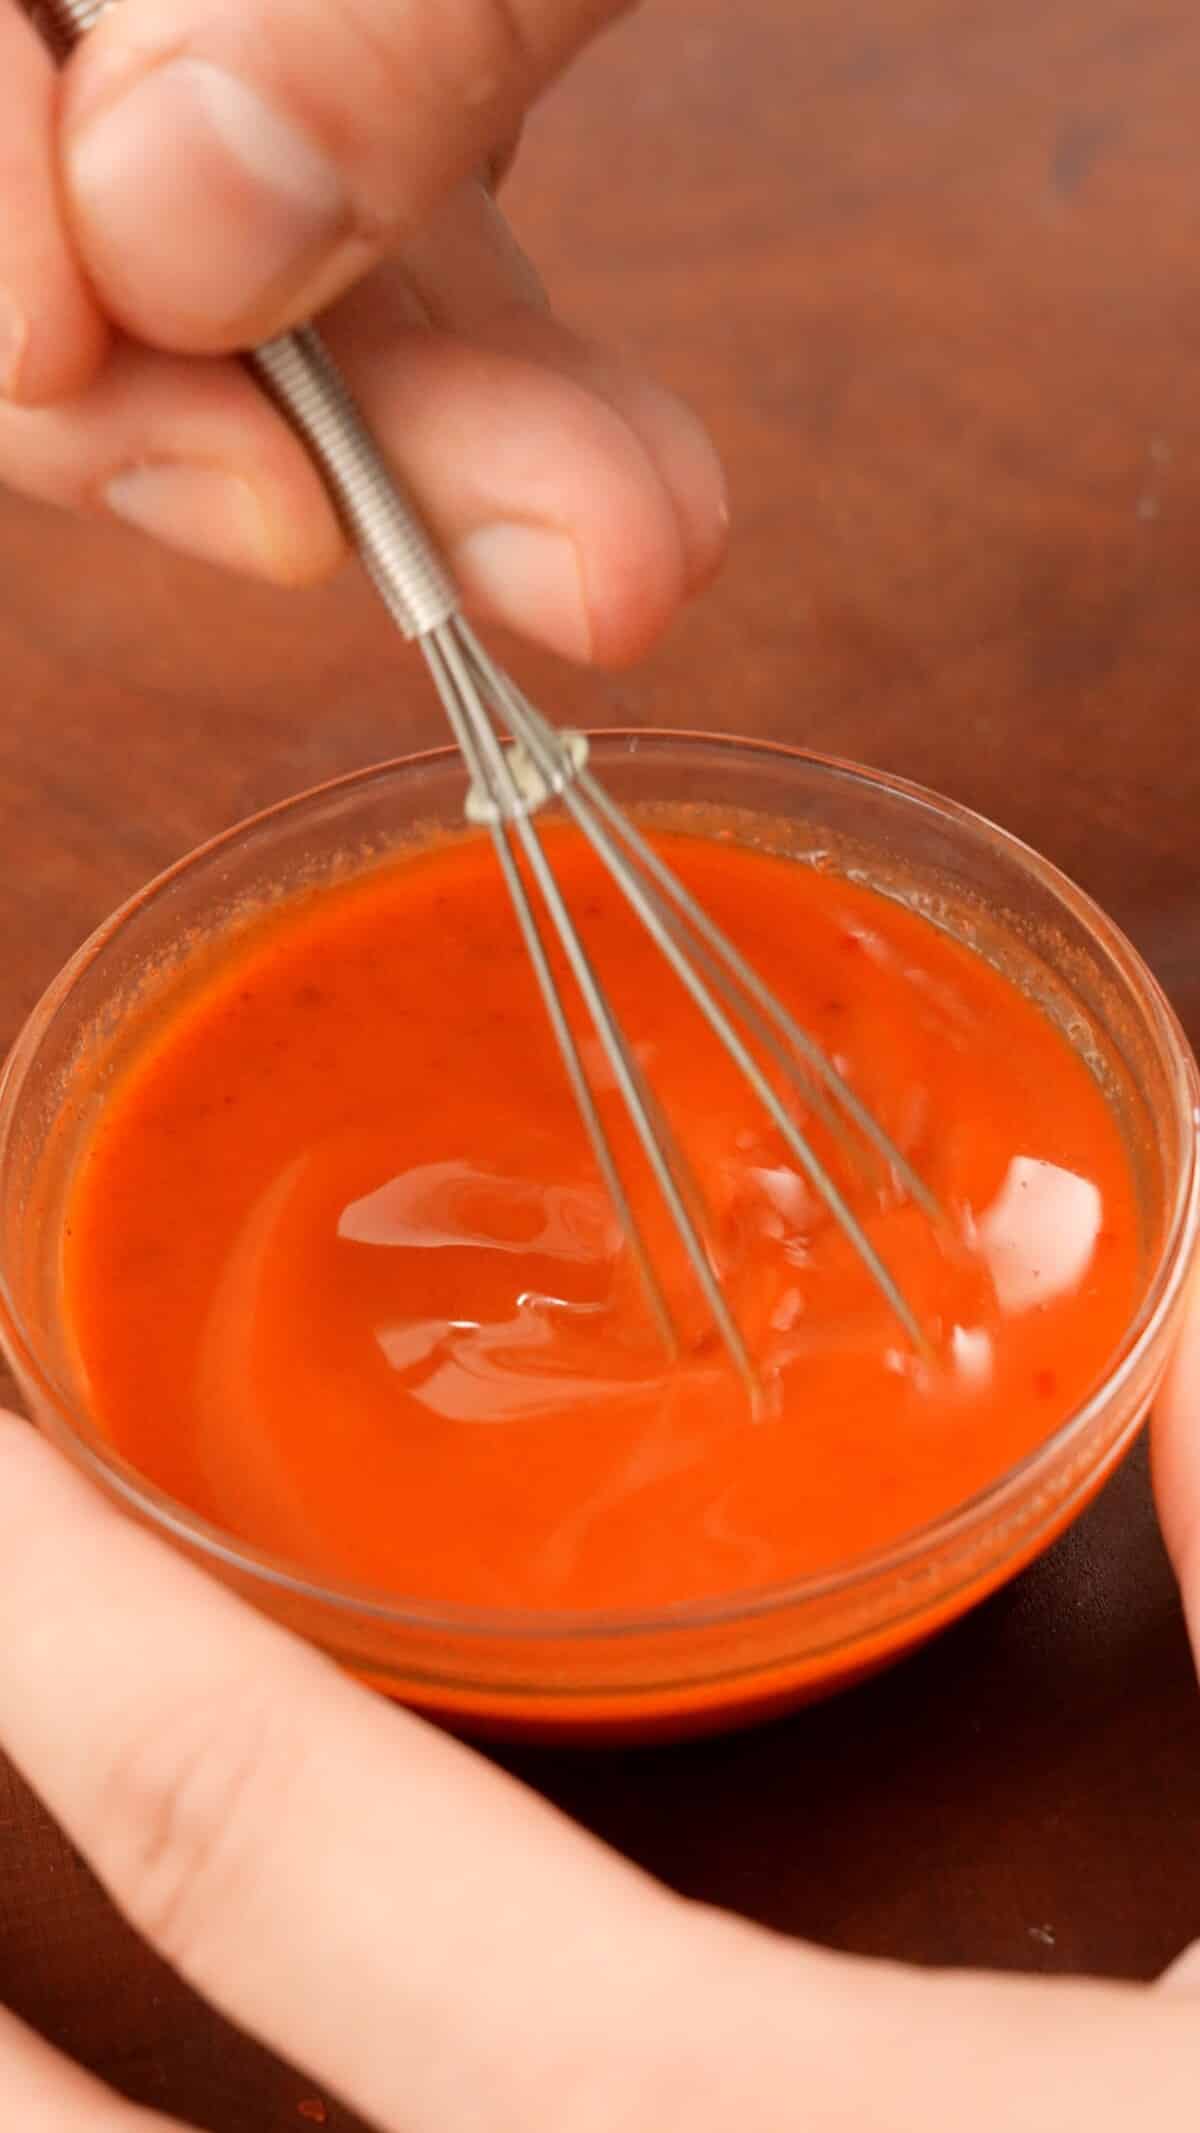
Mix your gochujang, water, and kimchi juice to make a sauce. Set aside. Chop your onions, kimchi, garlic, and scallions. Set aside in individual bowls.
2. Cook The Pork Belly
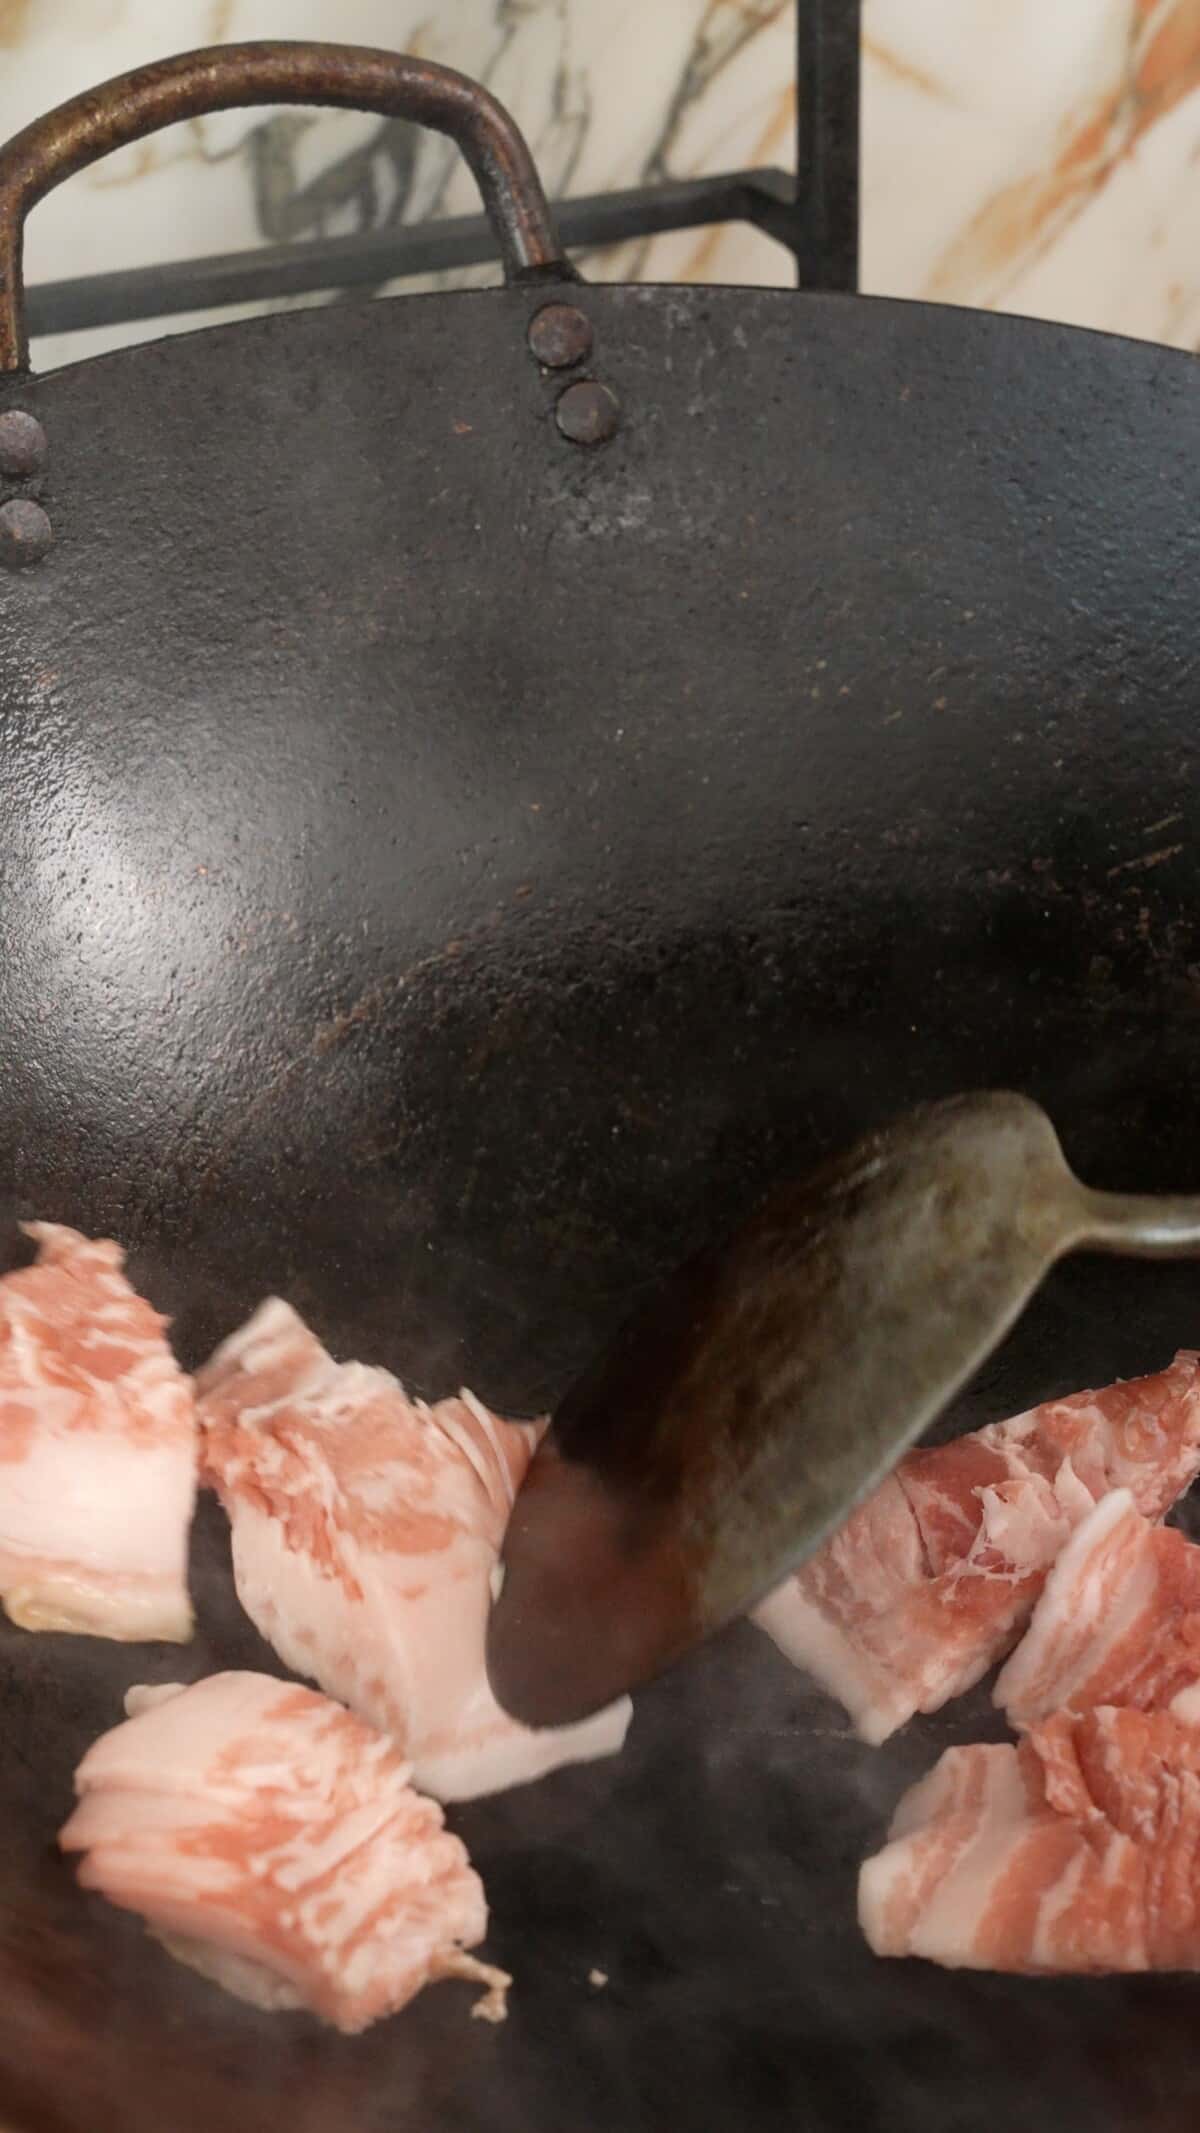
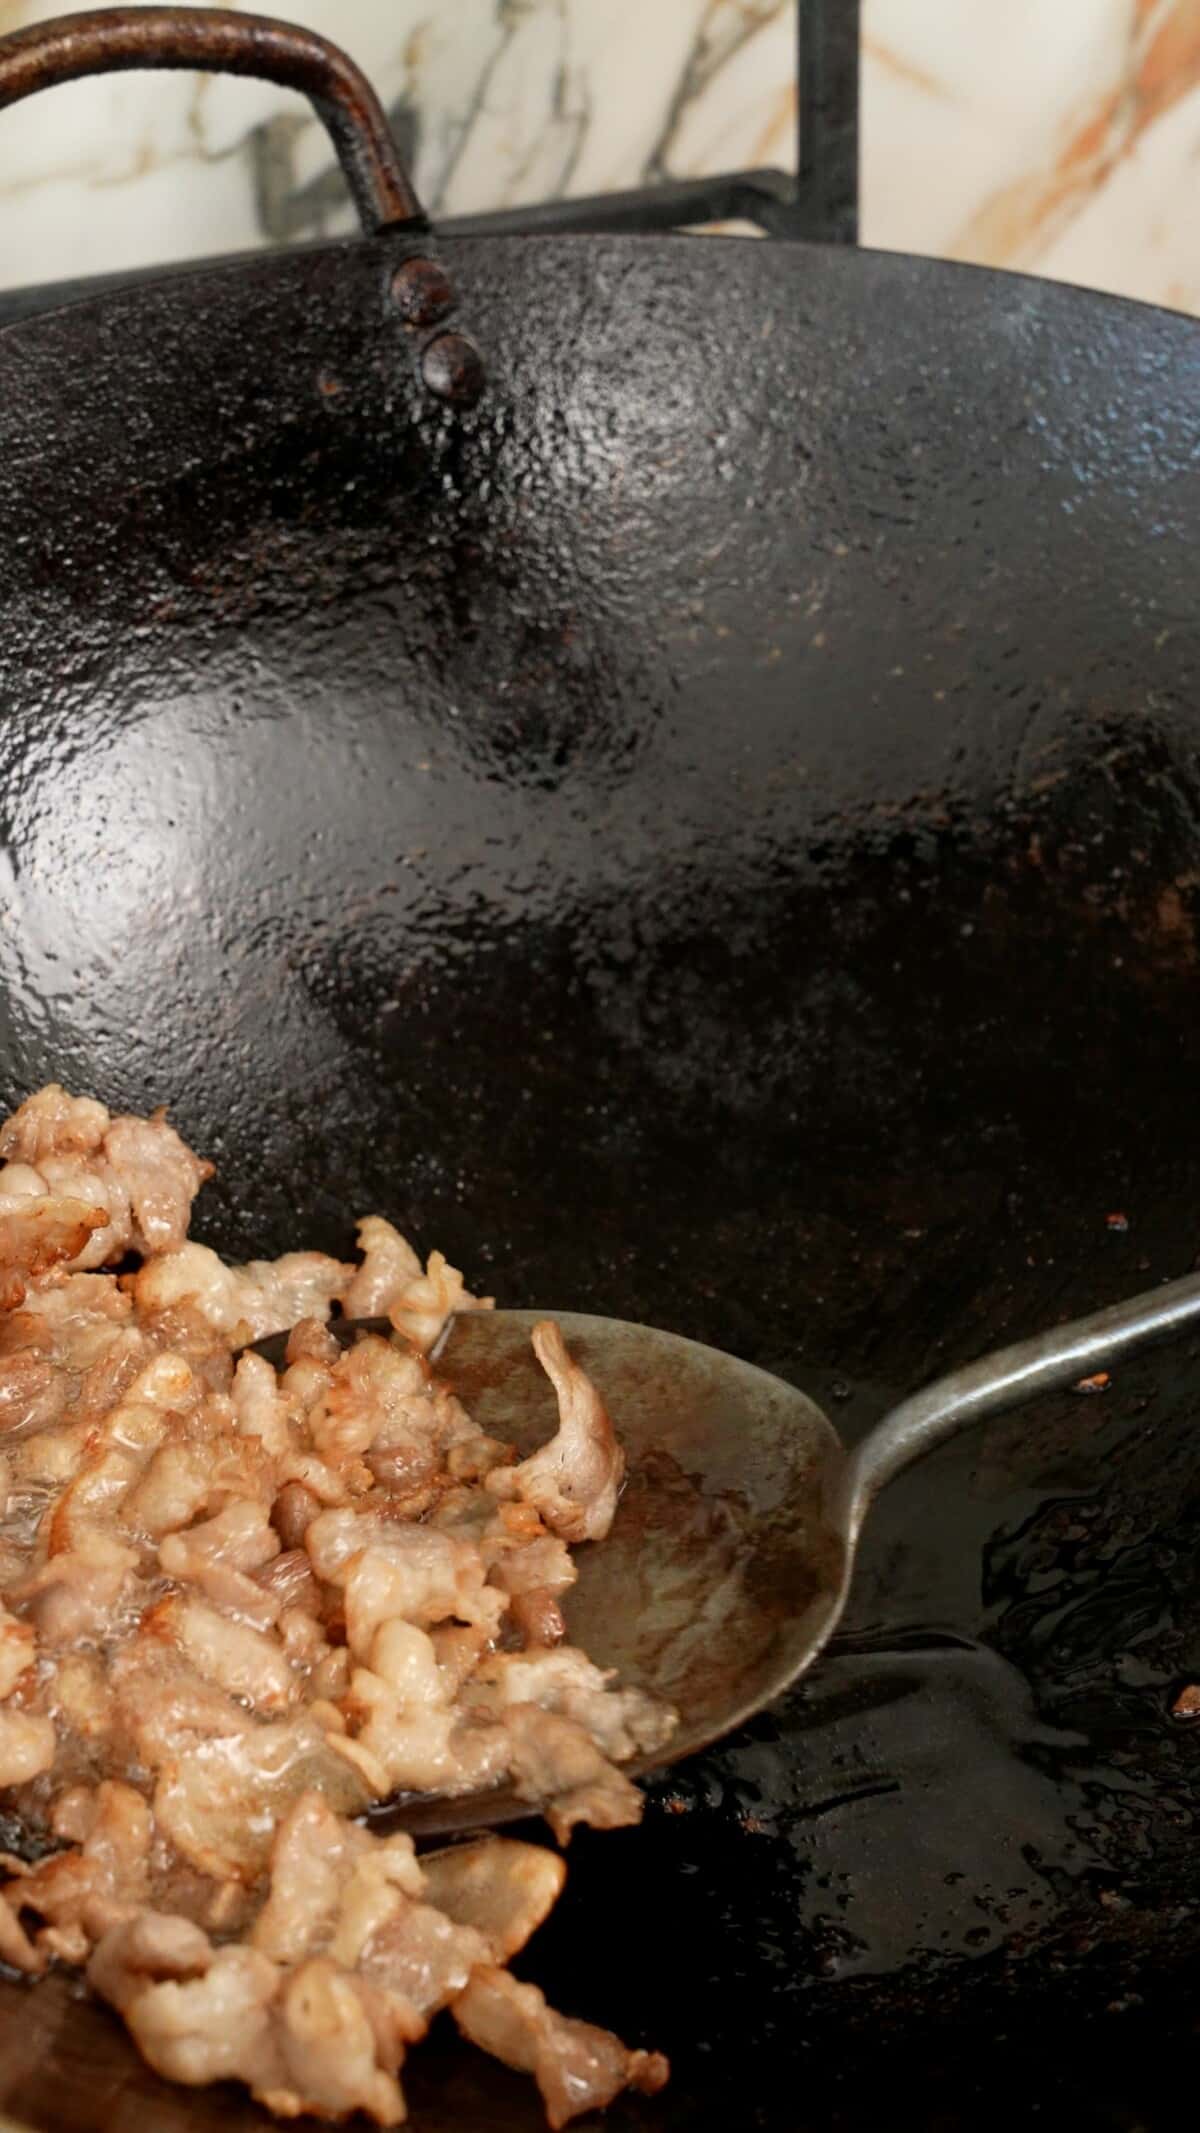
In a large dry pan over high heat (no oil!), fry pork belly for 2-3 minutes, or until edges are crispy and fat has been rendered. Remove pork and set aside. Leave the rendered fat in the pan. I don’t use oil here because there is enough fat in the pork belly to render out – I’ll use this to cook my vegetables in the next step!
3. Sauté Onions, Scallions and Kimchi
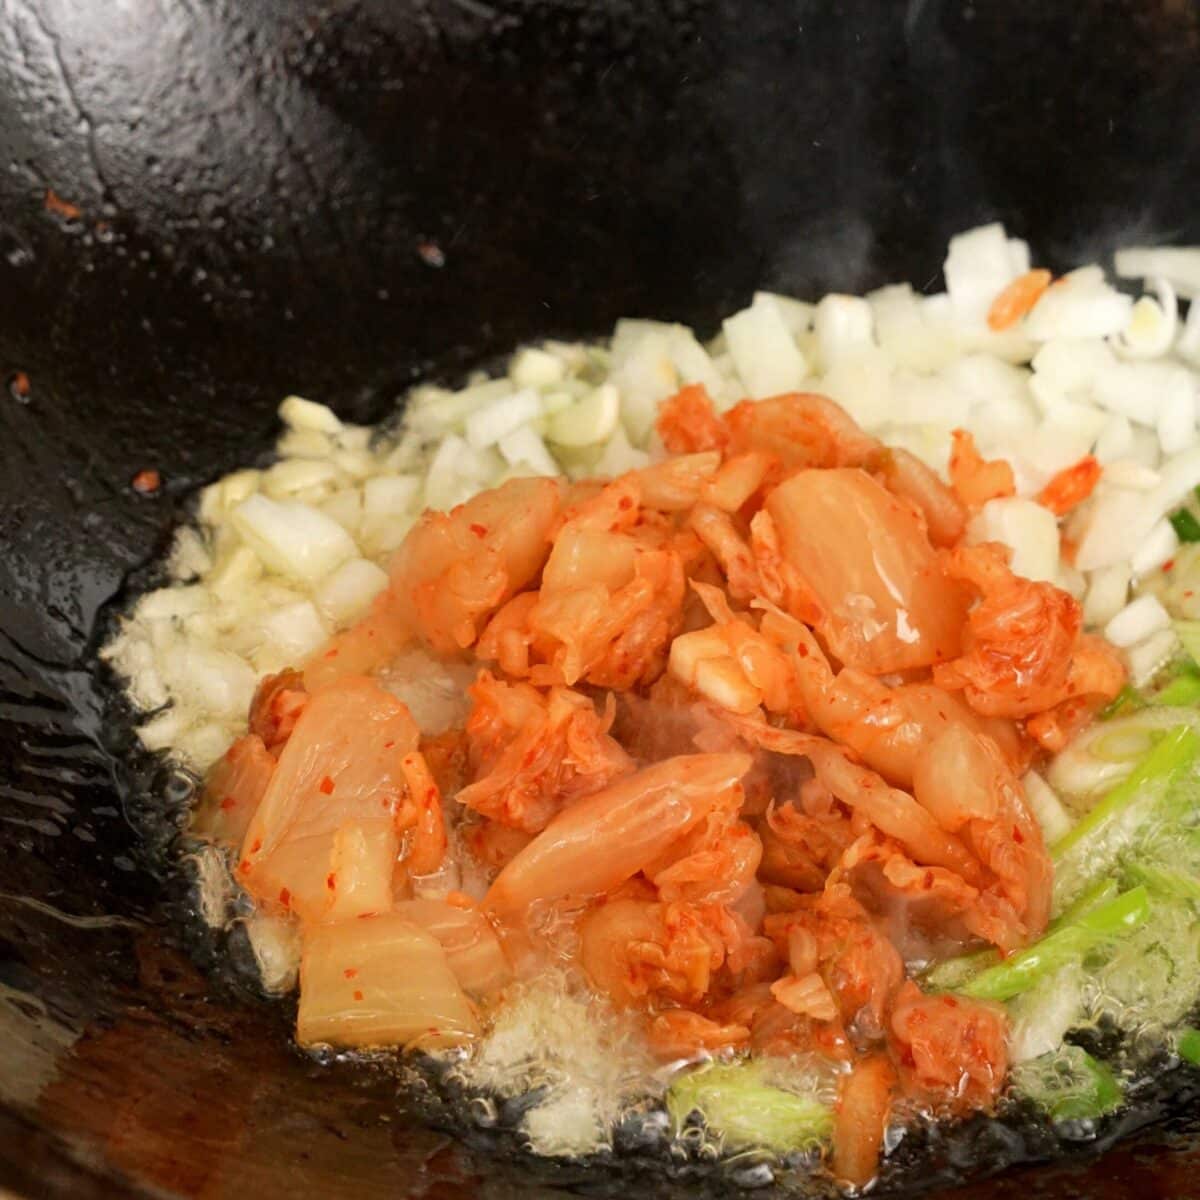
In the same pan with the rendered pork fat, cook your garlic for 15 seconds; add scallion whites (reserve the greens), onions, and kimchi, and stir-fry for 2-3 minutes.
4. Add Rice and Kimchi Sauce
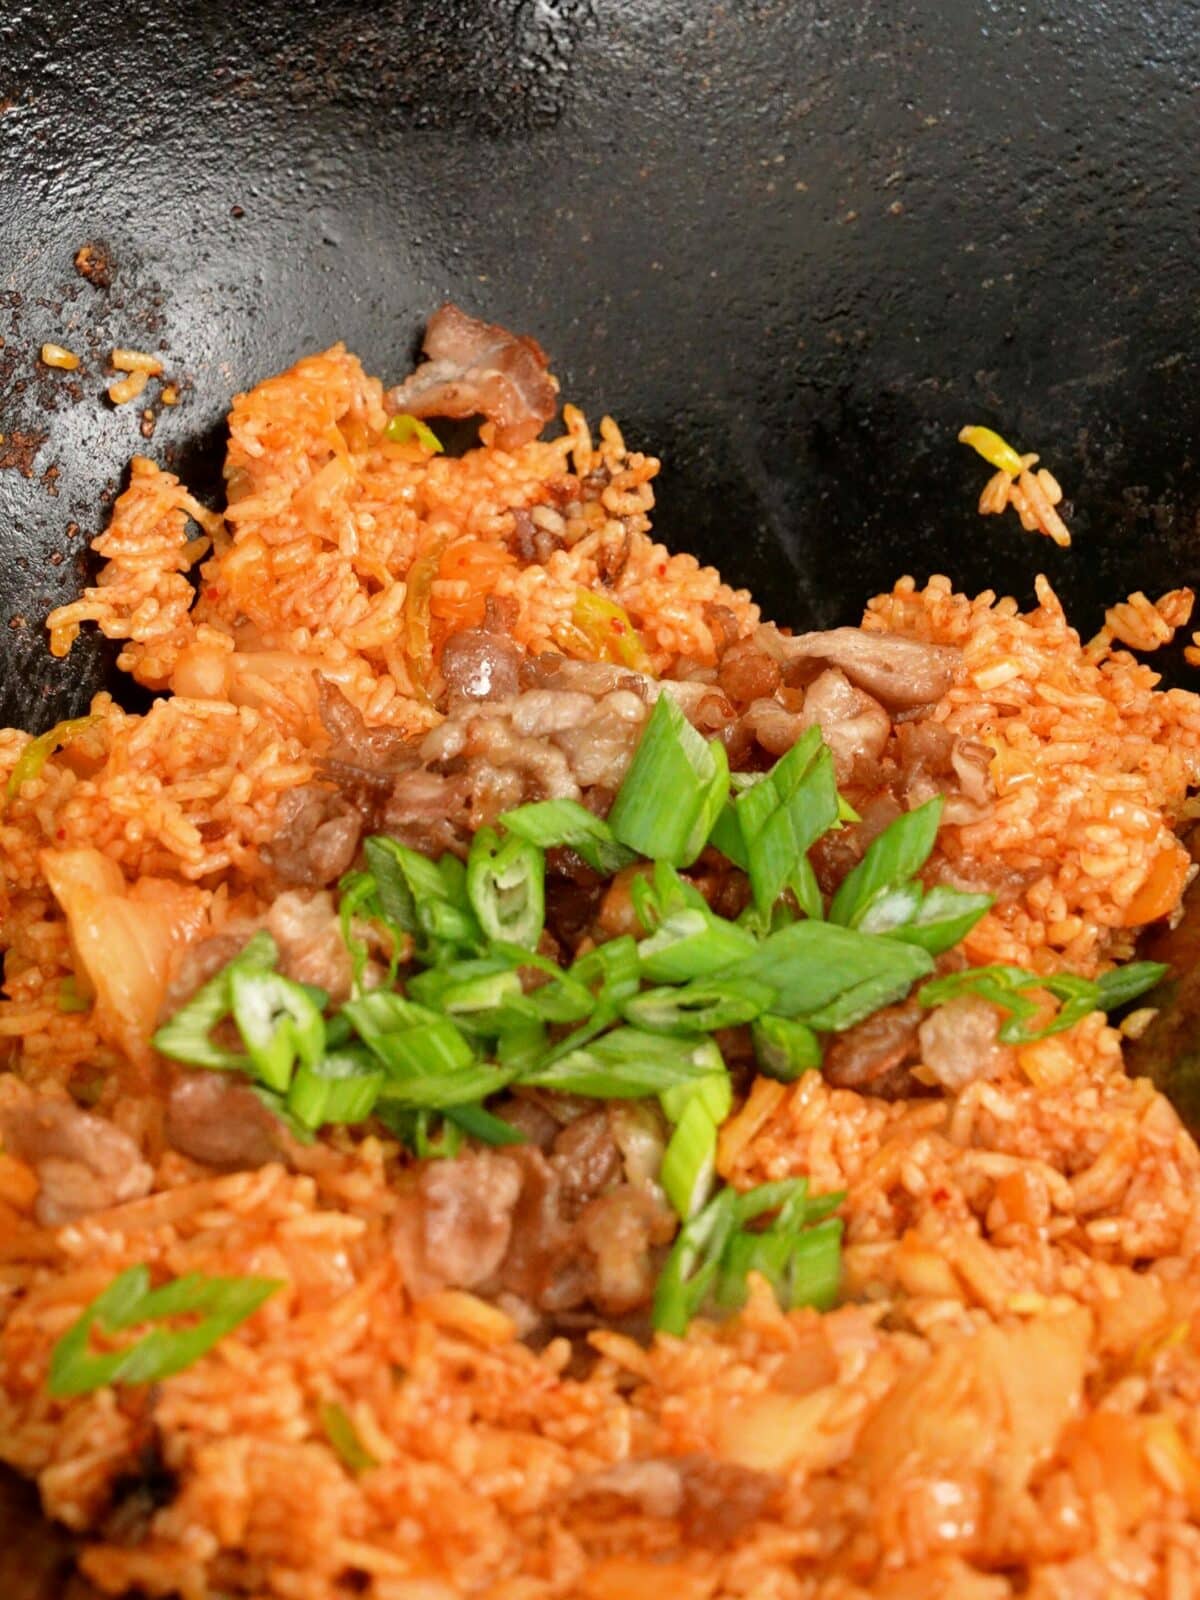
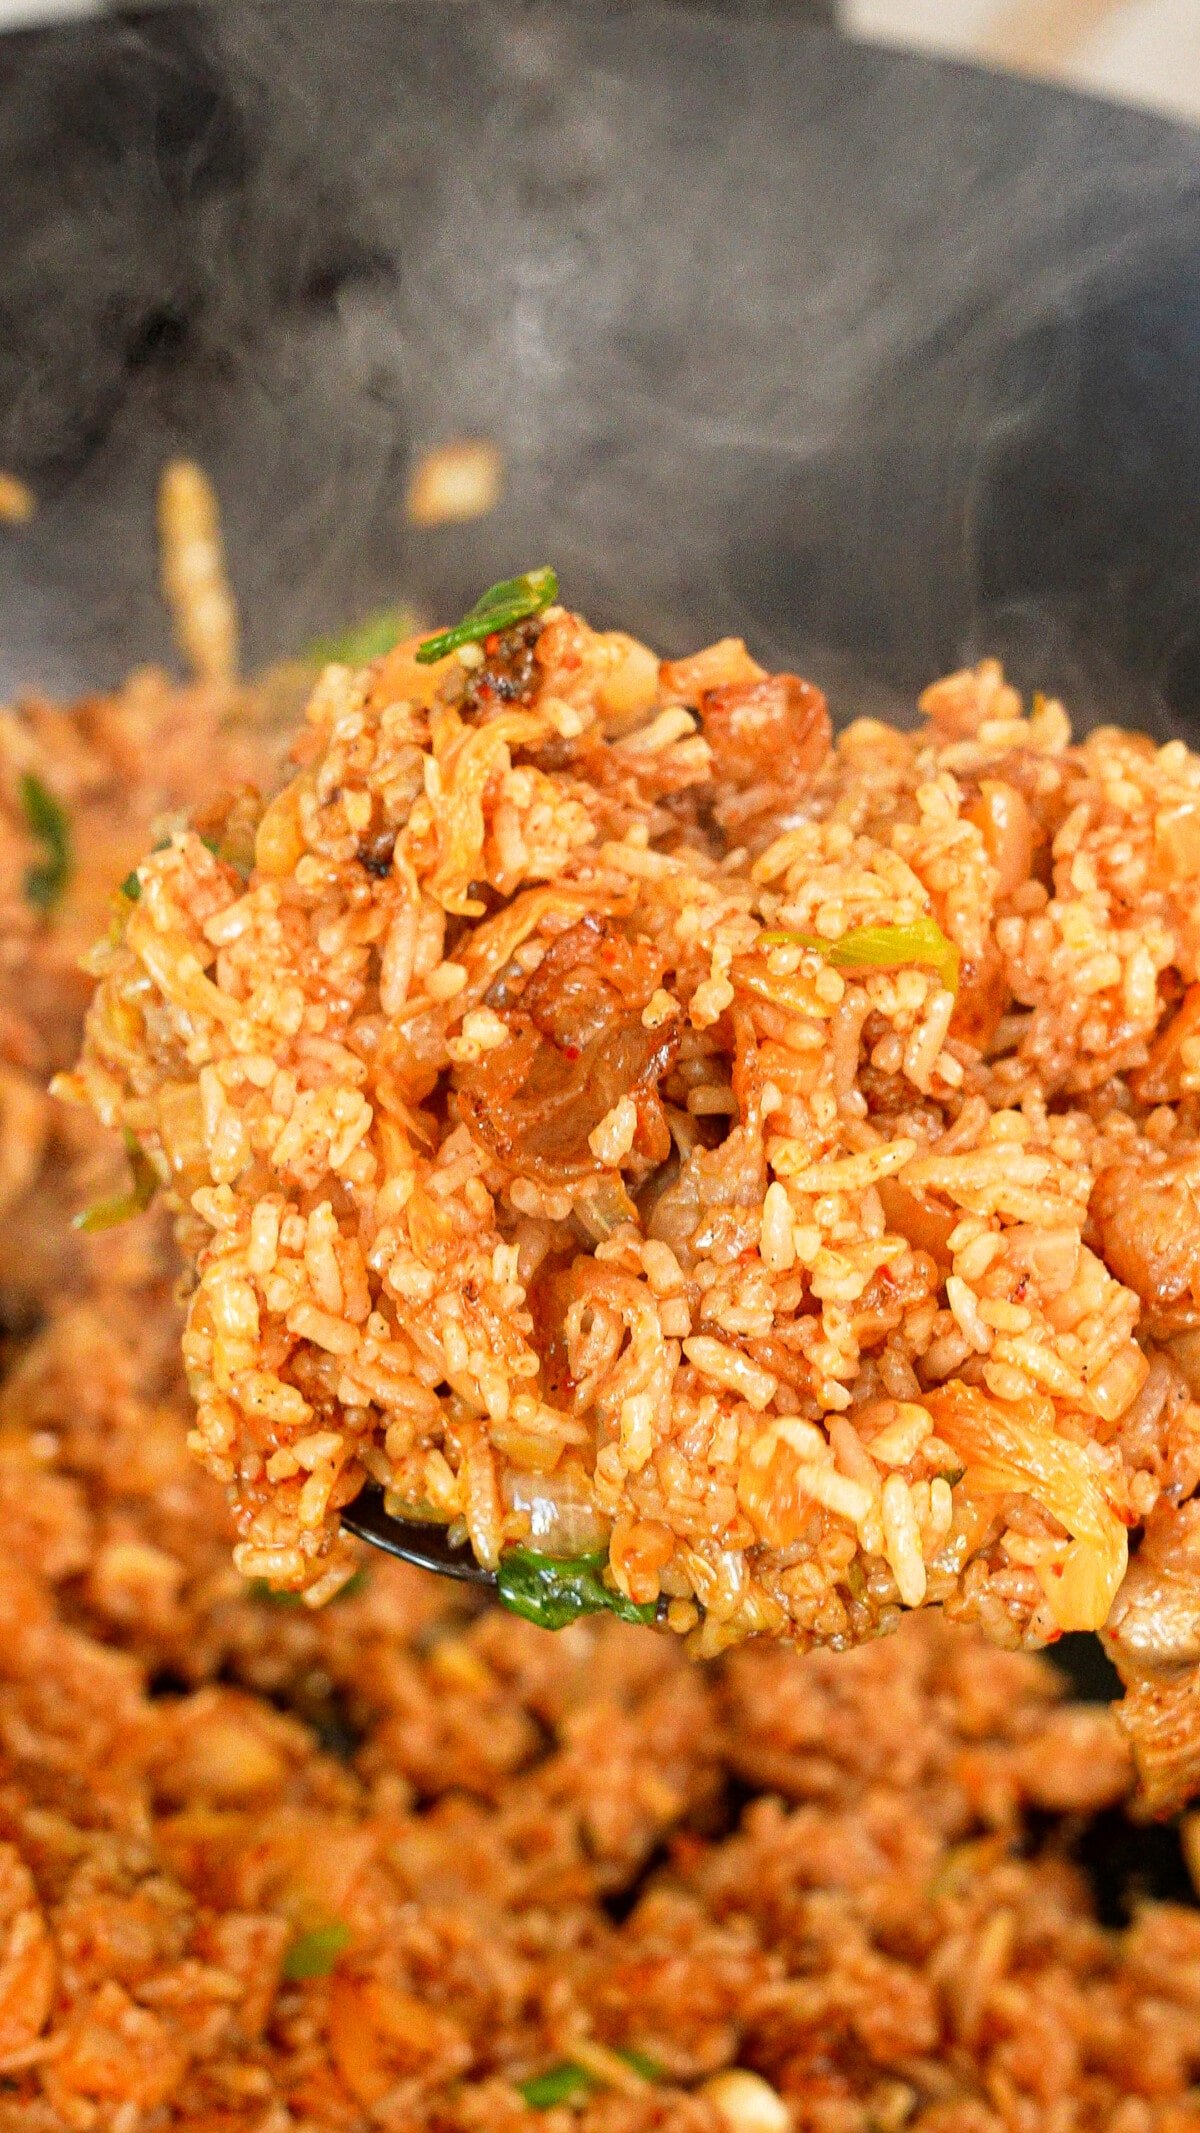
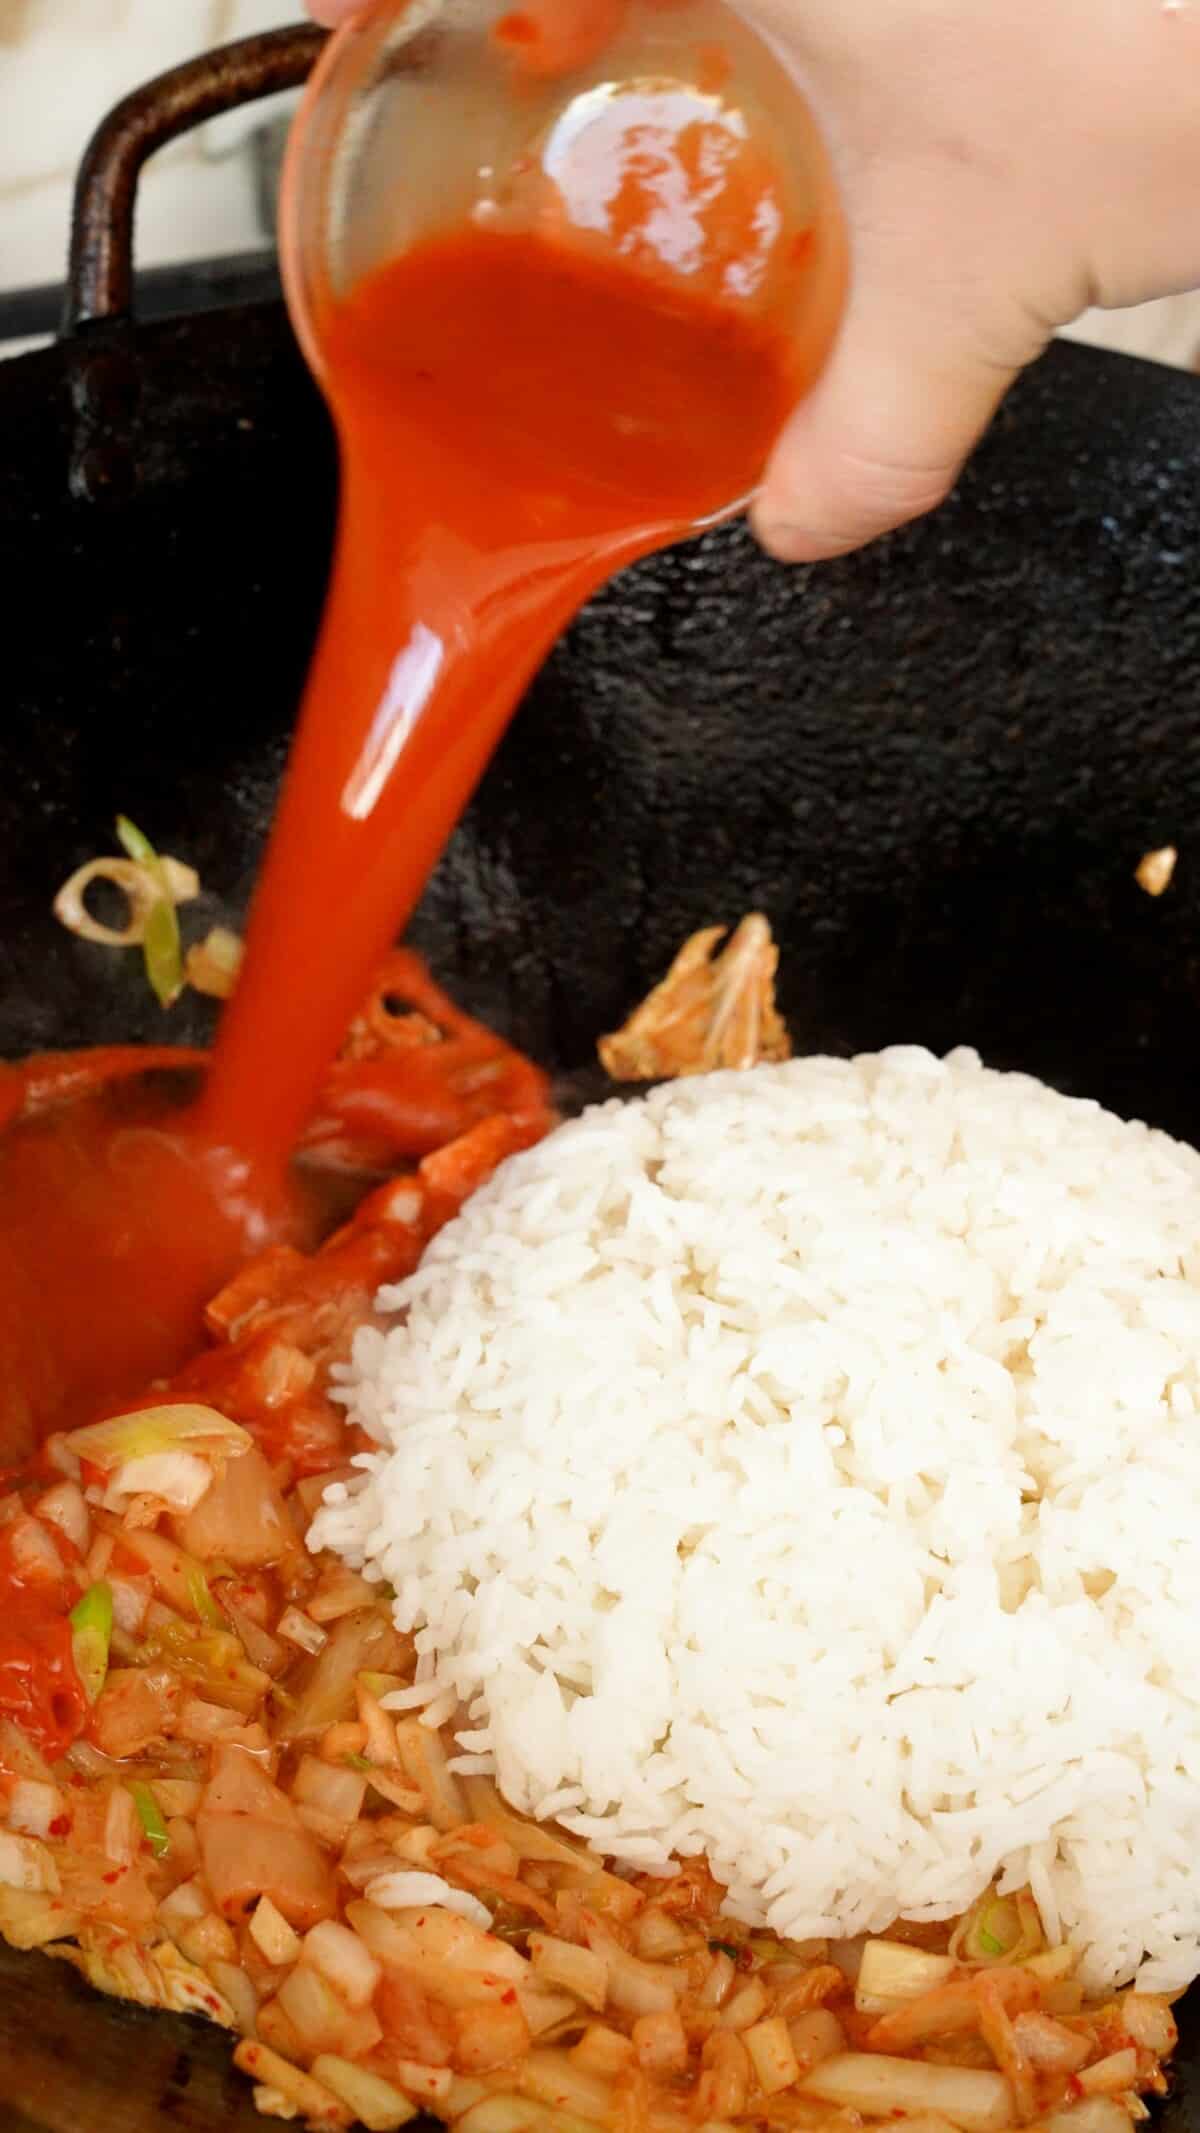
Add your old rice to the vegetables in the pan. Pour the sauce over all of the ingredients and mix to combine. Continue cooking over high heat until sauce is completely absorbed and the rice is dry (about 5-6 minutes).
5. Add Back the Pork and Scallion Greens
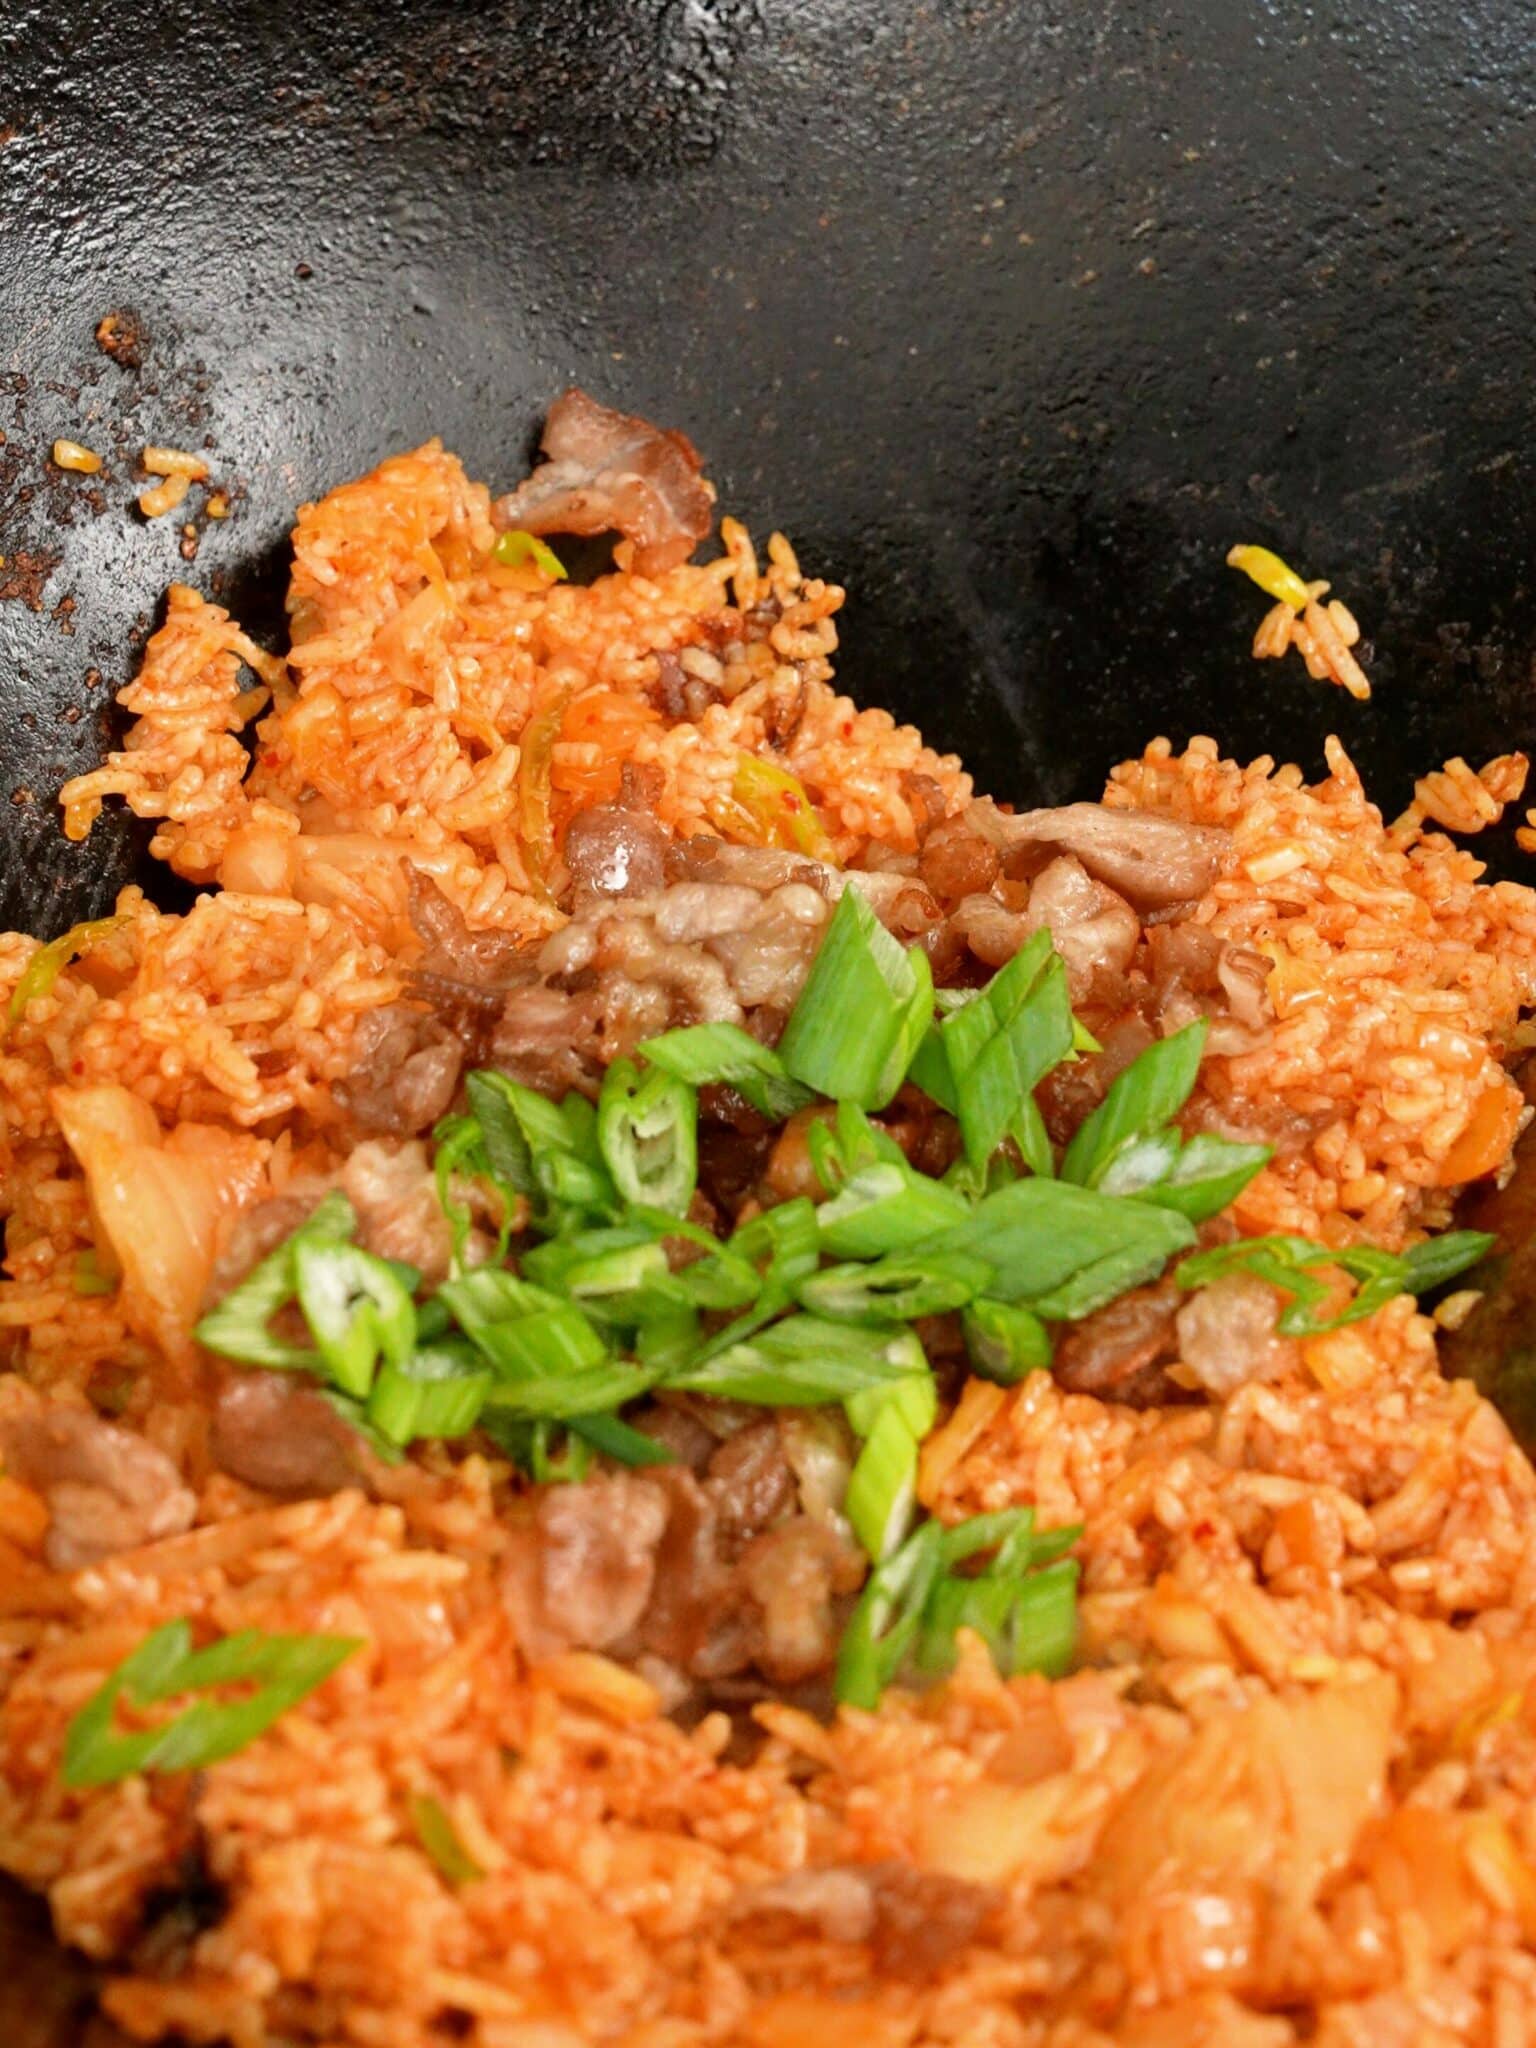
Add back the cooked pork belly, scallion greens, and mix to combine. Drizzle 1 tbsp of sesame oil, season with salt, pepper, and MSG, and mix well one last time.
To serve, top with optional garnishes (sesame seeds, nori, and fried egg) – enjoy your Kimchi Fried Rice!
PRO TIPS
Expert Tips + Storage
Kimchi Tips
- I recommend buying your kimchi from a Korean market. They will have the largest and best selection.
- Kimchi “juice” is the secret to a GREAT Kimchi Fried Rice! The kimchi juice adds a depth of flavor that you won’t get if you just use kimchi. Use a spoon to get some juice out of your kimchi container.
Protein is Customizable – I usually use pre-sliced pork belly for Kimchi Fried Rice, which I buy from my local Korean grocery. If you’re slicing the pork belly yourself, I recommend you freeze it for at least 10 minutes before slicing. It’ll make the slicing a lot easier. You can also substitute with pork shoulder/butt, bacon, spam, or Chinese sausage (lap cheong).
Vegetarian Version – If you are making the Kimchi Fried Rice without meat, use 2 tablespoons of butter as the fat to cook the vegetables.
Avoid Too Much Moisture in Rice
- Use long grain white rice (like jasmine or basmati) for this recipe due to the lower moisture content.
- Do not use freshly steamed rice! The rice should be dried out in the fridge overnight to reduce moisture in the rice. Too much moisture in the rice will make your fried rice soggy and mushy – and we don’t want that!
Have Everything Prepped and Ready to Go – Prepare all of your ingredients ahead of time, BEFORE you begin cooking. Once you start cooking Kimchi Fried Rice, it will come together fast, so having your ingredients in bowls right next to your pan will ensure the dish comes together smoothly and nothing is overcooked.
Avoid Overcrowding – My KEY TIP would be to avoid crowding your pan – crowding can lead to your Kimchi Fried Rice not cooking thoroughly and becoming mushy. If you think your dish will be crowded, use a larger pan, cast iron, or dutch oven, OR cook in batches.
Storage and Reheating – You can store leftover Kimchi Fried Rice in the refrigerator in an airtight container for up to 3 days. I like to reheat Kimchi Fried Rice in a hot wok or pan; this warms up each rice grain quickly, helps separate any rice that clumped together, and give the dish a nice char. You can also warm it up in the microwave.

What to Serve with Kimchi Fried Rice
Nothing goes better with Kimchi Fried Rice than Korean BBQ, like Korean Marinated Short Ribs (LA Galbi), Beef Bulgogi or Spicy Pork Bulgogi!
One of the best things about Korean cuisine is all of the delicious side dishes (called “banchan”)! Korean Cucumber Salad or light Korean Broccoli Salad or Korean Spinach Side Dish would go great with Kimchi Fried Rice! Other favorites are Korean Bean Sprout Salad, Korean Stir-Fried Fish Cakes and Korean Cheese Corn!
If you tried this Kimchi Fried Rice or any other recipe on my website, please leave a 🌟 star rating and let me know how it went in the comments below!
Kimchi Fried Rice (Video)

Equipment
Ingredients
- 1.5 cups rice, at least one day old
- 1/4 lb pork belly, thinly sliced, cut to 2" pieces
- 1/2 cup chopped kimchi
- 2 tbsp kimchi juice
- 1/4 onion, chopped
- 1 tbsp gochujang
- 2 tbsp water
- 1 scallion, chopped, whites and greens separated
- 2 cloves garlic, chopped
- 1 tsp sesame oil
- 1 tsp kosher salt
- 1/4 tsp freshly cracked black pepper
- 1/4 tsp msg, optional
Optional Garnishes
Instructions
- Mix gochujang, water, kimchi juice to form a sauce, then chop your onions, kimchi, garlic, and scallions and set aside.
- Over high heat, fry your pork belly for 2-3 minutes until crisp and the fat has rendered. Remove the pork and set aside leaving the reserved fat in the pan.
- In the same pan, sauté your garlic for 15 seconds followed by your scallion whites, onions, and kimchi and stir fry for 2 minutes. If making vegetarian, use 2 tbsp of butter or oil instead of reserved fat.
- Add your day old rice and kimchi sauce and mix to combine. Continue cooking over high heat until the sauce has absorbed into the ingredients and the rice is relatively dry (about 5-6 minutes).
- Add your pork belly and scallion greens and mix to combine. Add 1 tsp of sesame oil and mix, then season with salt, pepper, and msg. Top with sesame seeds, nori, and a fried egg and enjoy!
Video
Notes
Nutrition
Nutrition information is automatically calculated, so should only be used as an approximation.



Really easy and real legit kimchi fried rice recipe!
One of my go-to recipes after a long day! better than the other recipes ive found online
This is so easy and delicious
ig: artisangemologist
I absolutely love this kimchi fried rice and it’s so easy to make definitely one of my favorites.😊
Latinbeauty7
Great recipe!
Super simple, super delicious!
Used to use the NYT version but after trying this recipe I’ll never go back! Super simple but great balance of flavors.
This recipe really helped me elevate my kimchi fried rice!
Just made this for lunch as we had left over Kalbi from last night. I chopped up the Kalbi instead of using the pork belly. Super yummy and super easy to make as I had everything on hand already! This one’s a keeper!!