Homemade Chili Crisp – Better than Store Bought! (VIDEO)

5 from 2 votes
Jump to Recipe

This post may contain affiliate links. Please read our disclosure policy.

Homemade Chili Crisp is for the people who love Chili Oil but want even more texture and crunch! I love how Chili Crisp has the spicy, tingly, aromatic flavors of chili oil but is addictively crunchy with fried garlics and shallots! It’s super easy to make at home and the best part is that you can customize your homemade Chili Crisp exactly to your liking!
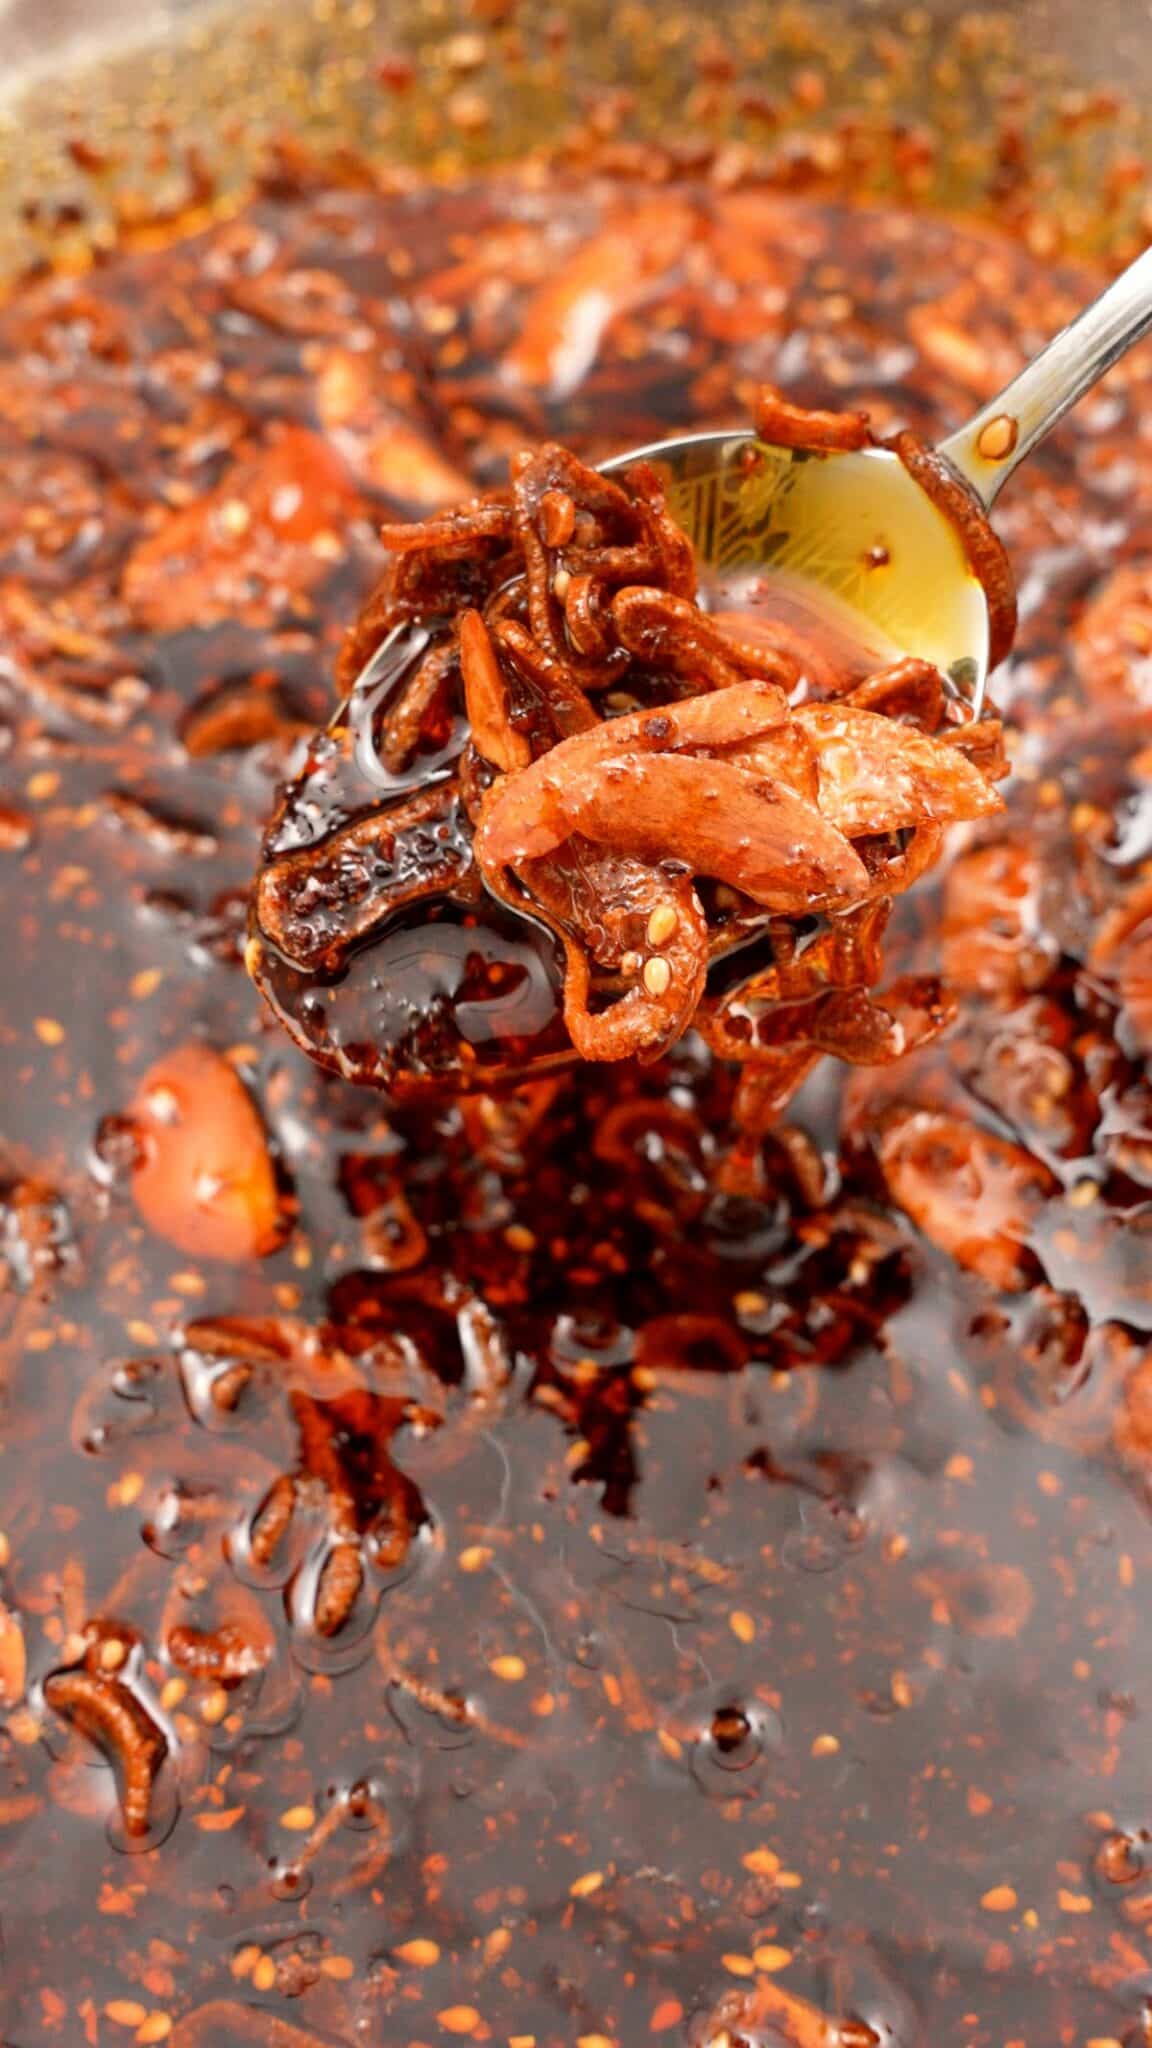
A spoon with a spoonful of homemade chili crisp.

Watch the Chili Crisp Recipe Video Below!

Want to save this recipe?
Just enter your email and get it sent to your inbox! Plus you’ll get new recipes from us every week!
Please enable JavaScript in your browser to complete this form.

Chili Crisp Ingredients

This recipe for Chili Crisp is not complicated – you probably have most of these ingredients in your pantry. However, don’t forget you can customize this recipe to your exact preference. In case you need ideas, I’ve included a list of potential add-ins below!

  • neutral oil – I highly recommend using a high quality oil, as it is such a large component of this recipe. My go-to neutral oil is Avocado Oil. You can use another neutral oil such as:
    • Vegetable, canola, peanut, or grapeseed
    • I do not recommend using olive oil or sesame oil.
  • Shallots and garlic – frying the shallots and garlic not only creates the crunchy texture in Chili Crisp but it also infuses the oil with aromatic flavor. If you like a lot of texture and crunch in your Chili Crisp, you can increase the amount of both.
  • Sichuan chili flakes – I personally like to use Sichuan chili flakes because they are milder than other chili flakes (while still providing heat) – this means you can actually taste all of the flavors of the Chili Crisp. I also love it’s beautiful vibrant color and the aromatic flavor it adds.
  • sesame seeds  – this is for additional texture
  • salt – a little bit of salt helps round out the flavors in the Chili Crisp
  • sugar  – I like a little bit of sugar to balance out the savory flavors
  • soy sauce
  • sesame oil

You can also customize your Chili Crisp to your exact preference – here are some great add-in ideas:

  • soy nuts, peanuts
  • different kinds of chilis (ex: arbol, japones, etc)
  • red or green peppers (serrano, jalapeno, or bell peppers)
  • preserved black beans
  • fresh ginger

Key Tip

Sichuan Chili Flakes

For the best results, I recommend using Sichuan chili flakes when making Chili Crisp. DO NOT use regular crushed red pepper flakes (I have used them before and the flavor does not come out right at all!). I purchase my Sichuan chili flakes from my local Chinese grocery (99 Ranch) but these days you can also find them online very easily.

If you cannot find a dried chili flake labeled Sichuan (or Szechuan) chili flakes, do your best to find a chili flake that is made in China. You want to stay away from any pepper flakes that are sourced from India or Mexico (check the labels) – I’ve found that the flavor just doesn’t come out right when they are not sourced from China.

Chili Crisp: Step-By-Step Recipe Instructions

1. Fry the Aromatics

In a small saucepan over high heat, add neutral oil and sliced garlic and shallot. Ensure that the shallots and garlic are sliced to similar widths (I go for 1/8 inch) so that they will fry and brown evenly. Frying the shallots and the garlic does two things:

  • It creates the crunchy texture that is synonymous with Chili Crisp
  • It infuses the oil with the aromatic flavors of the shallot and garlic – this oil is going to be the base of your Chili Crisp, so the added depth and layers of flavor is going to take your Chili Crisp to the next level!
Thinly sliced shallots and garlic on a cutting board.

Cook until the oil is bubbling and pale golden brown, the aromatics look fried, and the oil is fragrant. Aim for a low temperature of 225°F, this will allow the oil to extract the flavor out of the aromatics while crisping them up. Watch them carefully because they will go from golden brown to burnt very quickly!

Once the aromatics are a pale golden brown, strain the shallots and garlic and set aside to drain on a paper towel. They will turn darker as they sit. Do not discard the oil! The oil will be the base of your Chili Crisp, so you will need to reserve this for later.

Crispy shallots and garlic strained from oil in a measuring cup.

PRO TIP

Use a Thermometer

When making homemade Chili Crisp, heat management is key!

  • If the oil gets too hot, the aromatics can burn or turn too dark, taste bitter, and ruin the oil (which is the base of your Chili Crisp).
  • Alternatively, if the oil does not get hot enough, it will not release all of the flavors from the chili flakes and other ingredients – making your Chili Crisp taste flavorless and like plain oil.

Using a thermometer ensures that you are making the Chili Crisp at the recommended temperatures and that your Chili Crisp turns out well!

2. Make the Oil Mixture

In a large heatproof bowl (ceramic or metal – do not use glass!), add the chili flakes, salt, sugar, and sesame seeds. Tip: You should have 3-4 inches of clearance between the ingredients and the rim of the bowl – this is so the hot oil does not bubble over the bowl. Set aside.

Dry chilies and seasonings being added to a metal bowl.

Pour the infused oil back into the small sauce pan. Over medium high heat, heat the oil to 375F.

A thermometer that reads 375°F over hot oil.

Once the oil is 375F, turn the heat off. Carefully and VERY SLOWLY pour the hot oil into the heatproof bowl with the flakes and other ingredients. There will be some bubbling – this is normal and to be expected. Gently stir the Chili Crisp to combine well.

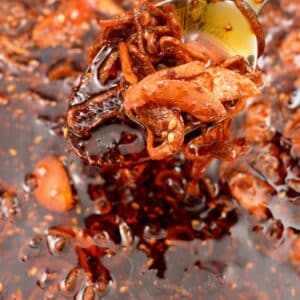
Hot oil being poured onto chilies and seasonings for homemade chili crisp.

3. Season the Chili Crisp

Season the hot oil mixture with soy sauce and sesame oil. Add in the crispy garlic and shallots. Stir to combine and let the Chili Crisp cool before transporting into an airtight container. You can store this chili crisp for up to a week! Enjoy!

Crispy shallots and garlic being added to the chili oil to make homemade chili crisp.

SAFETY TIPS

Safety Tips

You will be handling boiling hot oil when making Chili Crisp, so safety is key!!

  • Use a small sauce pan that you can handle comfortably – do not use a pan or dutch oven that is too heavy for you to lift up.
  • Ensure there is at least 3-4 inches of clearance between the szechuan chili flakes and the rim of the bowl they are in, to allow for bubbling (refer to the video). Pour the oil VERY SLOWLY.
  • Use a ceramic or oven safe bowl – do NOT use a glass bowl. Glass can crack or shatter when exposed to high temperatures due to thermal shock.

What Can I Use Chili Crisp On?

Chili Crisp goes with everything – and the proof is in how many of my recipes I incorporate it into to! Not only does it add amazing flavor but I love the texture and crunch – try it in place of chili oil for Dan Dan Noodles or Mapo Tofu! You can use it in my Dumpling Dipping Sauce or drizzle it over vegetables like Chili Garlic Cucumber Salad, Spicy Green Beans, or Chili Oil Smashed Potatoes. Of course, it’s perfect on noodles like Sesame Peanut Noodles or Chili Oil Noodles!!

PRO TIPS

Storage Tips For Chili Crisp

Homemade Chili Crisp should be stored in a sterilized airtight container (such as a mason jar) in the refrigerator for up to 3 months. Do not leave it in room temperature, especially since this oil was infused with aromatics like garlic and shallot.

Here are some storage tips:

  • Make sure your container is well sealed to prevent from spoiling.
  • Avoid dipping directly into your container. Only use clean utensils when scooping some out – any bacteria from food or used utensils will make go bad faster.
  • Don’t leave your Chili Crisp out – always refrigerate immediately after using.
  • If you notice any signs of spoilage, such as odors, flavors, or mold growth, discard your Chili Crisp immediately!

If you tried this Chili Crisp Recipe or any other recipe on my website, please leave a 🌟 star rating and let me know how it went in the comments below!

5 from 2 votes

Homemade Chili Crisp

Servings: 50
Prep: 5 minutes
Cook: 10 minutes
A spoon with a spoonful of homemade chili crisp.
Chili Crisp is for the people who love a spicy chili oil but want even more texture and crunch! I love how Chili Crisp has the spicy, tingly, aromatic flavors of chili oil but is addictively crunchy with fried garlics and shallots! (Makes about 3 cups; 1 tbsp per serving)

Ingredients 

Instructions 

  • Add neutral oil to a saucepan over high heat and add the sliced garlic and shallot. Cook until bubbling and pale golden brown. Strain the shallots and garlic and reserve the oil.
  • In a large heatproof bowl add the szechuan chili flakes, salt, sugar, and sesame seeds. Add the oil back to the saucepan and heat to 350-375F. Carefully pour the hot oil onto the chili flakes and stir.
  • Season with soy sauce, sesame oil, and toss in the crispy garlic and shallots. Stir to combine and enjoy it on anything!

Notes

Chili Crisp is for the people who love Chili Oil but want even more texture and crunch! I love how Chili Crisp has the spicy, tingly, aromatic flavors of chili oil but is addictively crunchy with fried garlics and shallots!

Nutrition

Calories: 4kcalCarbohydrates: 0.4gProtein: 0.1gFat: 0.2gSaturated Fat: 0.03gPolyunsaturated Fat: 0.1gMonounsaturated Fat: 0.1gSodium: 110mgPotassium: 5mgFiber: 0.04gSugar: 0.1gVitamin A: 0.1IUVitamin C: 0.2mgCalcium: 3mgIron: 0.1mg

Nutrition information is automatically calculated, so should only be used as an approximation.

Additional Info

Course: Sauce
Cuisine: Chinese
Tried this recipe?Mention @cj.eats_ or tag #cjeatsrecipes!

About CJ

Iโ€™m a third generation Chinese-American home cook who has always loved cooking & eating! Welcome to my food blog, where you can find trusted, tested, easy & approachable recipes for the everyday home cook that taste delicious! I am so glad you're here!

You May Also Like:

5 from 2 votes (1 rating without comment)

Leave a comment

Your email address will not be published. Required fields are marked *

Recipe Rating


1 Comment

  1. 5 stars
    Avocado oil is expensive here and I recently read from Tim Ferriss that macadamia oil has better health properties than olive and avocado so I used macadamia oil. So damn good and tasted even better than avocado and itโ€™s cheaper here. Everyone I gave it to loved it. Amazing that itโ€™s so flavoursome and youโ€™re not even infusing it with all those aromatics