This post may contain affiliate links. Please read our disclosure policy.
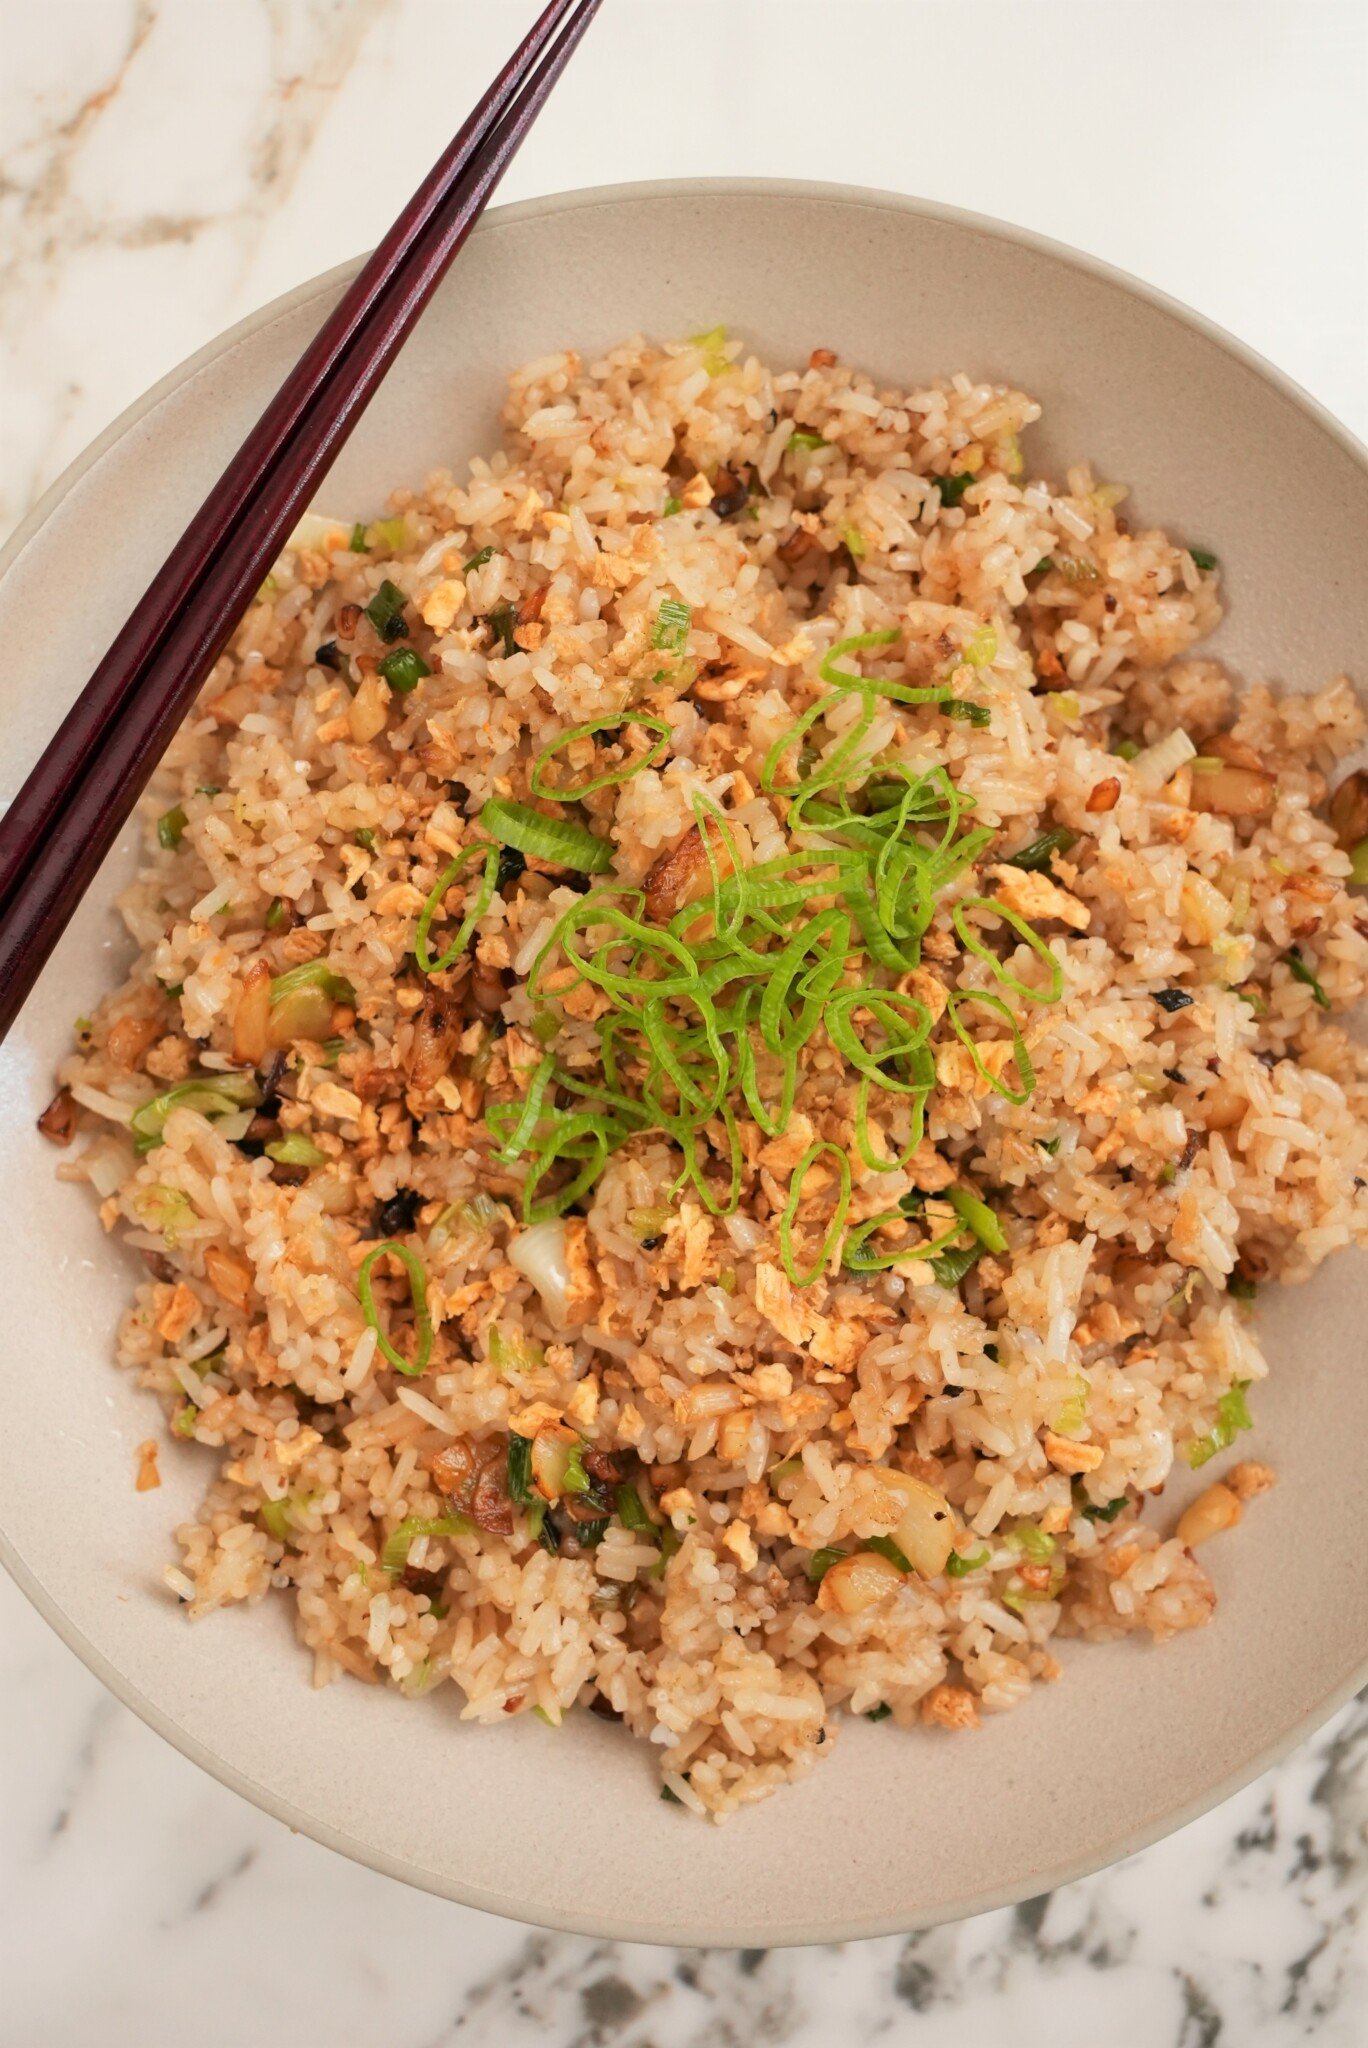
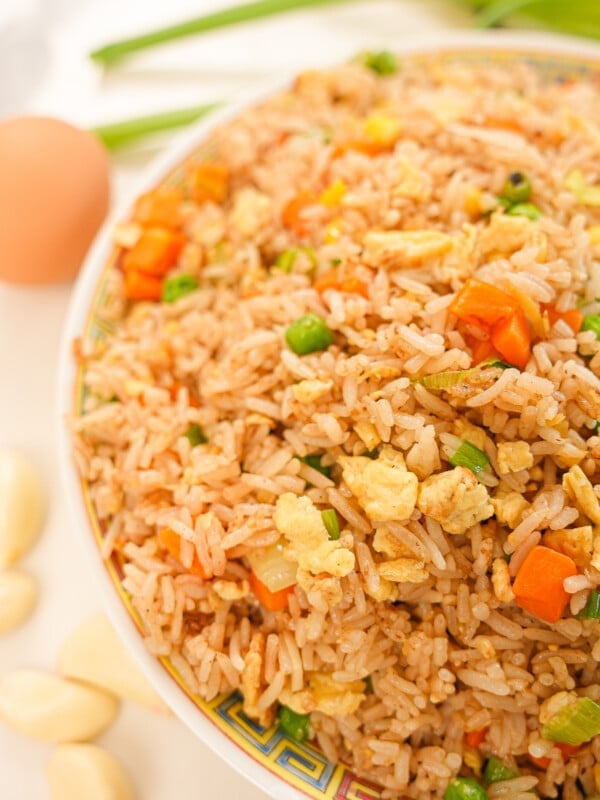
Garlic Fried Rice is one of those perfect sides – it takes 20 minutes, is so simple but bursting with aromatic, garlicky flavor, and goes with just about everything! It is most famously known as the Filipino dish Sinangag but Garlic Fried Rice is beloved by many Asian cultures – it can be found in the local cuisines of Indonesia, Singapore, the Philippines, and even Hawaii! I can’t get enough of this delicious rice dish – watch the video and read on to learn how to make this at home!
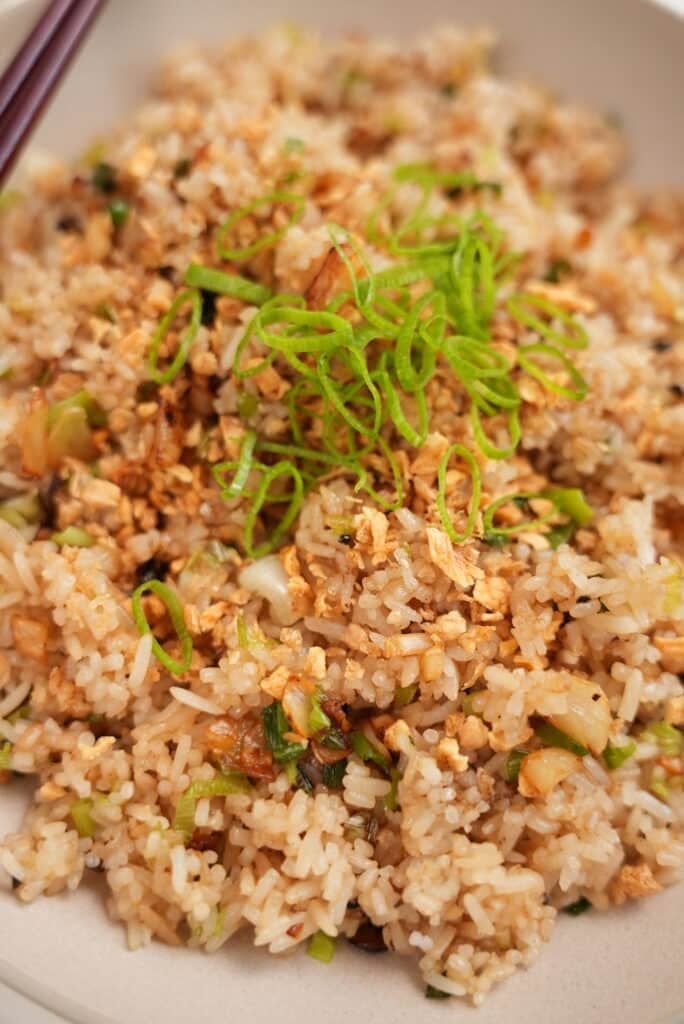
Watch the Garlic Fried Rice Fried Rice Recipe Video Below!
Table of Contents
- Watch the Garlic Fried Rice Fried Rice Recipe Video Below!
- Ingredients for Garlic Fried Rice
- Cooking Garlic Fried Rice: Recipe Instructions
- Expert Tips for the Best Garlic Fried Rice (Sinangag) at Home
- What to Serve with Garlic Fried Rice?
- Cooking With a Wok (Alternatives)
- Garlic Fried Rice (20 Minutes!) Recipe
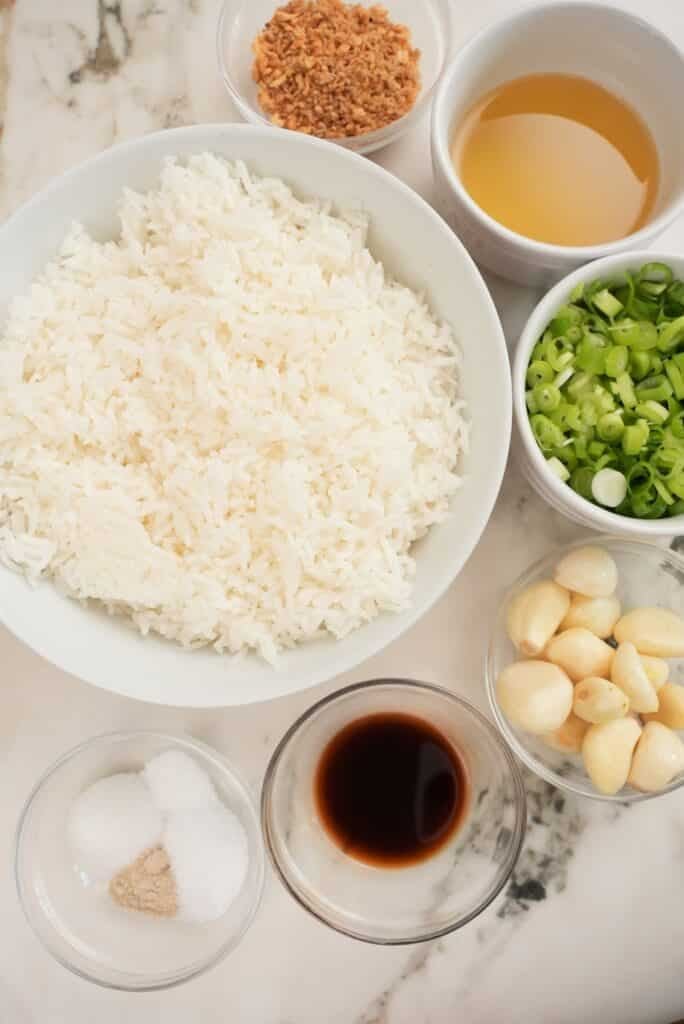
Ingredients for Garlic Fried Rice
Making Garlic Fried Rice (Sinangag) is extremely easy and requires less than 10 ingredients!
- White Rice
- I prefer long grain white rice for this recipe due to the lower moisture content but you can substitute with another white rice, if needed.
- Do not use freshly steamed rice! The rice should be at least one day old to avoid having too much moisture. Too much moisture in the rice will make your fried rice soggy and mushy – and we don’t want that!
- If I know I am planning on making fried rice soon, I will make my rice and lay it flat on a baking sheet in the refrigerator to dry it out as much as possible.
- Fresh Garlic
- I used 15 cloves of garlic (and in the past have used closer to 20 cloves, depending on the size of the garlic) but you can adjust this to your preference – just remember that the recipe for Garlic Fried Rice (Sinangag) is quite simple and the garlic is the star of the show!
- Kosher Salt
- White Pepper: I love white pepper and it’s used very commonly in Chinese cooking (another “secret ingredient” for cooking restaurant quality Chinese food at home). It has an earthier flavor than black pepper. I recommend having some in your pantry but if you can’t find it, you can always substitute with black pepper.
- Sugar
- MSG (optional):I like to use MSG in my cooking but this is always optional.
- Light soy sauce (I opt for low sodium):
- You will need “light” or “all-purpose” soy sauce. Do NOT use dark soy sauce, as it is too intense for a fried rice recipe.
- Some fried rice dishes call for NO soy sauce, like my Din Tai Fung Fried Rice!
- Neutral Oil: I use avocado oil as my go-to neutral oil. You can also use canola or vegetable oil. DO NOT use sesame oil or olive oil!
Cooking Garlic Fried Rice: Recipe Instructions
1. Fry the Garlic
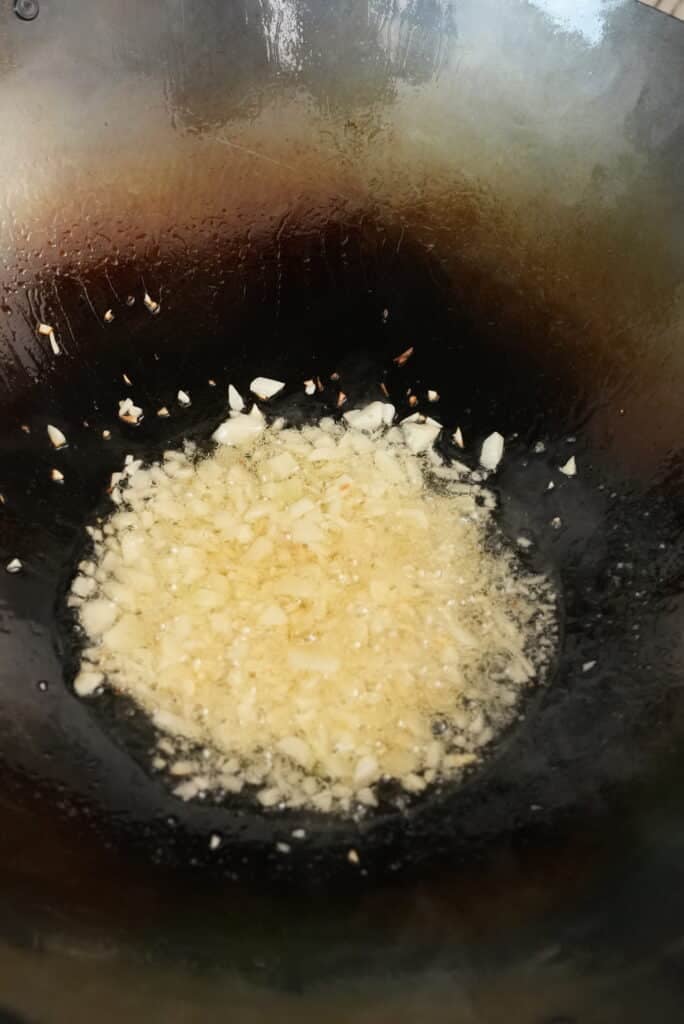
The first step in making Garlic Fried Rice is to chop and fry your garlic.
Once your cloves are minced, heat 3 tablespoons of neutral oil over medium high heat in a large nonstick wok or pan, then fry your garlic for about 1 minute until they are golden brown and remove. Our goal is to infuse the oil with the fresh garlic flavor and reserve those crispy pieces for the final dish.
KEY TIP: The garlic will continue to cook and crisp up once taken out of the pan, to be sure to remove it as soon as it starts to turn golden.
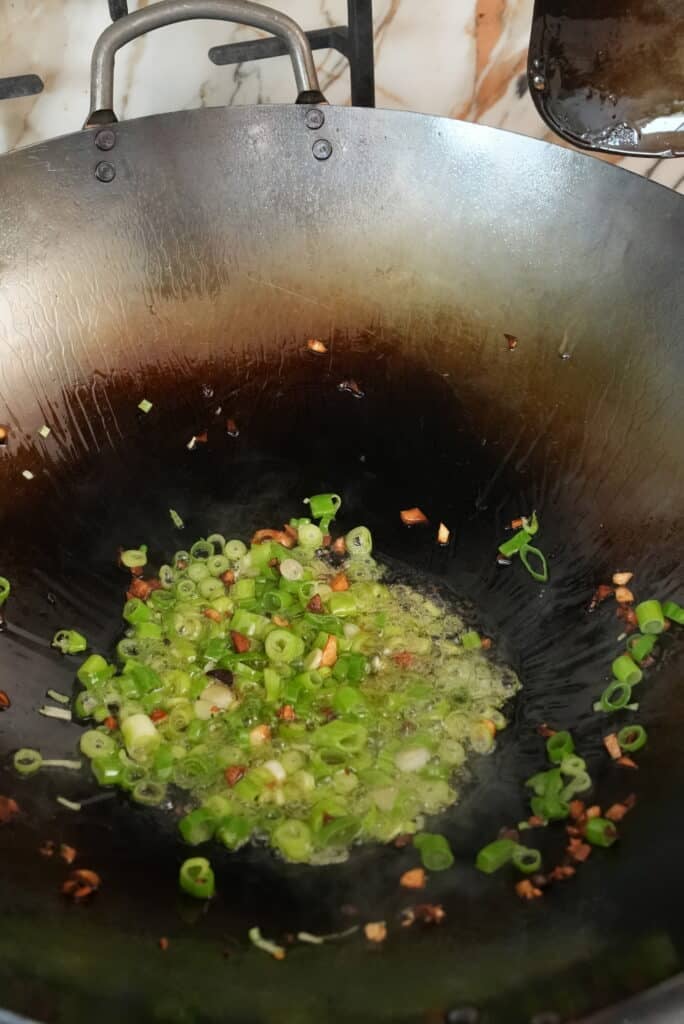
2. Sauté Scallions + Rice
After the garlic is removed, sauté the scallions for a few seconds in the garlic infused oil until fragrant for 15-30 seconds.
Add the leftover day old white rice and mix thoroughly, until the scallion is mixed in with the rice. Continue cooking over high heat until the rice is relatively dry and you are able to see the rice grains separating in the pan. This can take anywhere from 3-4 minutes depending on the heat of your stove. Stir fry until the grains are separated and relatively dry.
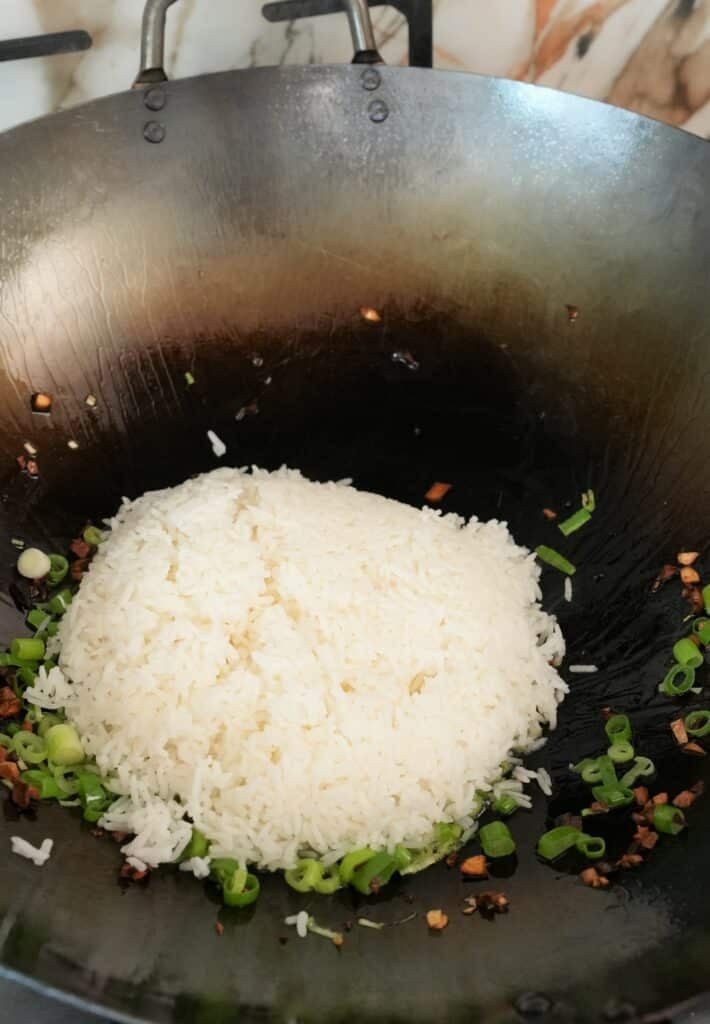
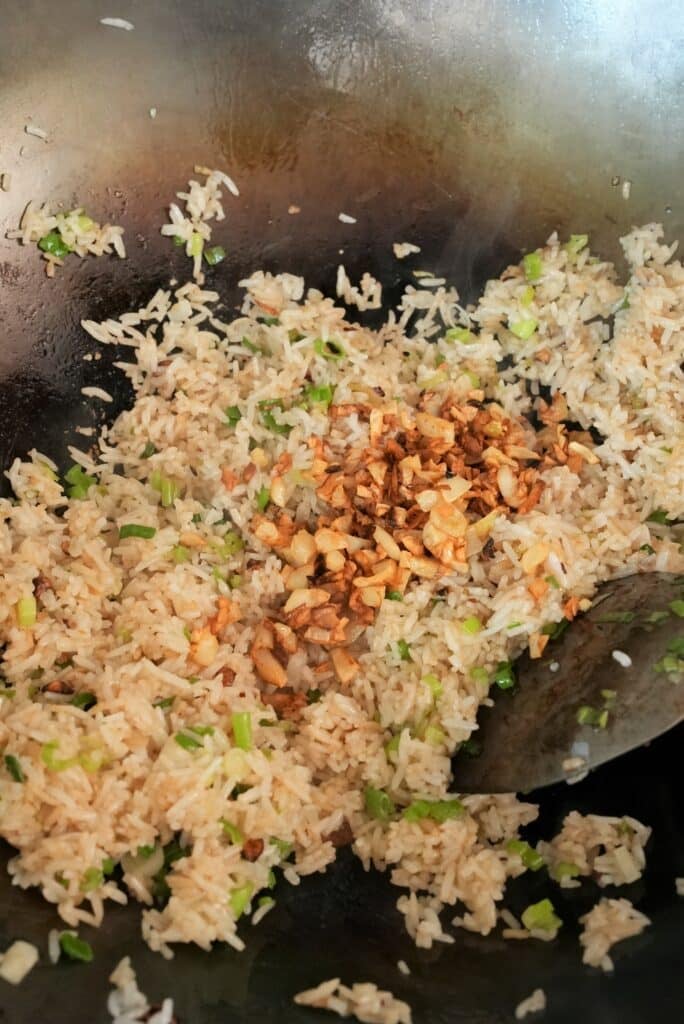
3. Season the Rice
Season your rice with kosher salt, white pepper, sugar, msg, and light soy sauce. Mix to incorporate well.
4. Add Back the Fried Garlic and Garnish
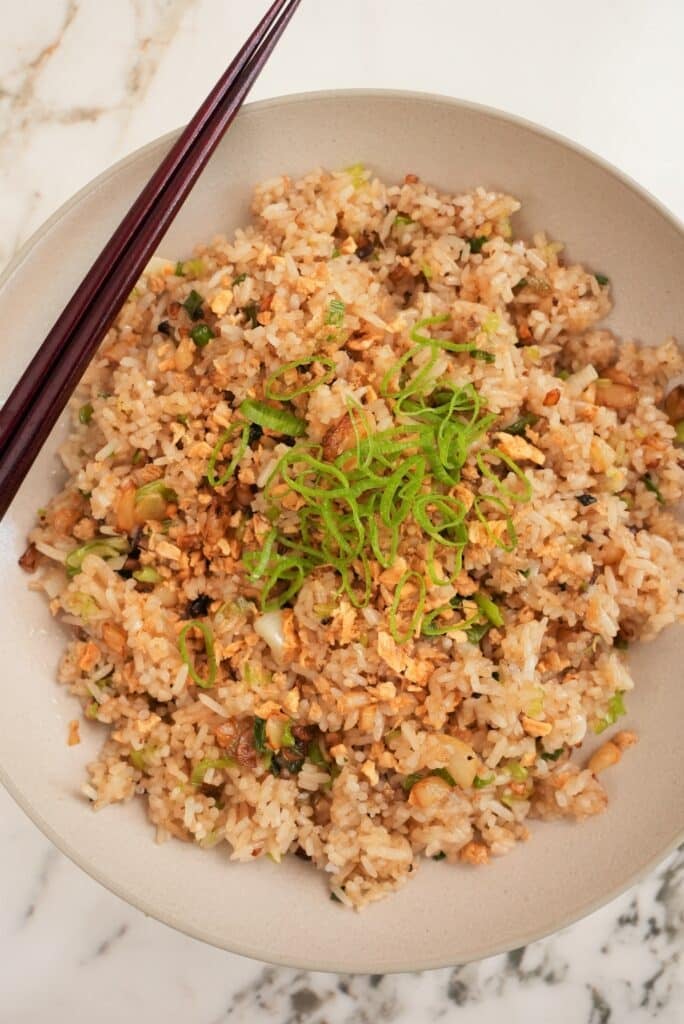
Once the rice is nicely seasoned and dry (always taste and season according to your preference), add back your fried garlic. The garlic aroma should be fragrant throughout the rice thanks to that garlic infused oil and smell so delicious! Give it another good mix to incorporate and your Garlic Fried Rice is done!
I love garnishing my Garlic Fried Rice with additional fried garlic chips and freshly chopped scallions. Serve immediately with and enjoy!
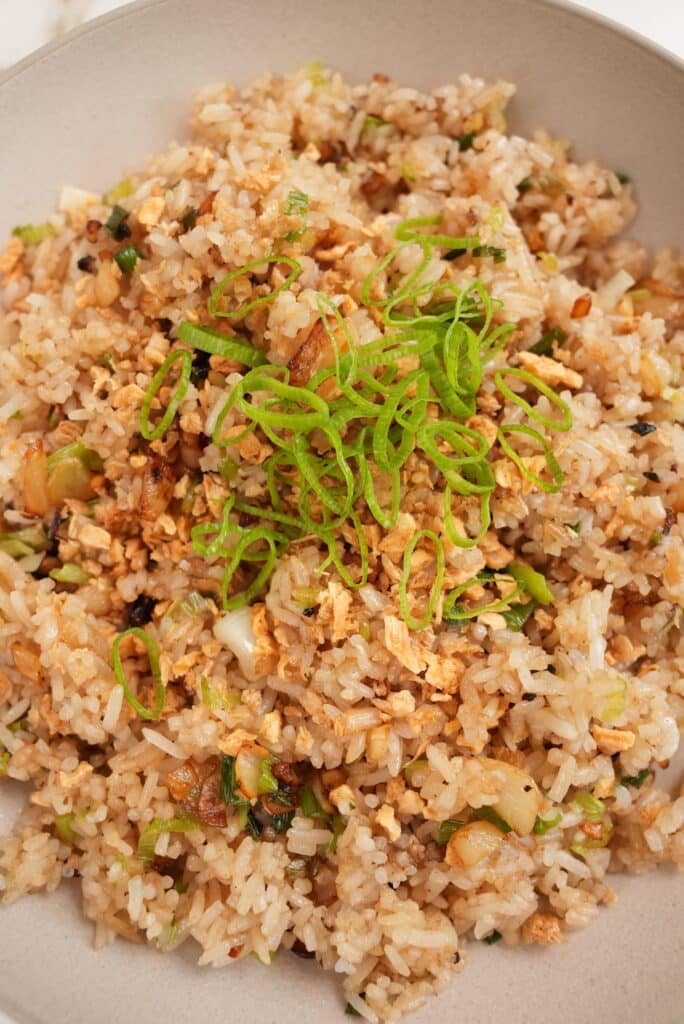
PRO TIPS
Expert Tips for the Best Garlic Fried Rice (Sinangag) at Home
What type of rice should I use for fried rice?
For fried rice cooked on a home stove, I always recommend using long grain white rice that has been dried out uncovered in the fridge for this recipe, due to the lower moisture content of the rice compared to short grain rice. Using leftover rice is ideal for this recipe. On home stoves, this will result in fried rice that isn’t mushy! I recommend long grain varieties of rice such as Jasmine rice or Basmati rice.
My KEY TIP to Avoid Burning the Garlic
Garlic can cook and burn VERY quickly – if you’ve ever made or tasted a dish with burned garlic, you’ll know that it has a very bitter, unpleasant taste. That’s why I recommend:
- Once you’ve cooked your garlic in the oil, remove it from your wok or pan
- Strain your cooked garlic out of the oil and set aside
- After your rice has been fried, add the garlic back in AT THE END and mix together
This extra step ensures that you can avoid burning your garlic while you fry your rice.
Success is in the PREP
Garlic Fried Rice (Sinangag) only has a few ingredients and cooks VERY quickly – therefore, the key to successfully cooking a dish like this is having all of your ingredients already prepped and ready to go BEFORE you begin cooking. I like to have everything separated into it’s each prep bowl, and I also like to have all of my tools and plates/bowls near me, as well.
What to Serve with Garlic Fried Rice?
Garlic Fried Rice (Sinangag) is such a perfect side, as it goes with just about anything! I would pair this with juicy String Bean Chicken or my Yeh-Yeh’s Crispy Pork Belly. If you have extra garlic leftover, you can make my Din Tai Fung Garlic Green Beans and the BEST Garlic Noodles (if you’re feeling fancy, make Garlic Noodles with Crab)!
Other Fried Rice Dishes
Fried Rice is a perfect dish in my opinion – so I love to make different variations of it all the time!
If you’re looking for more classic Chinese Takeout dishes, try my Chicken Fried Rice (or Shrimp Fried Rice, if you prefer shrimp over chicken). My childhood favorite was eating Spam Fried Rice at home or ordering Billionaire Fried Rice at our favorite Chinese restaurant on the weekends. Now that I’ve gotten older, I’ve even grown an appreciation for vegetarian versions, like Egg Fried Rice or Mushroom Fried Rice! My wife’s favorite is Kimchi Fried Rice, which I agree – the spicy kick is so addictive!
Cooking With a Wok (Alternatives)
By now, you know that I LOVE cooking with my carbon steel wok! It is my #1 most recommended kitchen tool, as I believe it is perfect for high-heat cooking and results in restaurant quality Chinese food!
If it is your first time cooking with a wok, make sure to read my “How To Season a Wok” post. There is a video included that shows exactly how to season your brand new wok and how to maintain it so it lasts for years.
If you cannot or do not want to use a wok, you can use a large pan, cast iron, or even a dutch oven.
My KEY TIP would be to avoid crowding your pan – crowding can lead to your Garlic Fried Rice not cooking thoroughly and becoming mushy. If you think your dish will be crowded, use a larger pan, cast iron, or dutch oven, OR cook in batches.
If you tried this Garlic Fried Rice or any other recipe on my website, please leave a 🌟 star rating and let me know how it went in the comments below!
Garlic Fried Rice (20 Minutes!)
Equipment
Ingredients
- 2 cups long grain white rice (uncooked measurement), cooked and dried out uncovered in fridge for at least overnight
- 15 cloves garlic, chopped
- 1 tsp kosher salt, to taste
- 1 tsp sugar
- 1/2 tsp white pepper
- 1/4 tsp MSG, optional
- 1 tbsp light soy sauce
- 2 scallions, chopped
- 3 tbsp neutral oil
Garnish
Instructions
- In a large pan or wok, heat neutral oil over medium high heat and add chopped garlic. Cook for 1-2 minutes until the garlic has turned golden brown and remove, leaving the garlic-infused oil in the pan.
- Add scallions and sauté for 15-30 seconds until fragrant. Turn the heat to high, then add the day old long grain white rice and mix thoroughly until the grains are separated and relatively dry (about 3-4 minutes depending on the heat of your stove).
- Season with kosher salt, white pepper, sugar, msg, and light soy sauce. Mix to combine.
- Add back the reserved fried garlic and mix. Garnish with additional chopped scallions and fried garlic and enjoy!
Notes
-
- Once you’ve cooked your garlic in the oil, remove it from your wok or pan
-
- Strain your cooked garlic out of the oil and set aside
-
- After your rice has been fried, add the garlic back in AT THE END and mix together
Nutrition
Nutrition information is automatically calculated, so should only be used as an approximation.



Unreal garlic fried rice. My housemate is shocked that I produced something so delicious. Paired it with a butternut squash ginataang!
Thank you so much Arj!
Added to my list of my favourite go to recipes for a quick dinner during the week!
@ryan.gatsby
Yumm!!
garlic! Yum! so good with Adobo for my husband. for me ill eat it with thit kho.
You will never go wrong with Sinangag! It is my go-to rice in any ulam (dish) that I eat. Very easy recipe but I will assure you it’s the best!
@nicolemarimc
Goes with everything!
@soelsner
Gotta love a good sinangag.
I love your take on a dish that reminds me of growing up with my grandparents.
@sheacocobanana